OAuth 2.0 is an authorization framework that allows software applications to access protected resources that belong to somebody or something. The software applications can obtain total or partial access to the protected resources, either on behalf of a resource owner by orchestrating an approval interaction between the resource owner and the HTTP service or by allowing the software applications to obtain access on their own behalf.
Additionally, OIDC adds a simple identity layer (adding end-users authentication-related data in the payload) on top of the OAuth 2.0, making simple integration with external systems that support some of the grant types defined in OAuth 2.0 specification (OAuth 2.0 Authorization Framework) i.e. most major online services nowadays.
Contents:
Web Browser Single Sign-On
When configured, a Kiuwan user can authenticate against an OAuth/OIDC server, and access Kiuwan resources.
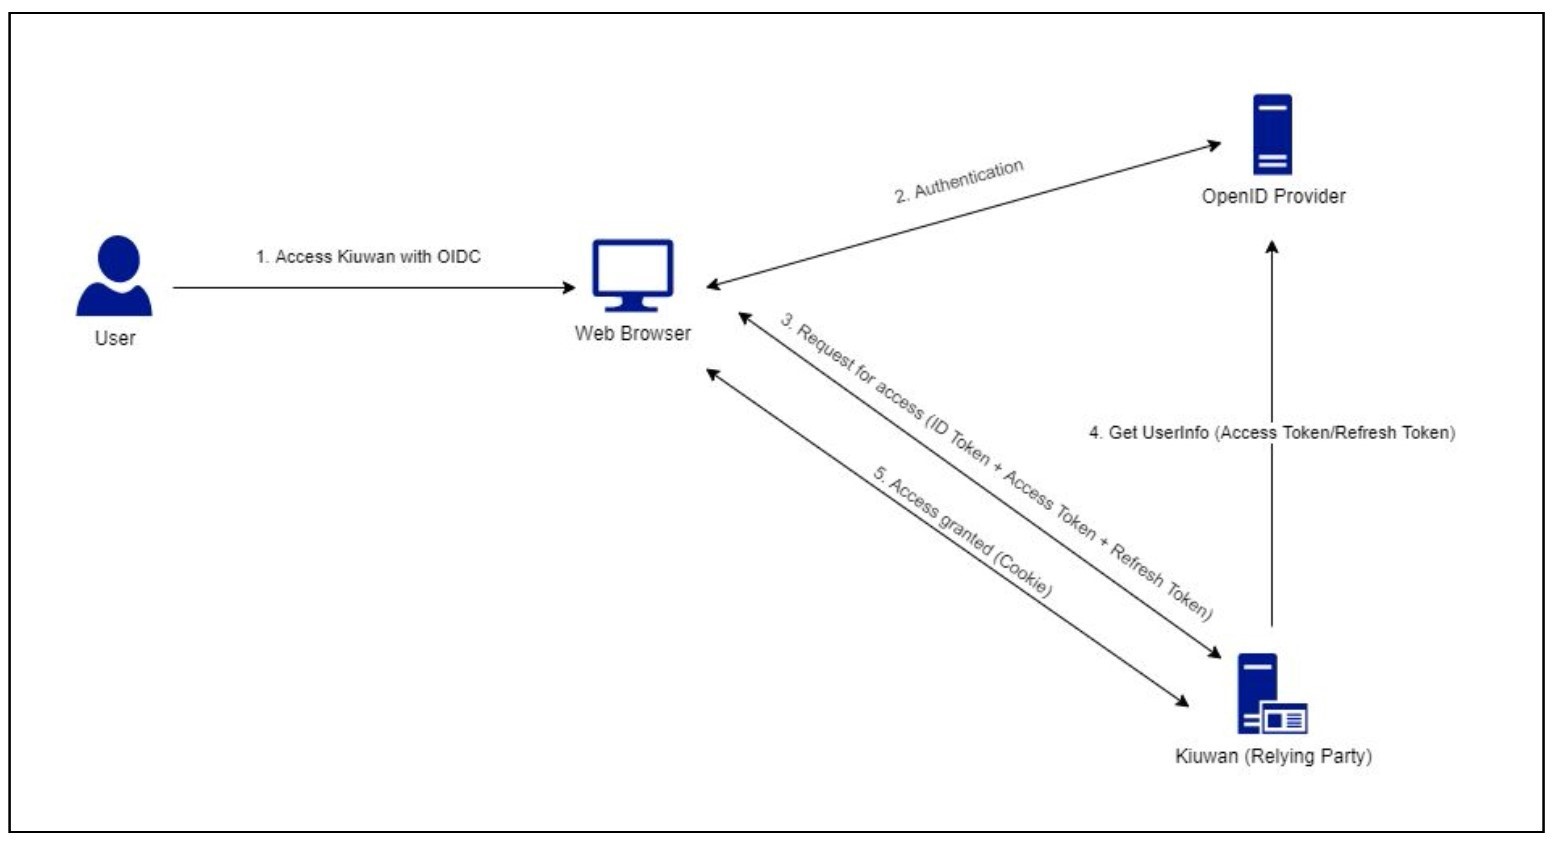
Before the user can start using Web Browser SSO flow, the administrator of the OpenID Provider in their organization must first have registered Kiuwan as a Relying Party, and subsequently, the account owner of the Kiuwan user account must have registered their OpenID Provider in Kiuwan.
Configuring OpenID Provider
The following describes how to setup Kiuwan as a registered application on Azure ADFS, any other OAuth2.0/Open ID Provider with a similar configuration.
To enable the authentication through an OAuth/OIDC server when configuring Kiuwan as a client application is required to be obtained from OAuth Issuer the following:
- URL of the issuer: The base URL provided by the OAuth provider that will be used for authentication and exchange of tokens.
- OIDC Metadata URL: e.g. .well-know/opendi-configuration URL while not mandatory by OpenID connect standard, the auto-configuration enables clients to derive all server configuration.
- Application ID: The name of the Kiuwan application as registered in the Oauth2.0 / OIDC Server.
- Client Secret: Kiuwan OIDC Client demands encrypted tokens, so a client secret, produced by the Oauth2.0/OIDC Server must be provided.
- The username mapping: The name of the OAuth/OIDC token field that enables Kiuwan to obtain the corresponding user in Kiuwan. For instance, if a user email is used to define the Kiuwan username, then the user mapping could be “e-mail”. Any other field described by the Oauth/OIDC server claims can be used, as long as the resulting value matches the Kiuwan user. It is common for the issuer server to include in the authentication token the field preferred_username, which usually maps to the username in the Identity Provider OAuth issuer.
In Azure AD, preferred_username matches the Unique Principal Name, e.g. the unique username of the identity within the AD definition.
Registering Kiuwan as an Oauth/OIDC client in Azure AD
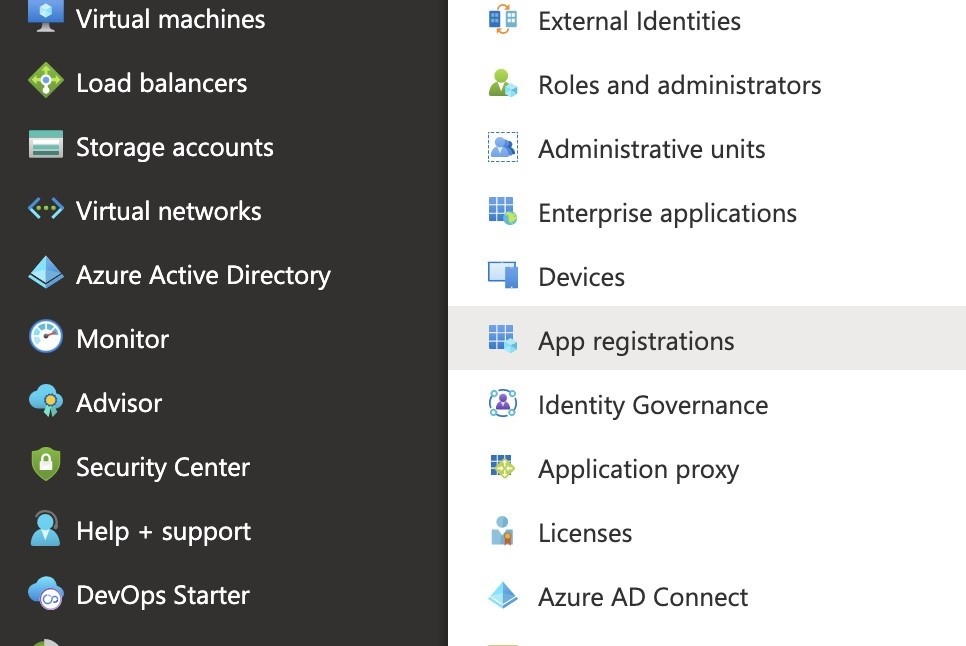
- Login to your Azure Portal and navigate to Active Directory > App Registrations.
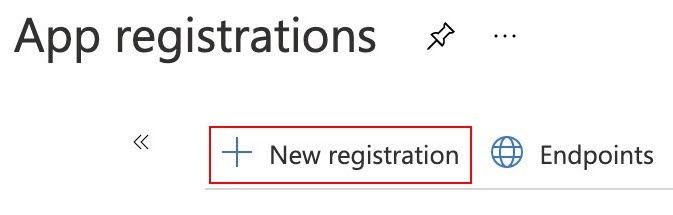
- Select New registration.
- Fill in the required information
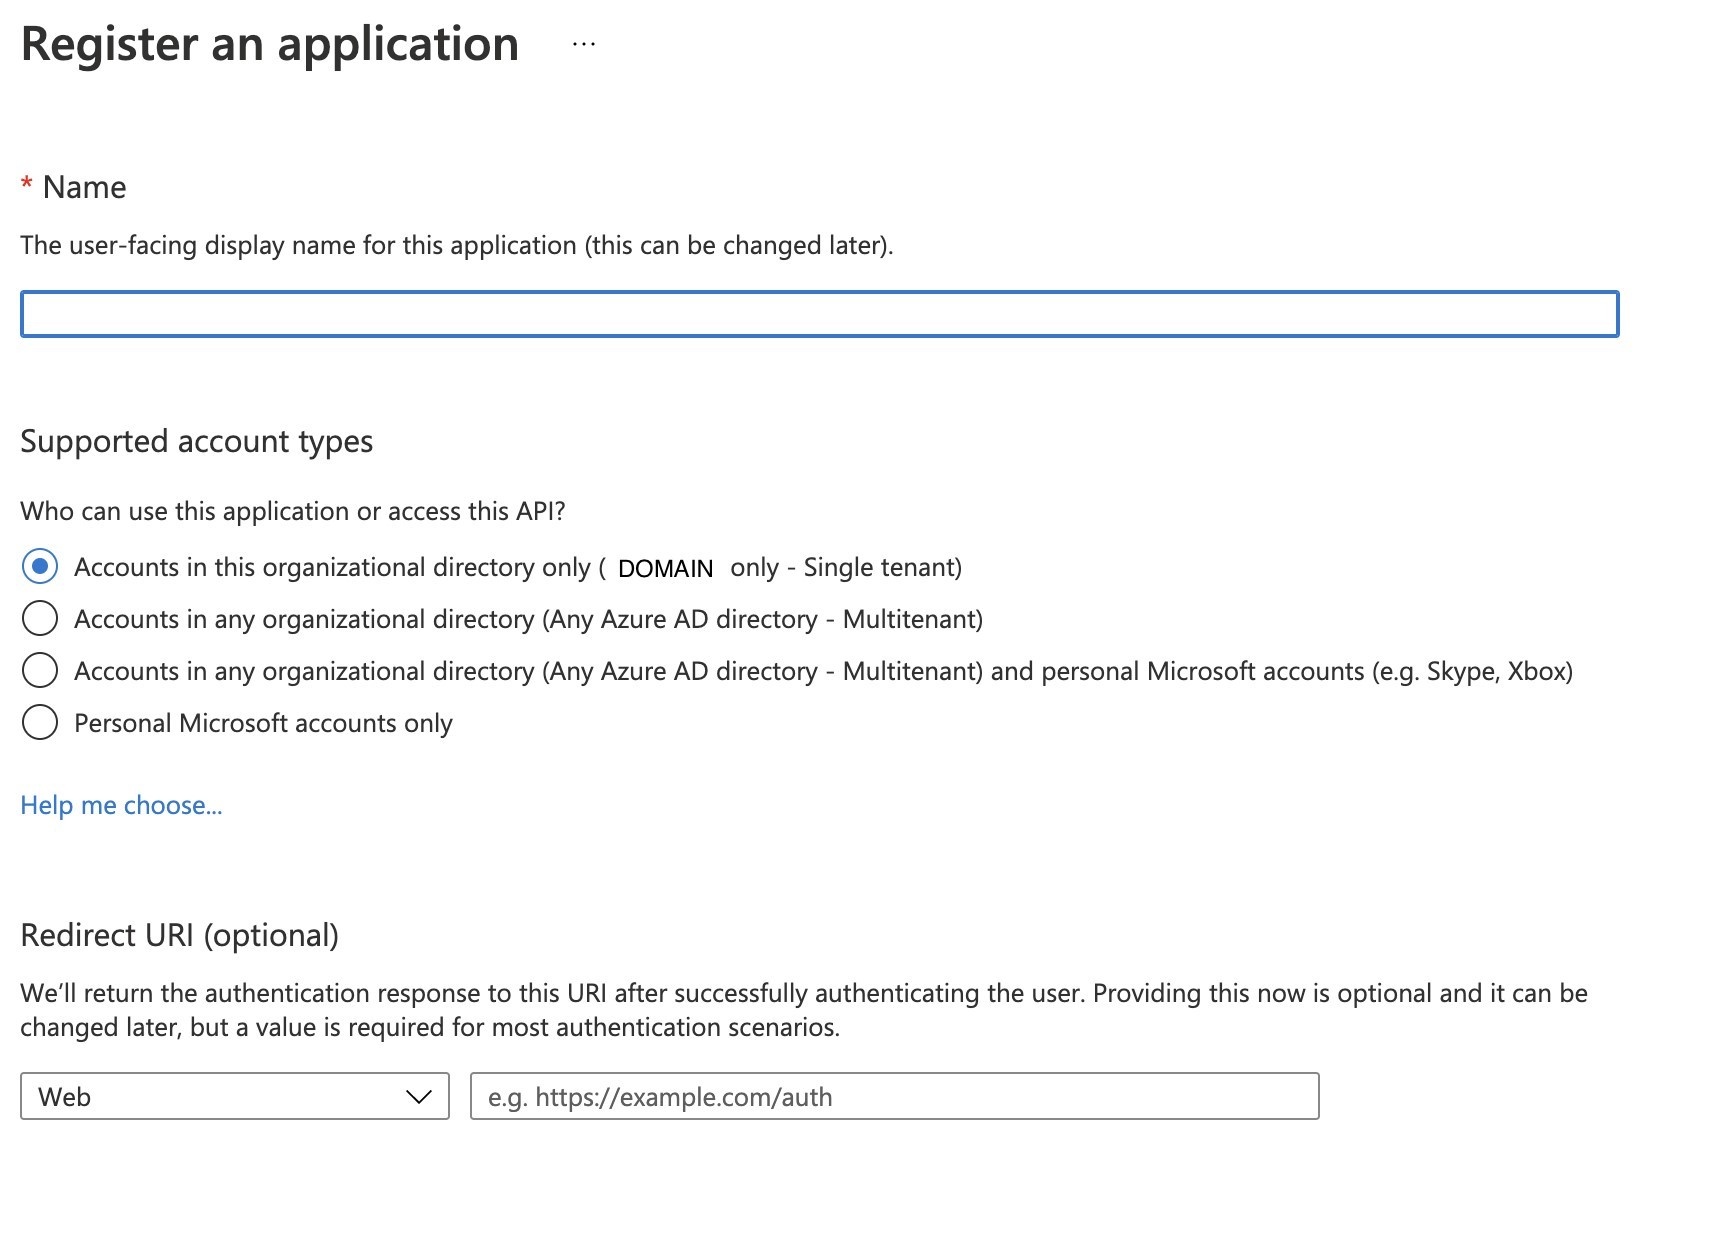
- Configure the Redirect URI as follows:
- Add the following URI as the redirect URI: https://www.kiuwan.com/saas/oidc/auth
- The endpoint OAuth2/OIDC server will redirect, within the Kiuwan server, after the successful authentication of a specific user.
- If you have a local installation of Kiuwan, instead of www.kiuwan.com enter the corresponding URL, or IP address, of the local Kiuwan server.
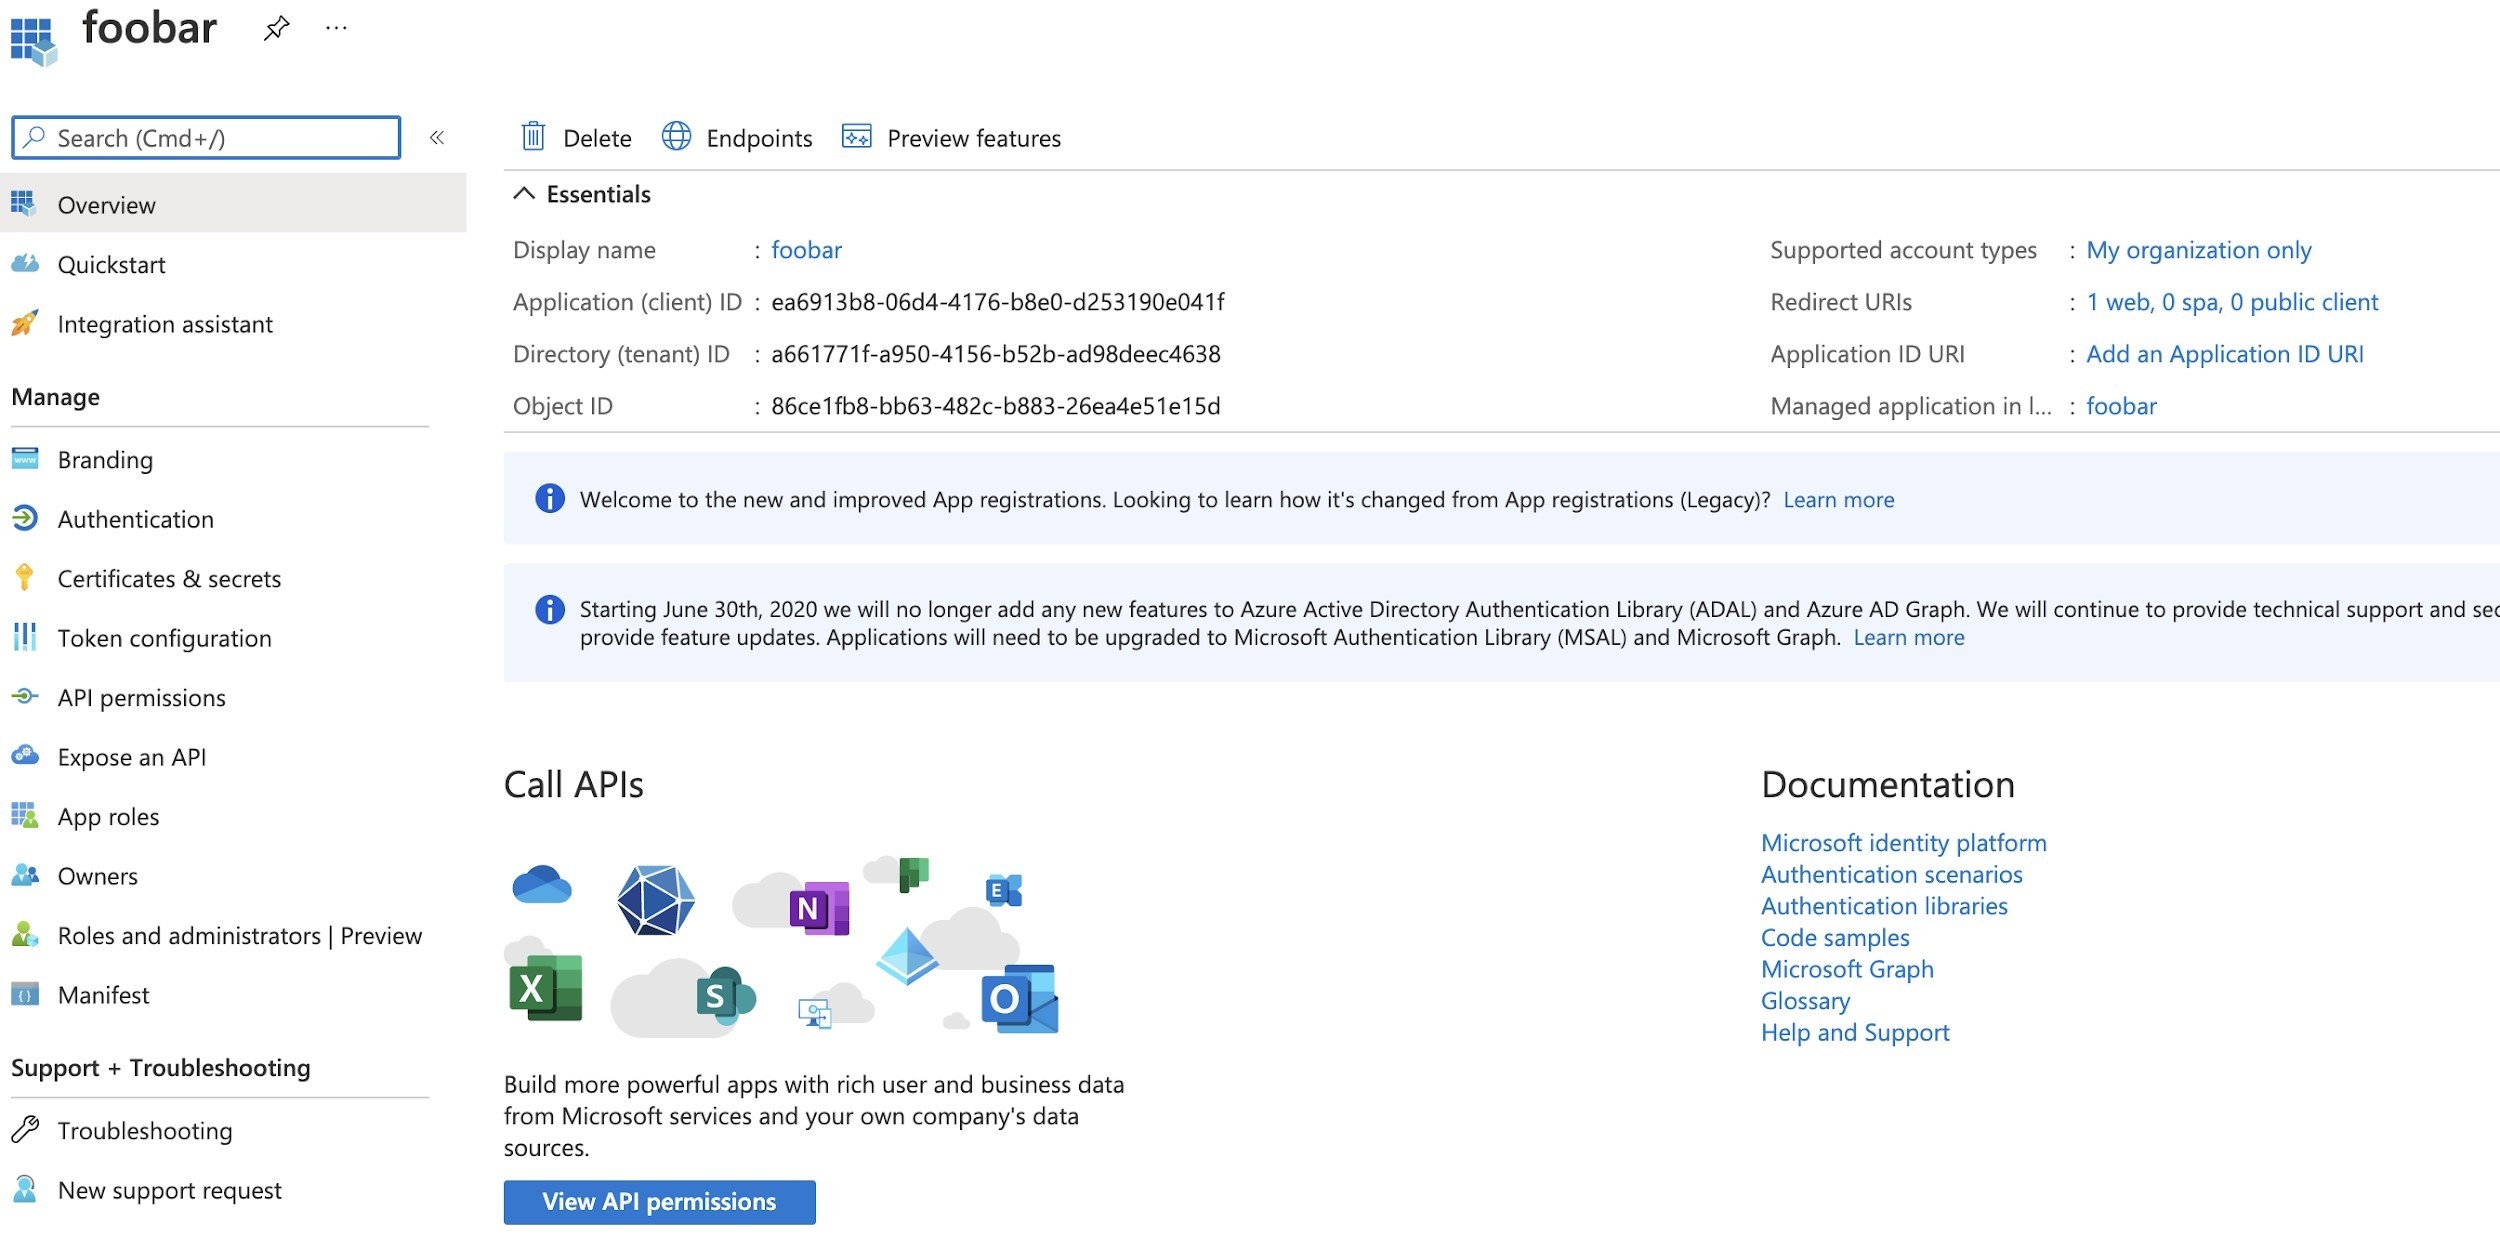
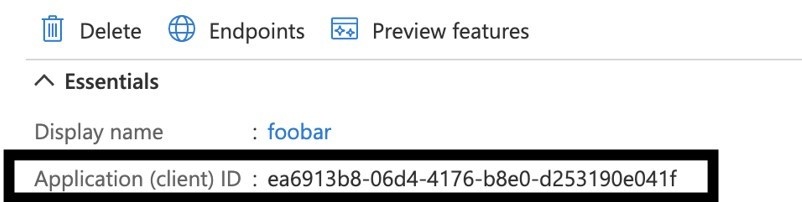
- After defining this Application Registration, the following is obtained:
- Configure Client Secret.
- After creating the registration, select the Certificates & Secrets option, and New Client Secret.

- Enter the needed values and click Add.
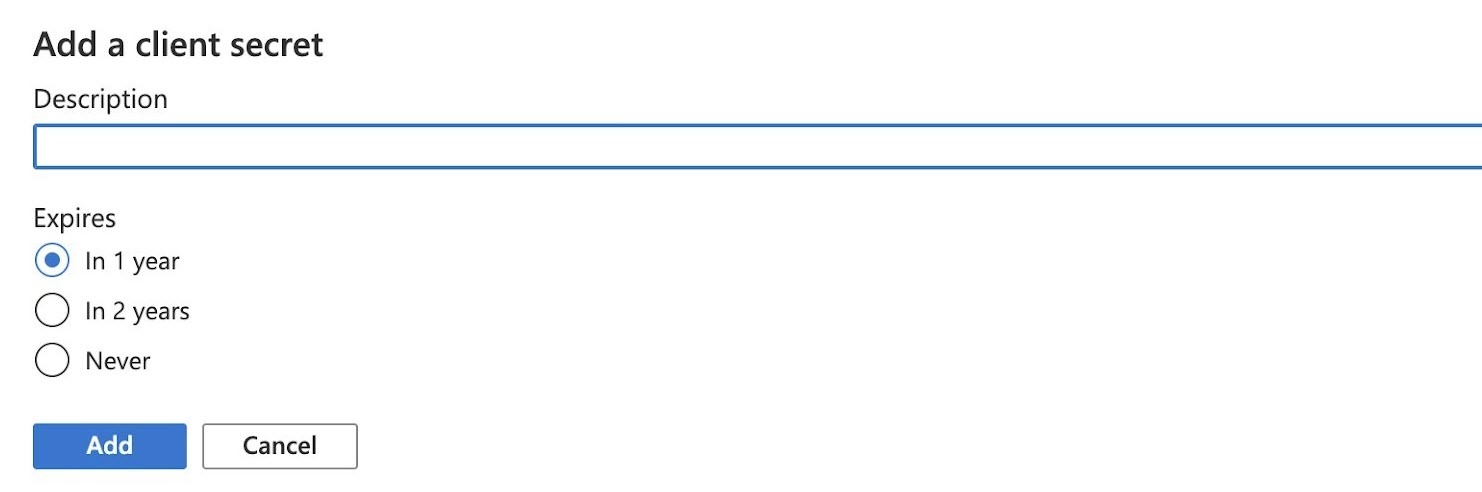
- A new secret for this Client Application ID is generated.

Copy this value to a temporary location as it will be needed later and after the screen is closed the access to the secret value is lost. Ideally, paste it directly into the OAuth/OIDC configuration at Kiuwan described in the next chapter.
- After creating the registration, select the Certificates & Secrets option, and New Client Secret.
In the previous steps, you have created a new registry for Kiuwan to integrate with OAuth/OIDC server.
The following information was generated, that would be needed in configuring Kiuwan to use this registry:
Application ID:
Application Secret:
Additionally, you would also need to collect the following endpoints:


Registering Kiuwan as an OAuth/OIDC client in Windows ADFS 2016
Similar to Azure DevOps, as with any other OAuth/OIDC issuer or identity provider, the configuration of ADFS follows the specifics defined for that Idp. However, information needs to be collected during the setup of Kiuwan as a registered app, as detailed in section Summary:
- Application ID: As manually entered in ADFS.
- Application Secret: Produced by ADFS during the setup.
- ADFS issuer URL: The base URL where Kiuwan is redirected to authenticate the user in ADFS.
(https://{YOUR_ADFS_HOSTNAME}/adfs) - ADFS Metadata URL: The URL in ADFS providing the openid-configuration.
(https://{YOUR_ADFS_HOSTNAME}/adfs/.well-known/openid-configuration)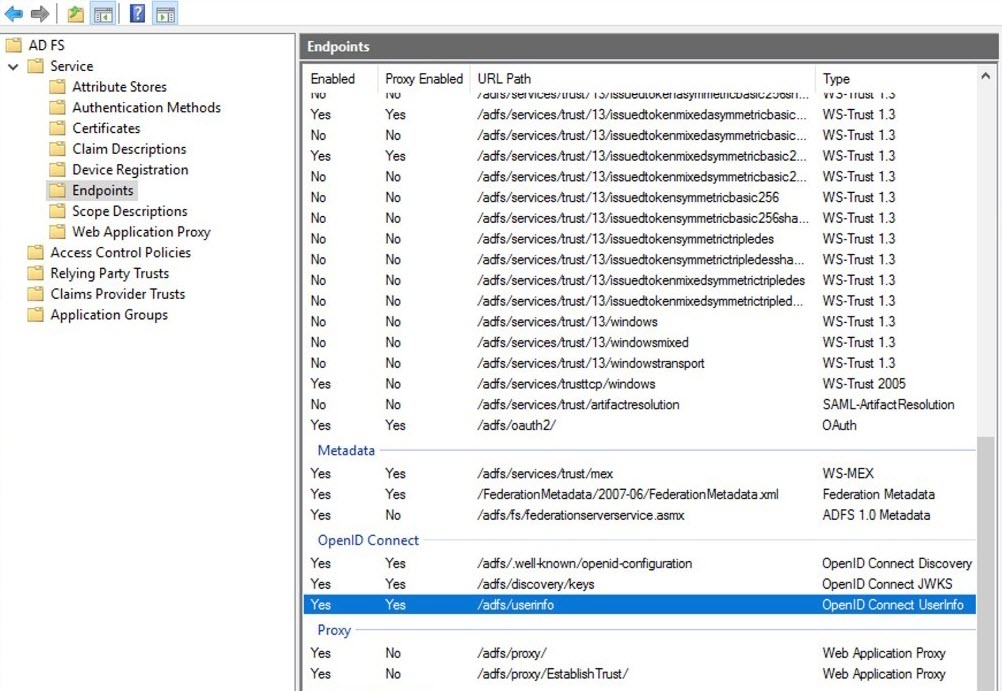
The process of registering Kiuwan as an OAuth/OICD application is straightforward.
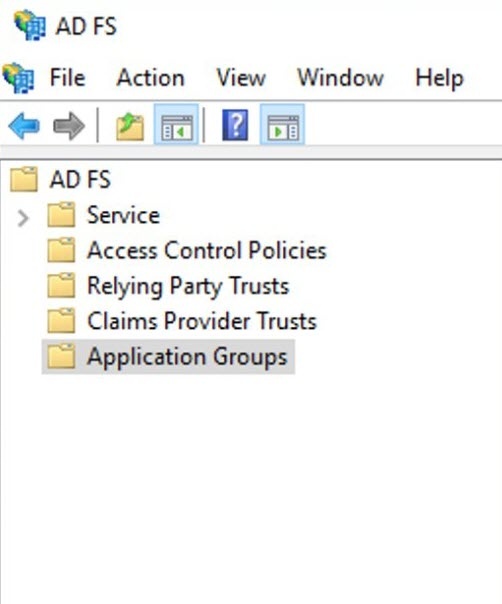
- Start ADFS Management.
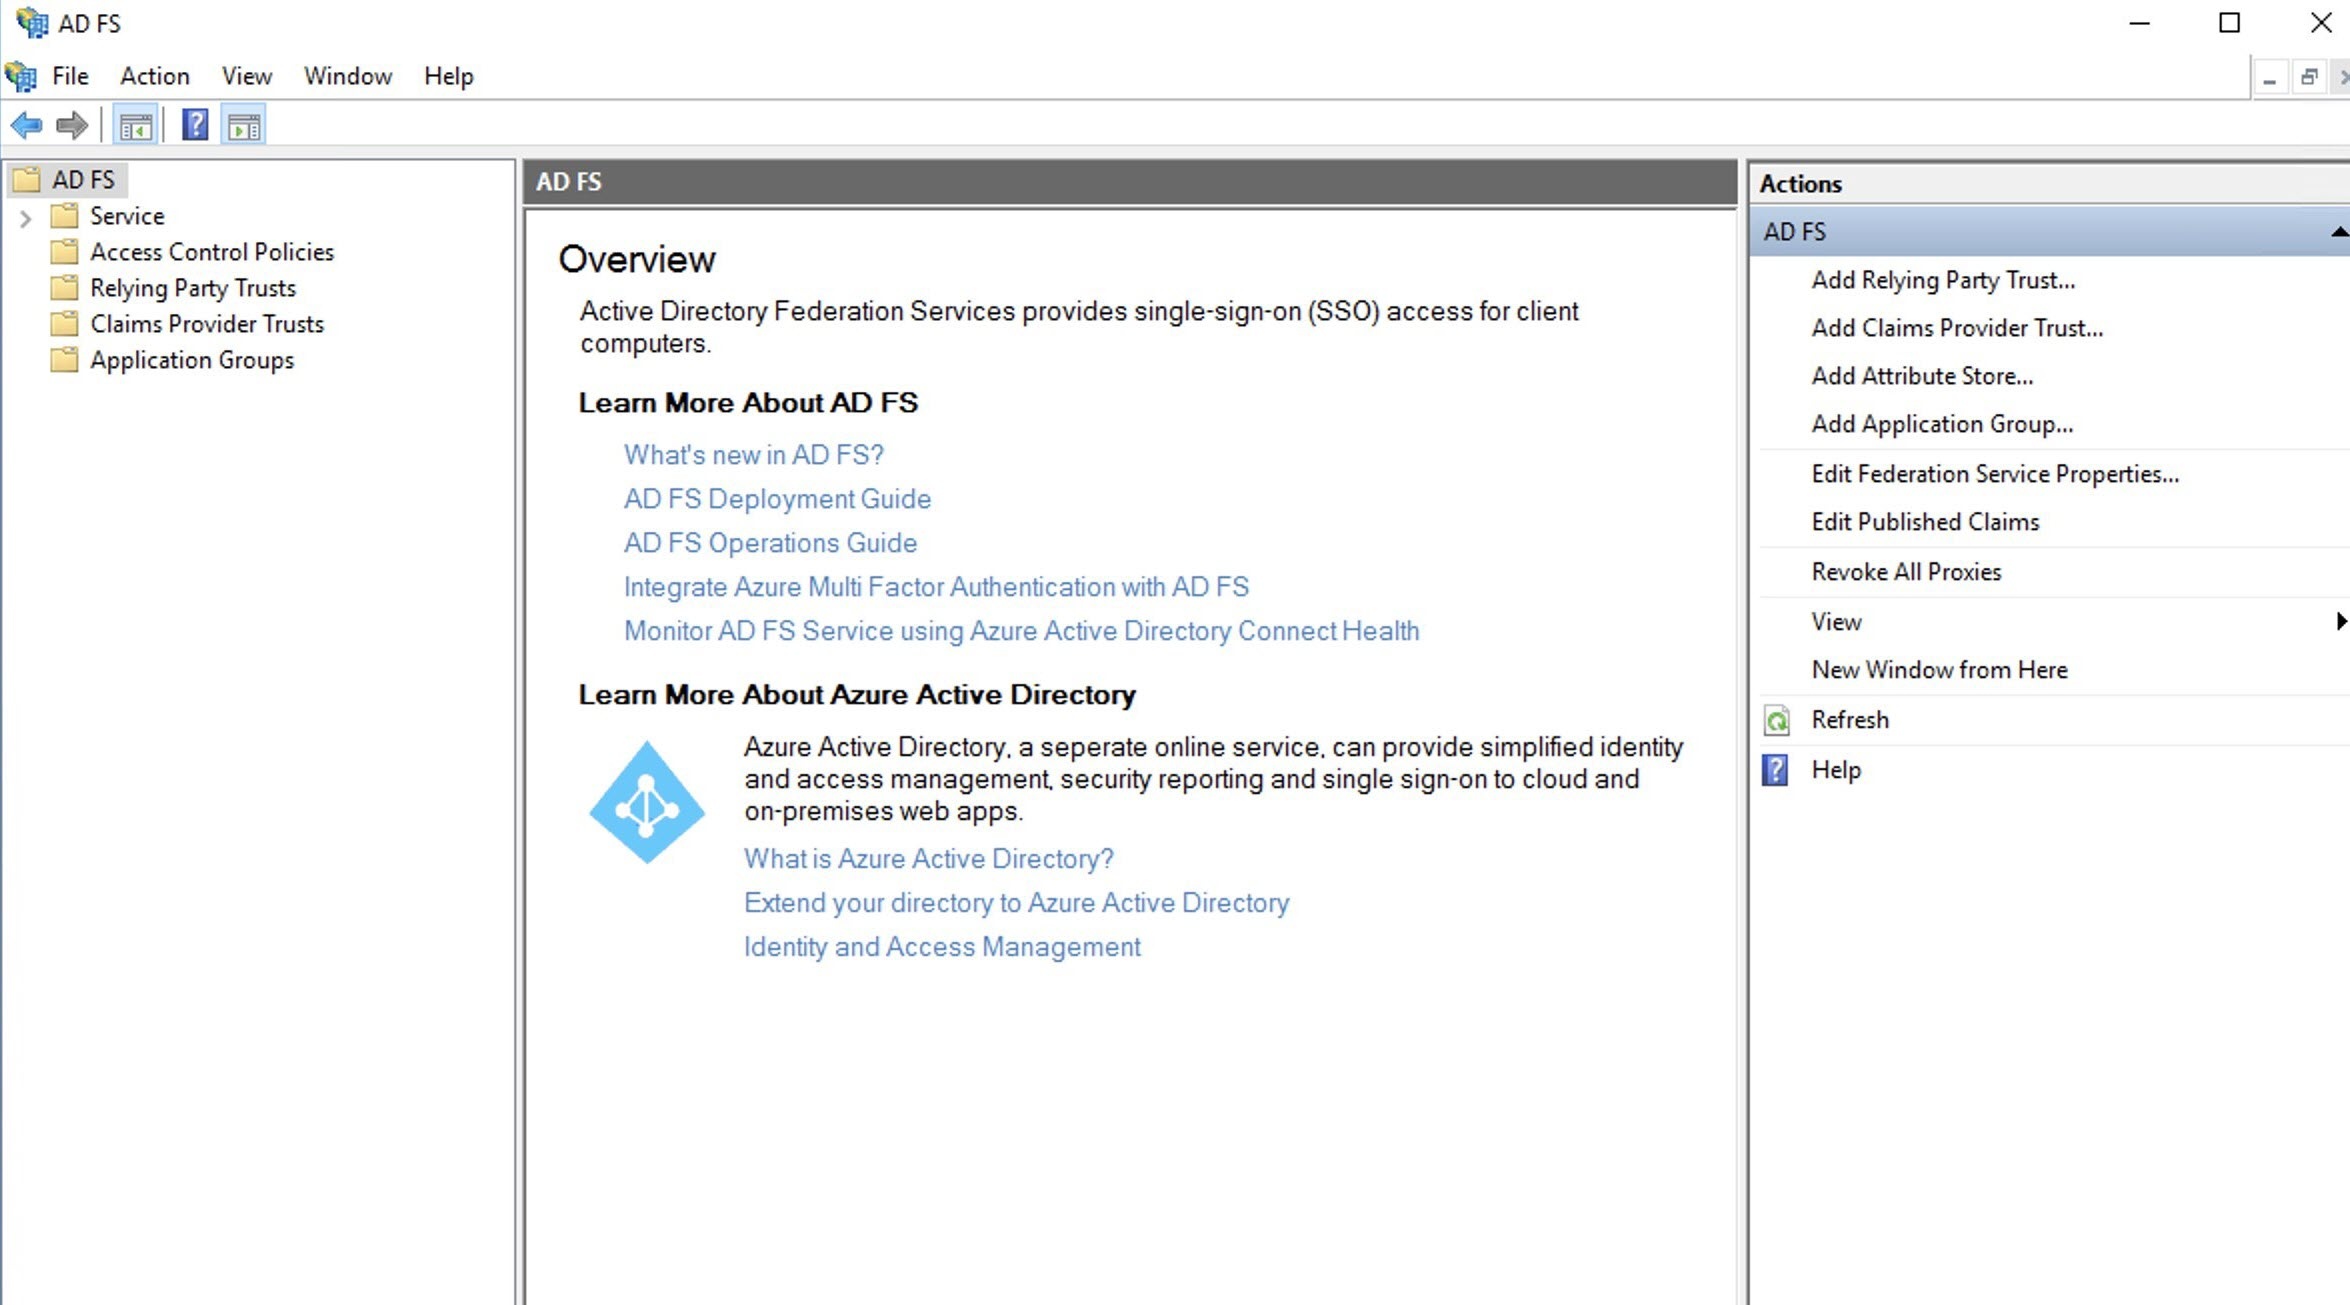
- Right-click the Application Groups folder from the left side of the window, and select Add Application Group.
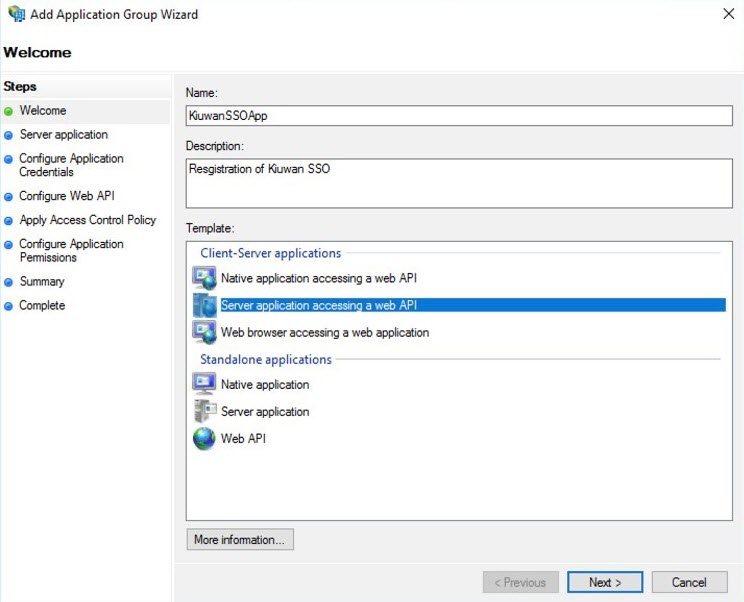
- Fill in the required Application Group Name, Description, select the option Server application accessing web API, and click Next.
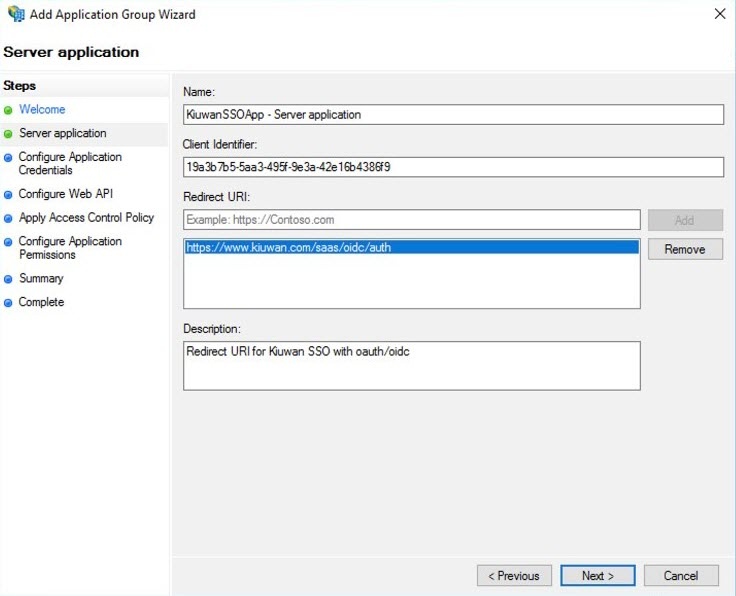
- Enter the Name of the Server Application and collect – and save in a temporary location the Client Identifier generated automatically. This information will be available for later consultation but can be copied now and pasted to the Kiuwan SSO configuration form as described in Click Next.
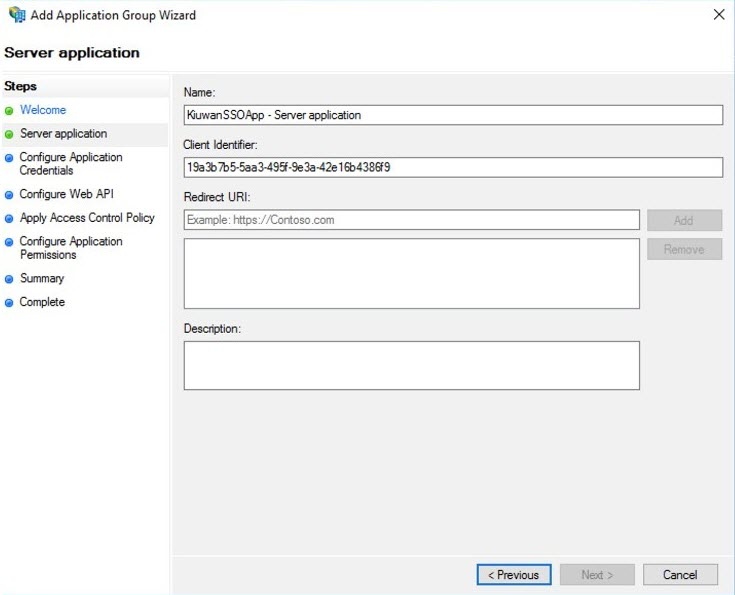
- Next, add the Kiuwan Login entry point URI as a valid URI for redirection, e.g. https://www.kiuwan.com/saas/oidc/auth or the corresponding if you are using Kiuwan On-Premises or a custom installation instead of the standard Kiuwan cloud setup. Click Next.
On the Configure Application Credentials tab, check the option Generate a shared secret, this will create the corresponding secret to be copied into the Kiuwan OAuth configuration panel, as described in Setting up Kiuwan SSO with OAuth/Open ID Connect. Click Next.

Copy the generated the shared secret for a temporary location as it will not be available again, and if needed it will need to be regenerated.
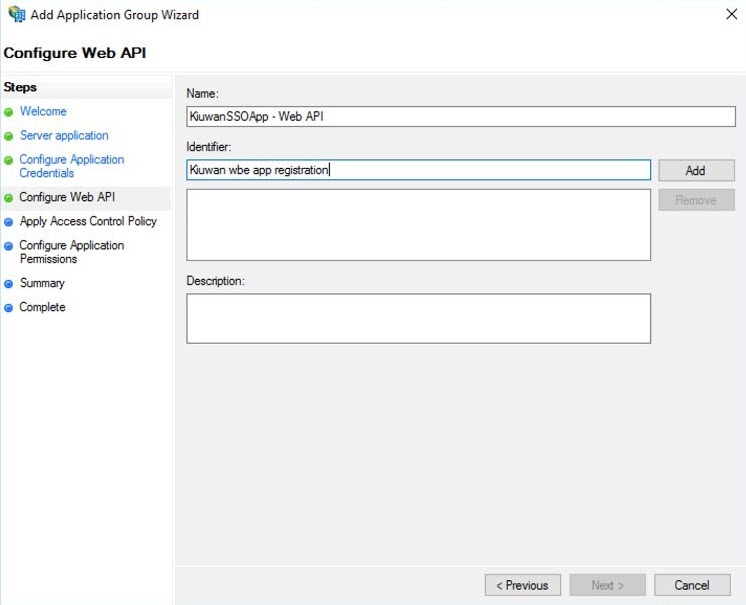
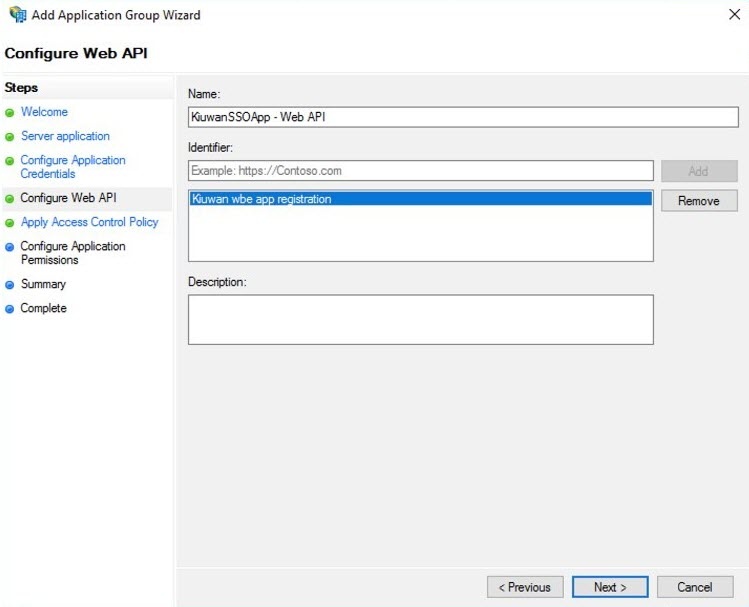
- Configure the Web API for ADFS by entering the name of the API and a description for the identifier of this Web API in ADFS. Click Next.
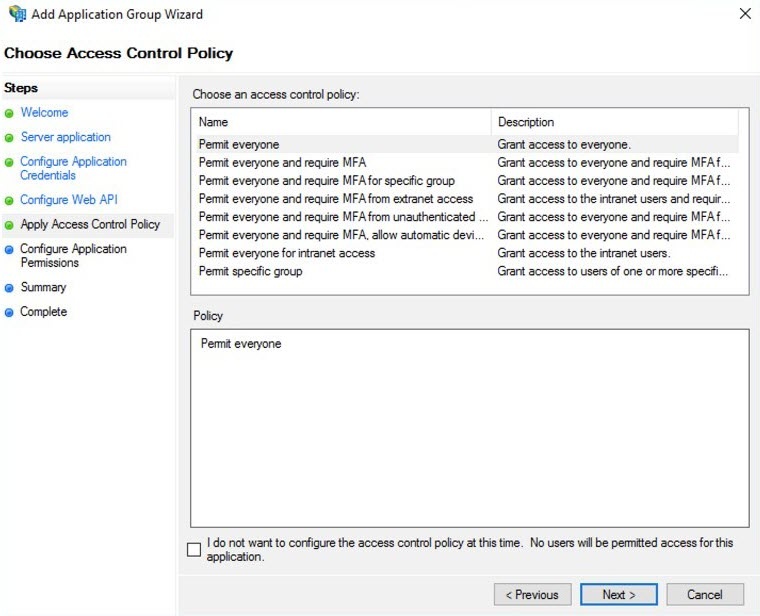
- Select the Permit Everyone option as a policy for Access Control and click Next.
- Configure Application Permissions, select OpenID and Profile as Permitted scopes. If needed or desired additional scopes can be added to the list, this configures the available information about the authenticated user to be passed to Kiuwan.
If more information is required in Kiuwan to match the ADFS user with the Kiuwan user, it is allowed to select or even define new scopes. As minimal both OpenID (default) and profile scopes are needed by Kiuwan. Click next, to confirm the summary information.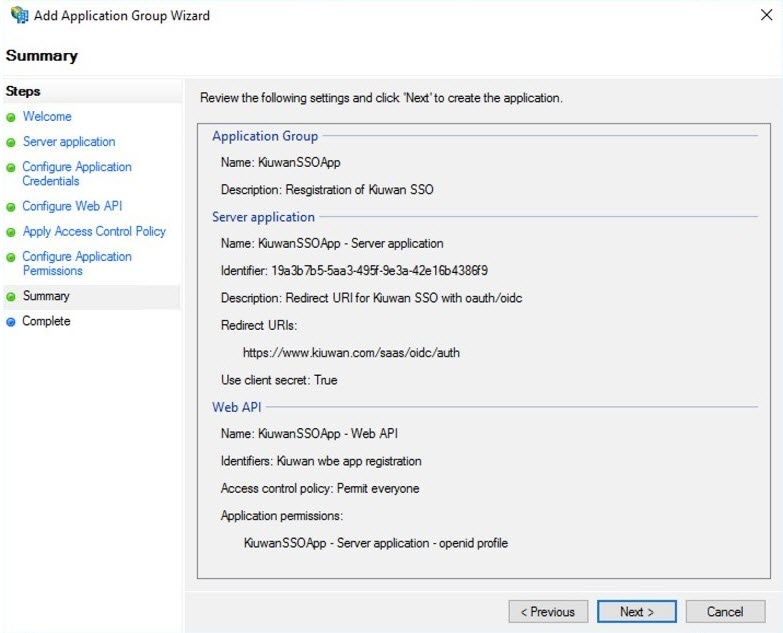
- Click Close to complete the process.
As stated, the application group and corresponding client are now configured.
Registering Kiuwan as an OAuth/OIDC client in OKTA
To use OKTA as an OAuth SSO identity provider, it is required to register Kiuwan in OKTA.
Follow these instructions to register Kiuwan in OKTA:
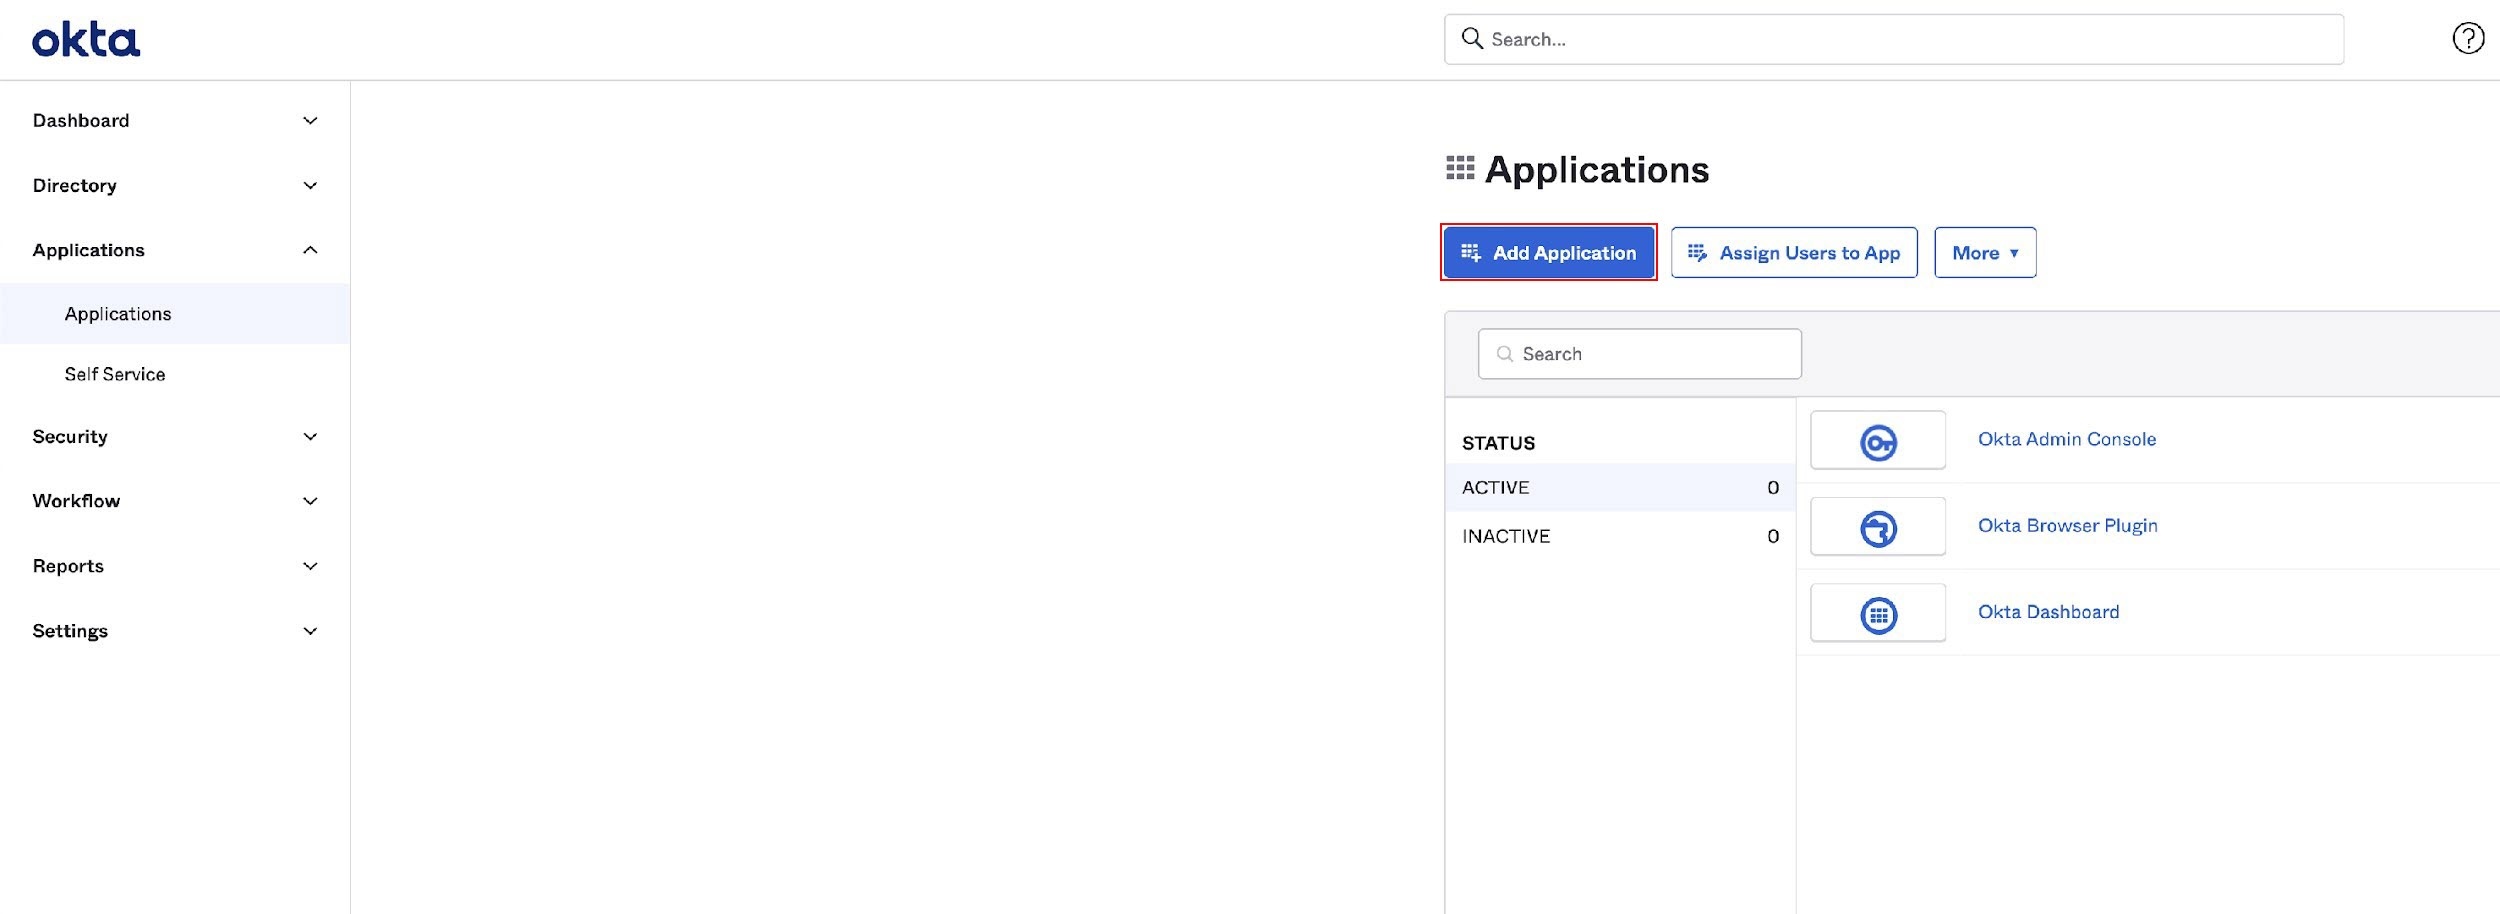
- Go to Applications and select Add Application.
- Click Create New App.

- On the Create a New Application Integration window, select Web as Platform entry and select OpenID Connect as a Sign on method. Click Create.

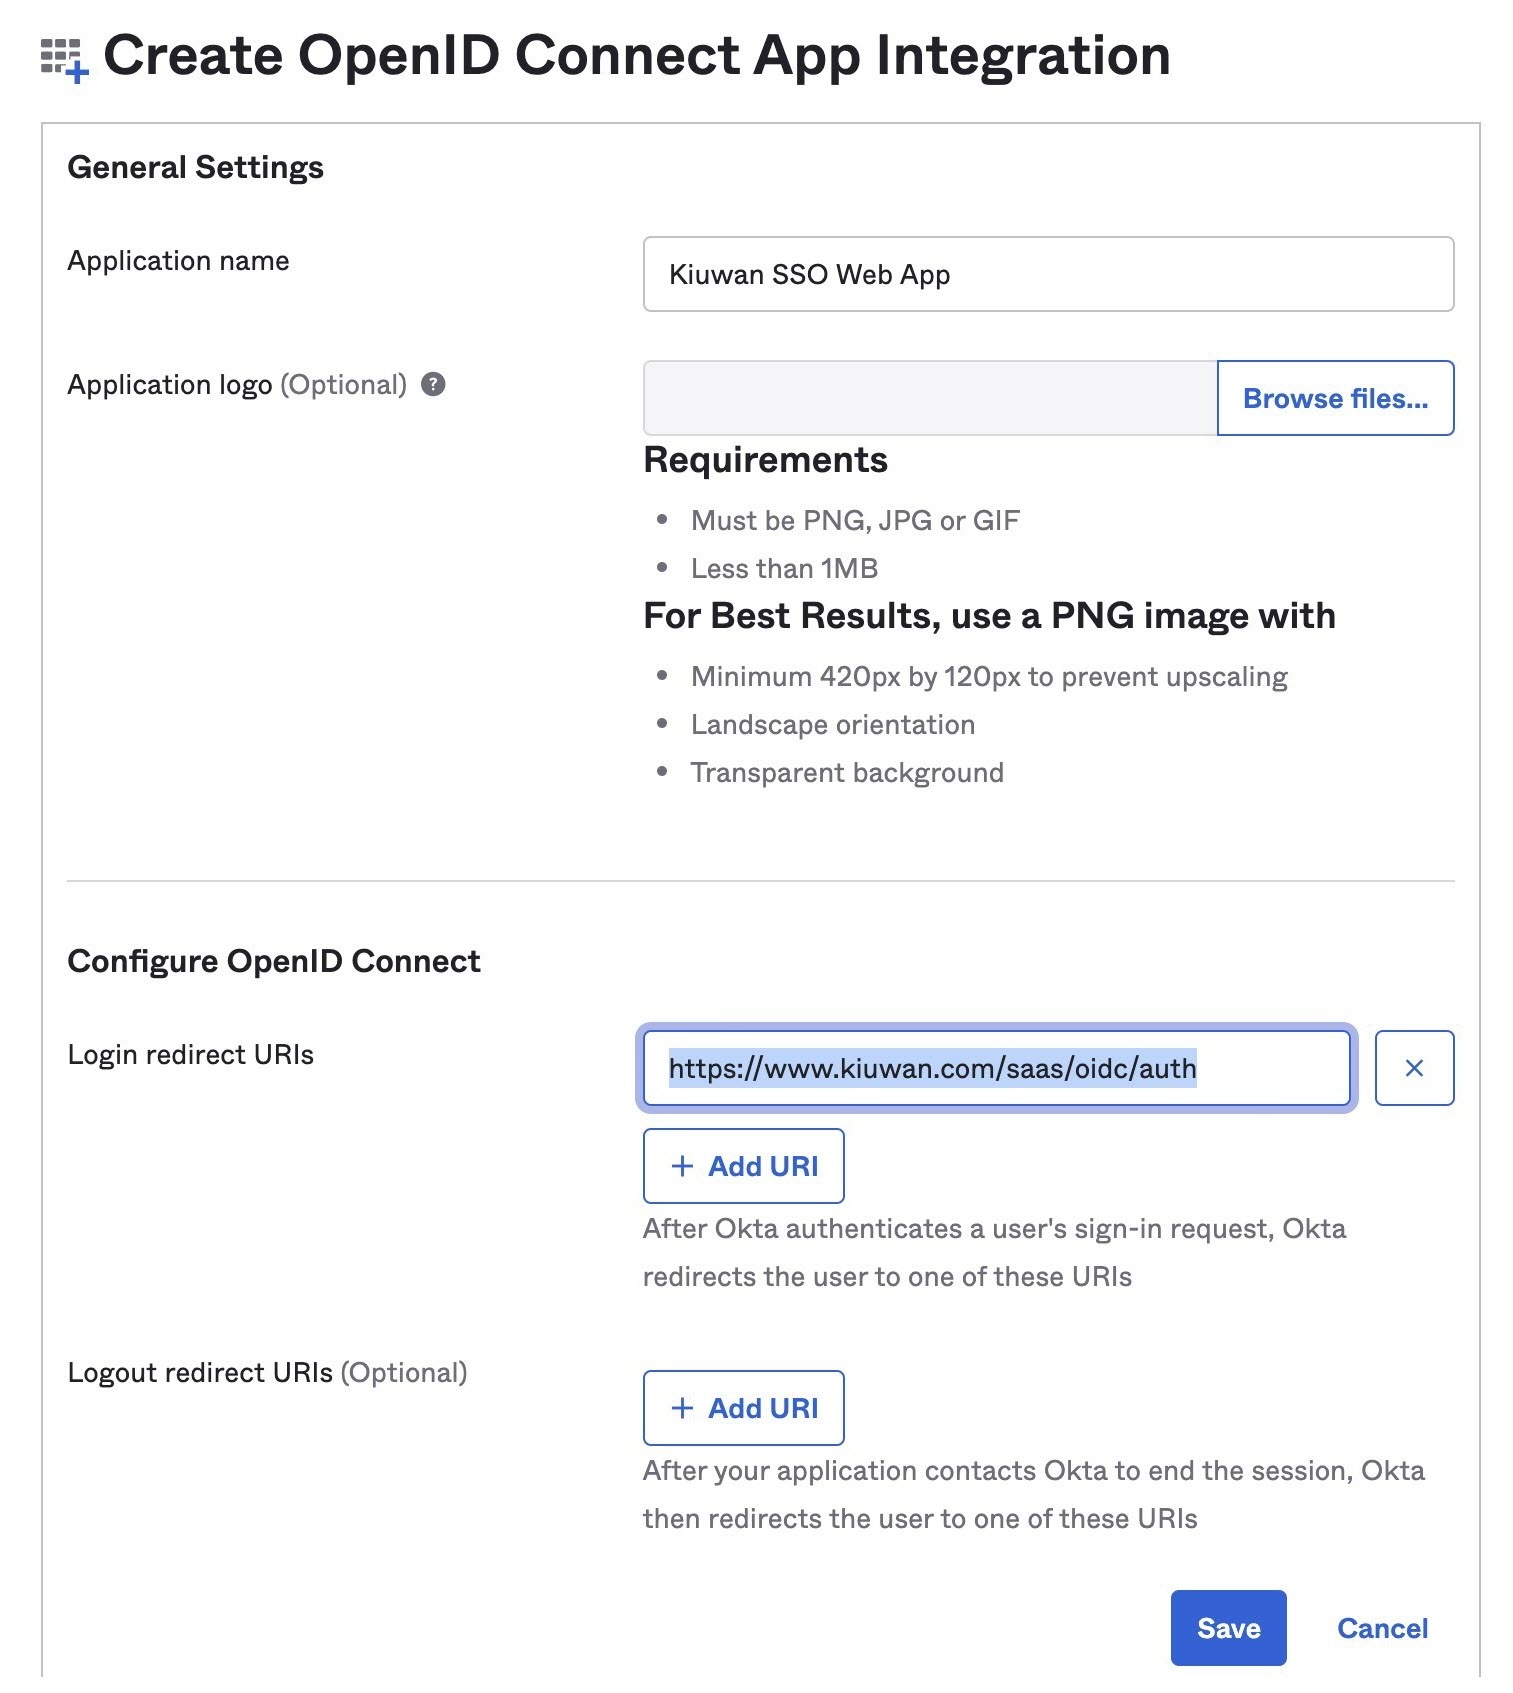
- In the following screen fill in the required information, adding https://www.kiuwan.com/saas/oidc/auth as a Redirect URI. Click Save.
- Collect the needed information to configure Kiuwan, the application ID, and client secret. Note that the latest will not be available anymore after passing the following screen:

- On the tab collect the issuer URI needed for configuring Kiuwan.
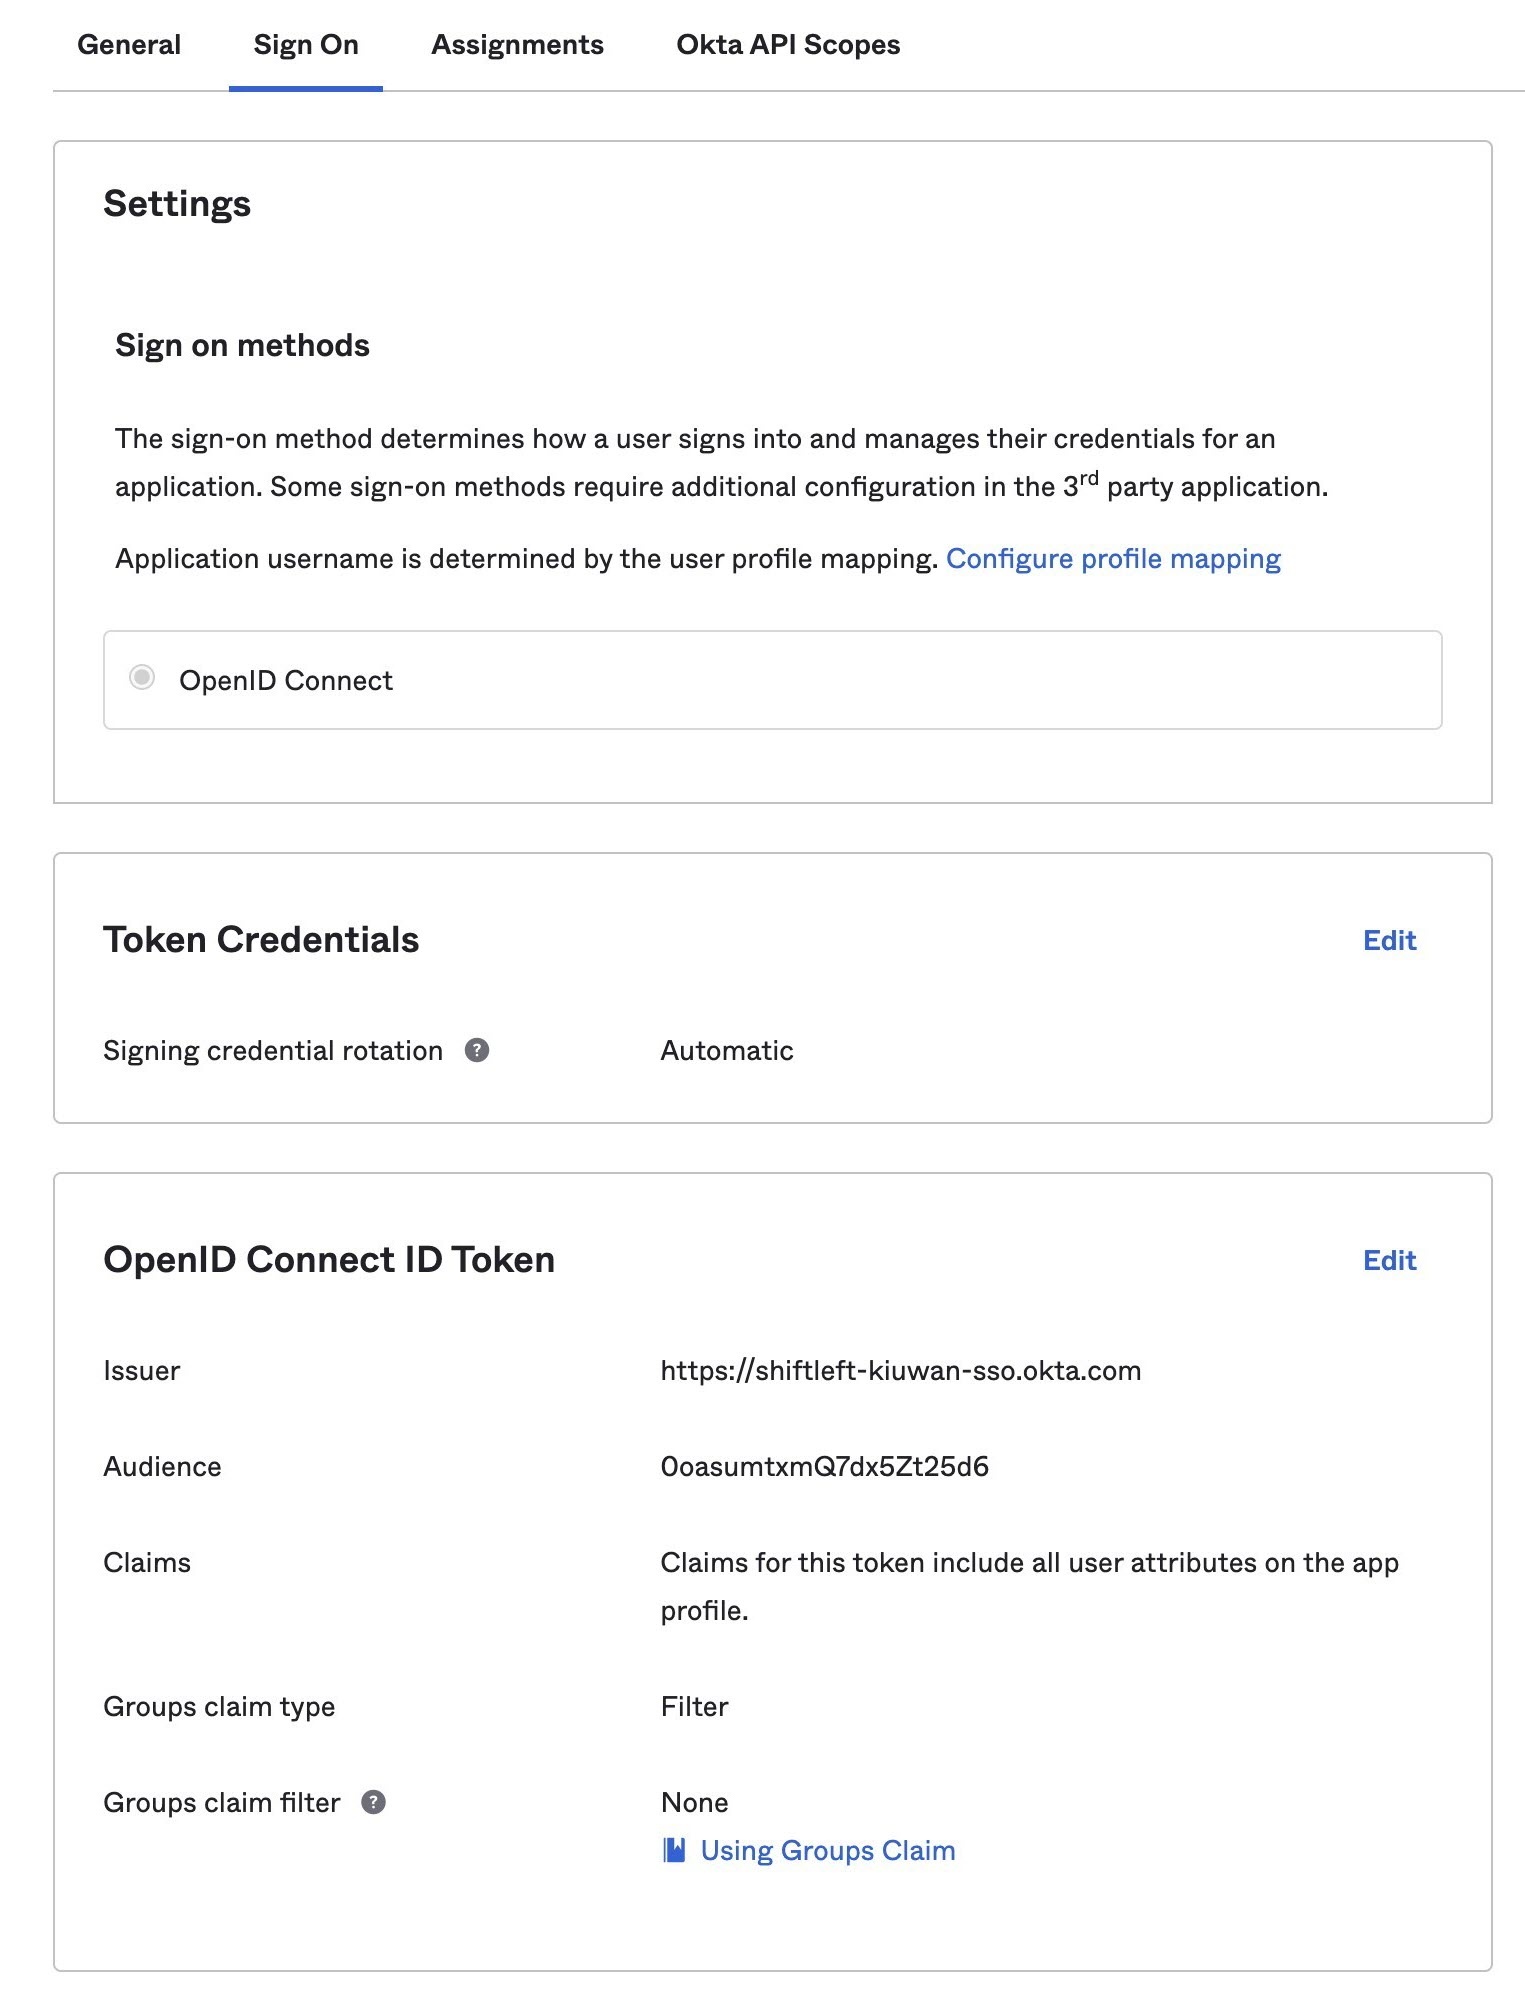
OKTA allows for additional configuration and provides extensive support, make sure you tailor the configuration to your needs.
Setting up Kiuwan SSO with OAuth/Open ID Connect
To set up Kiuwan SSO with OAuth/OpenID connect follow these instructions:
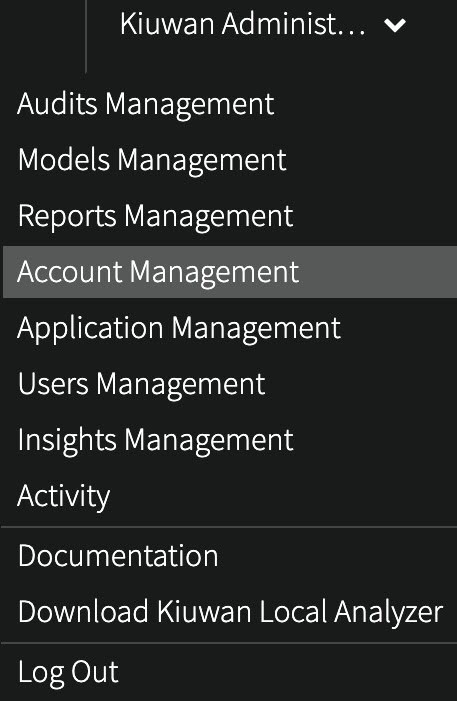
- As Account Administrator open the Account Management section:
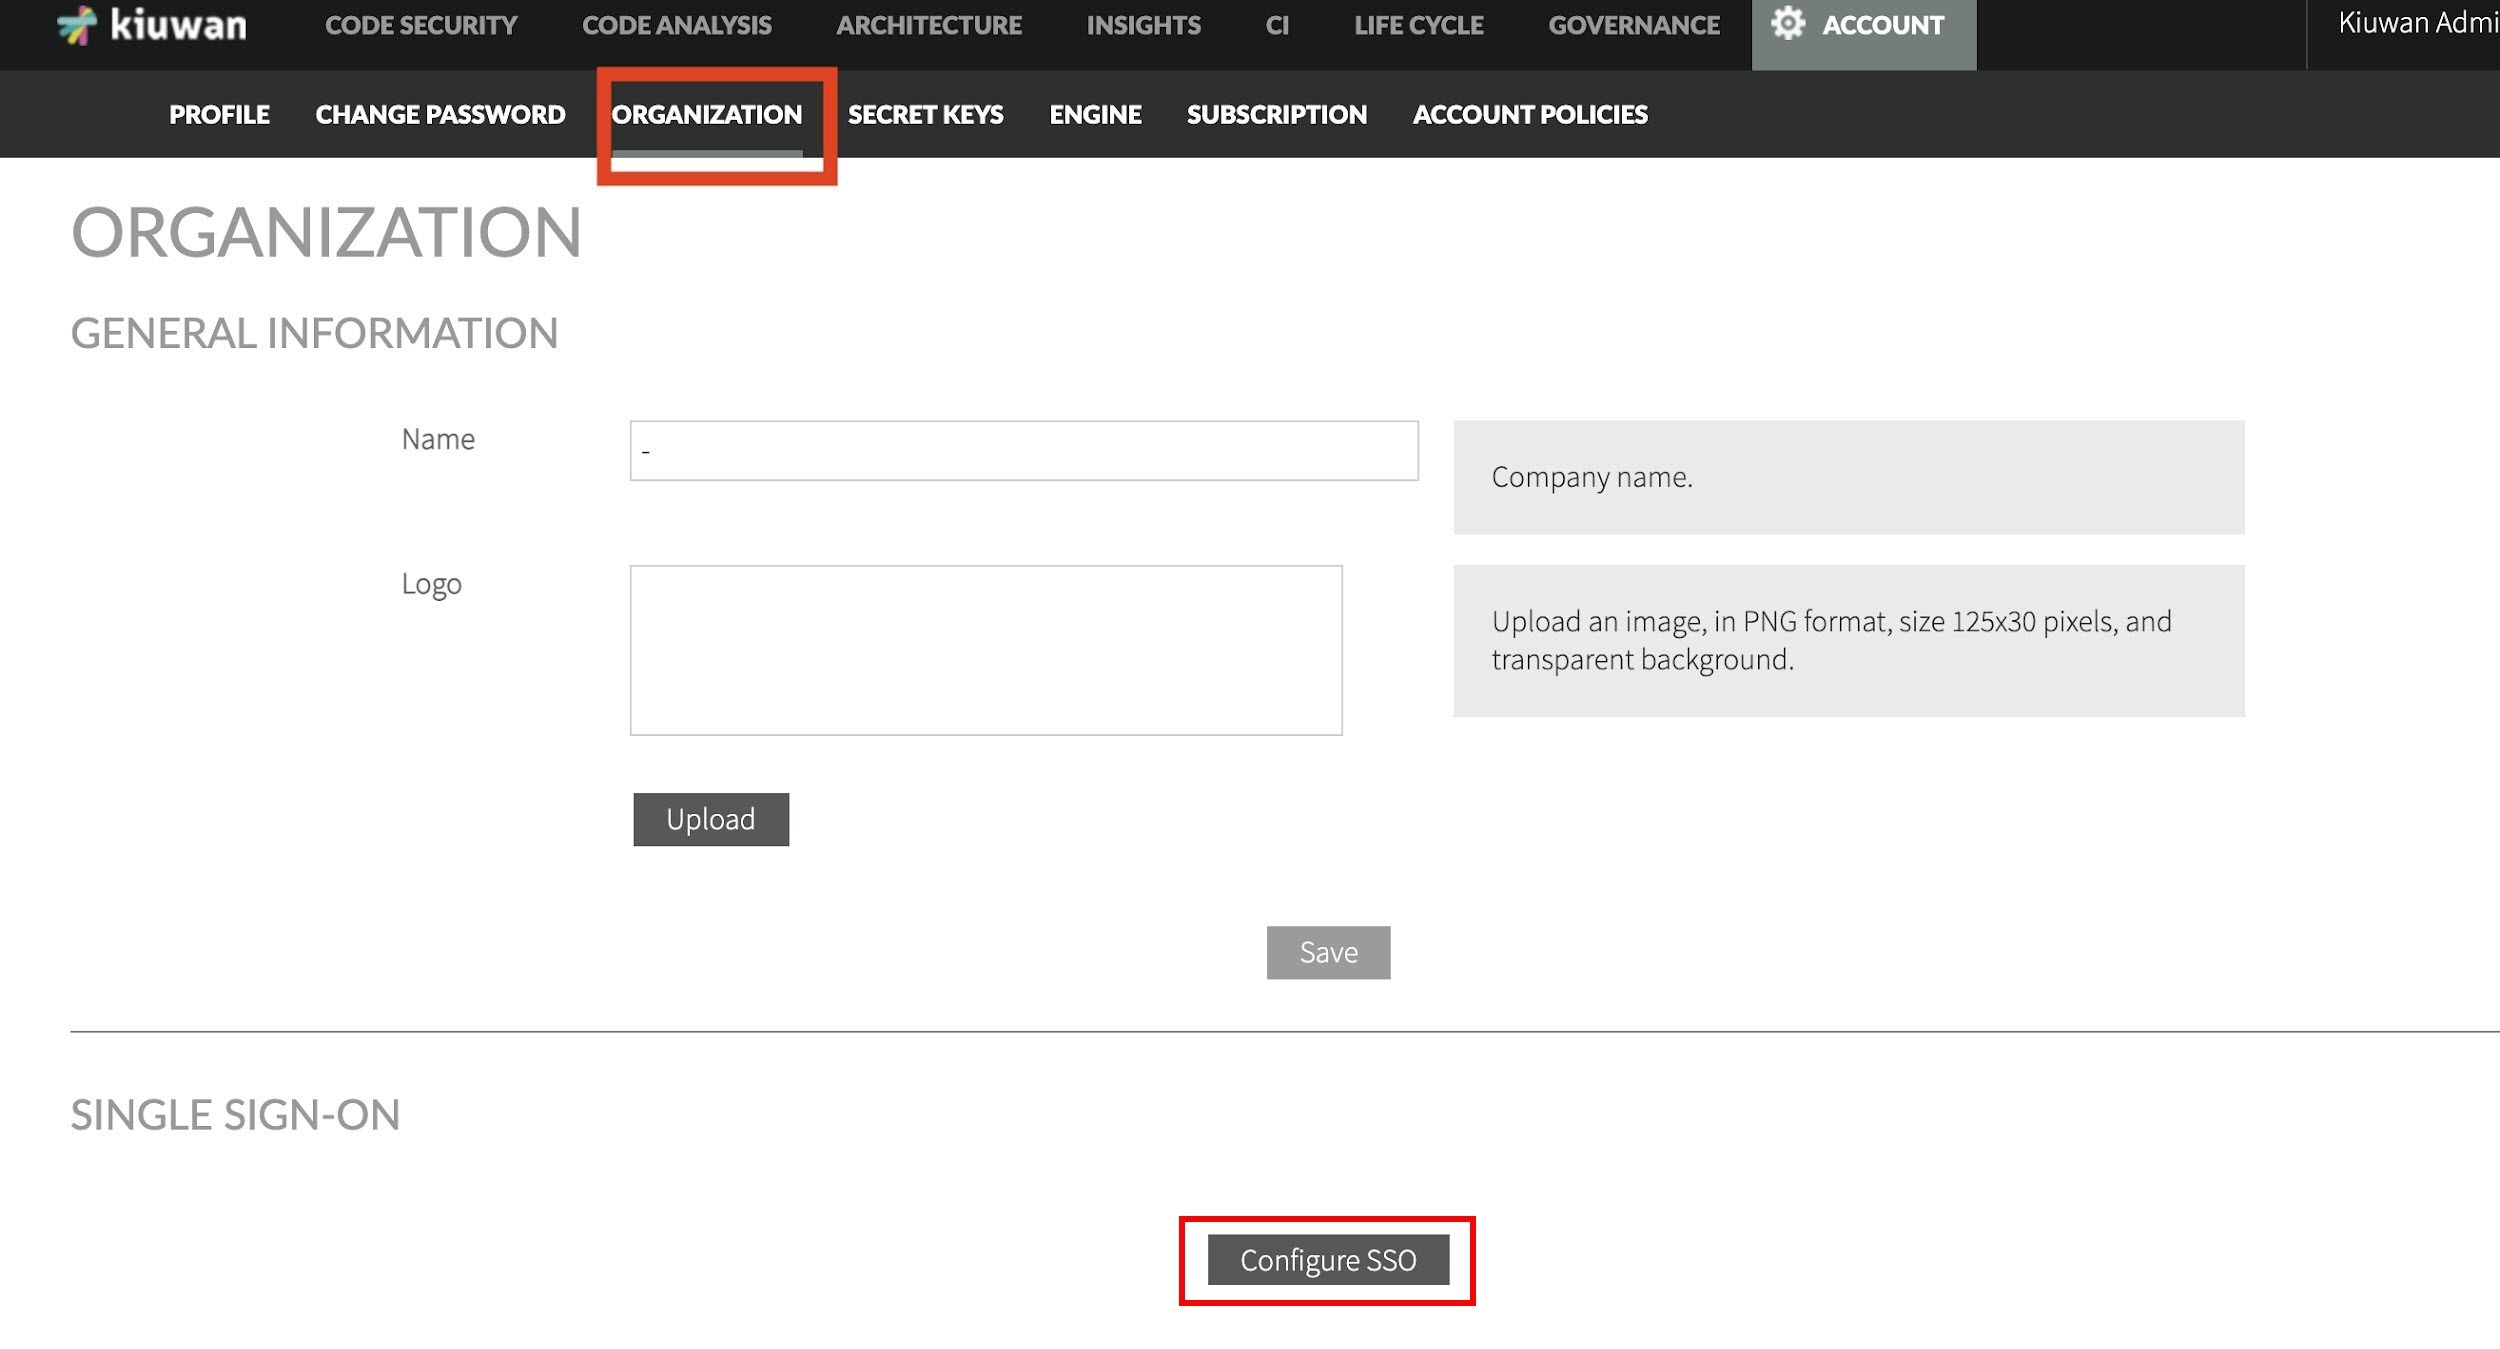
- In the Organization tab select Configure SSO option.
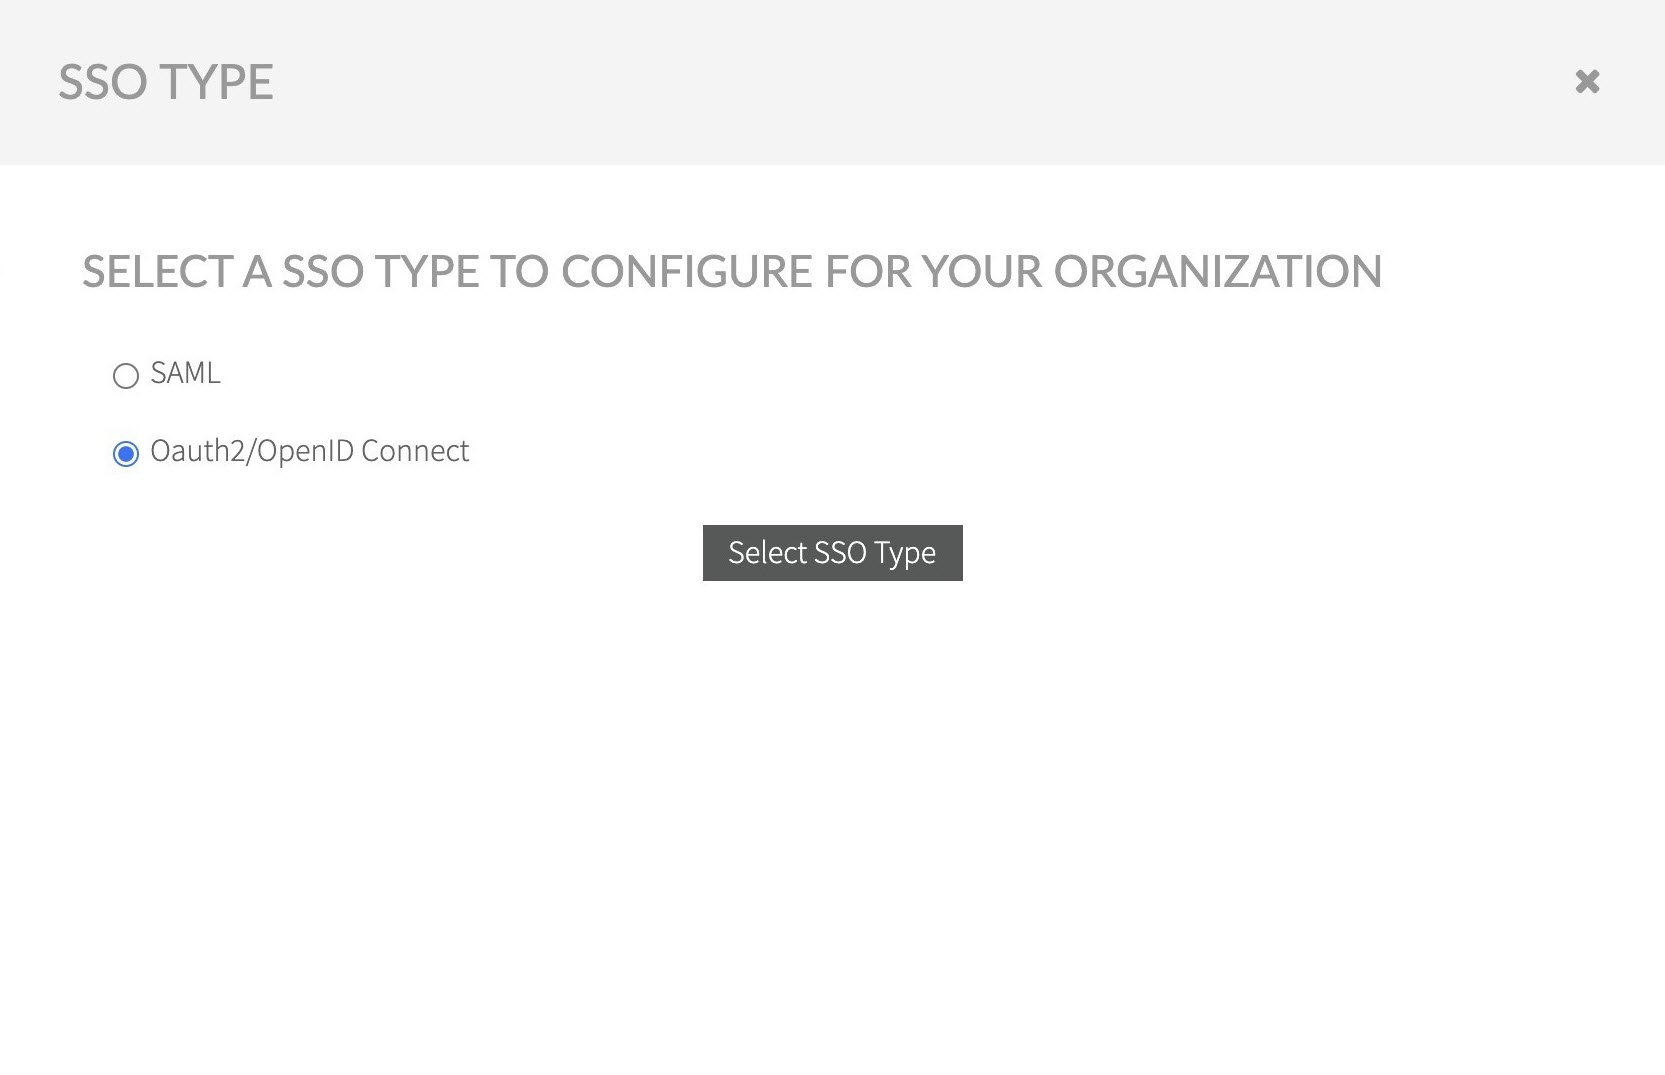
Select OAuth2/OpenID Connect option and confirm.
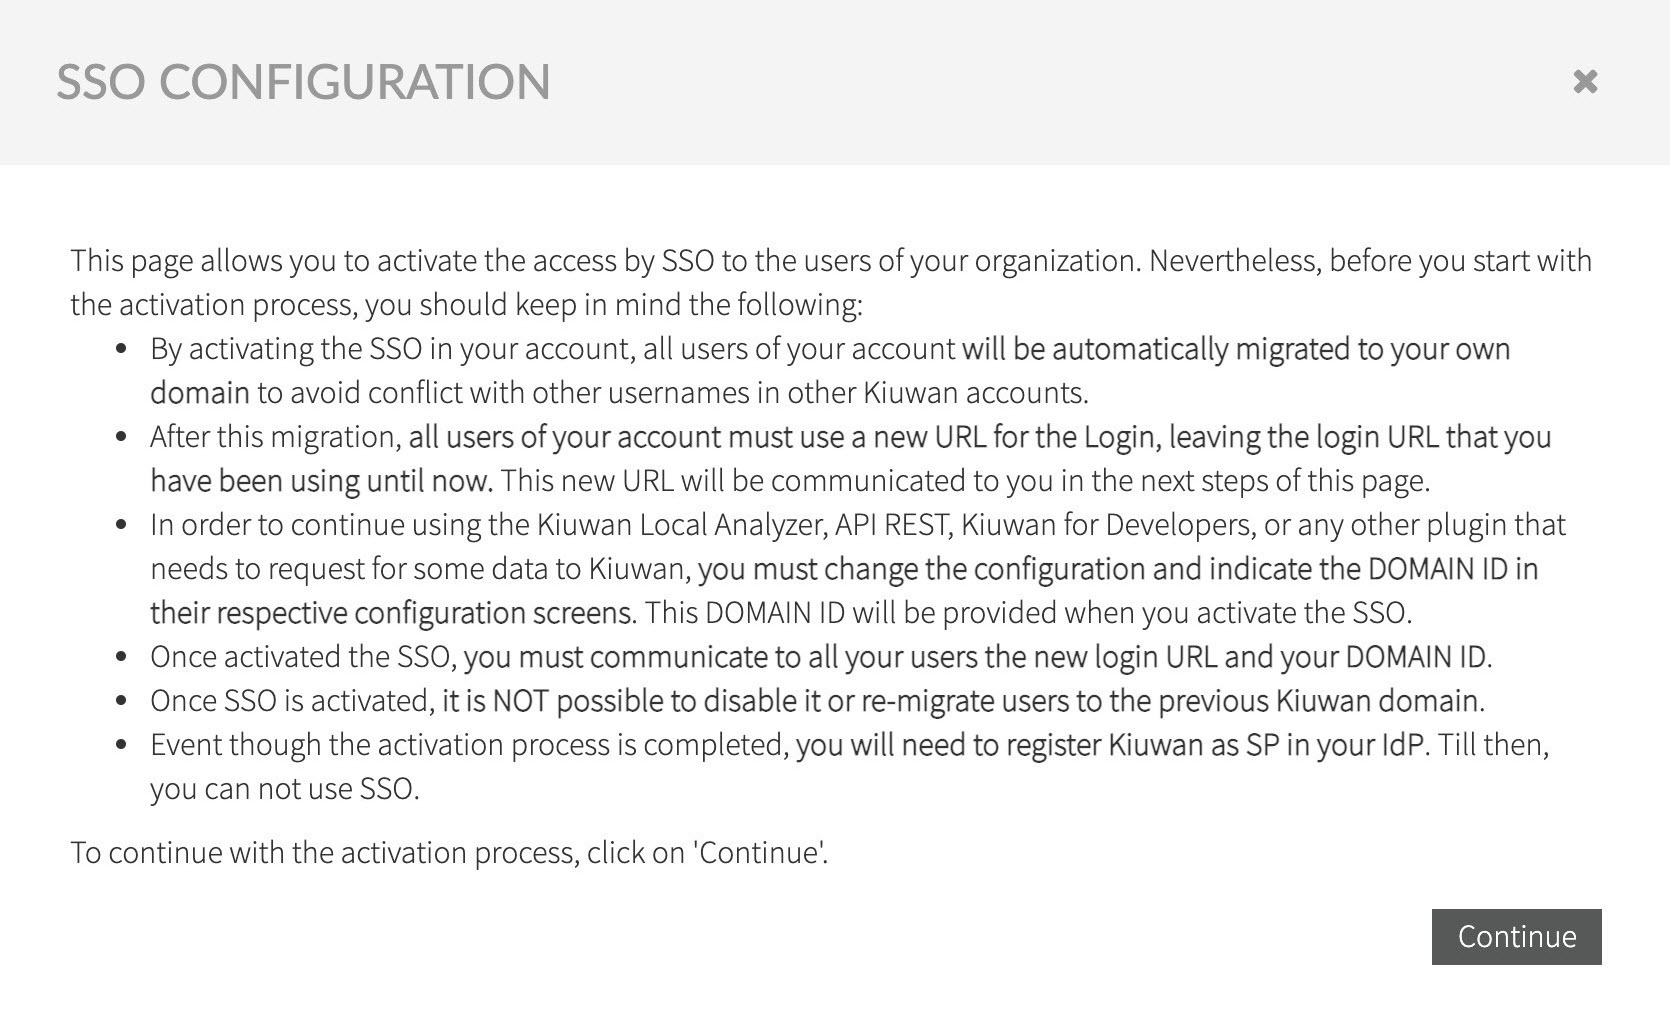
Read the following text explaining the implications when activating SSO, click Continue to proceed to the OAuth2/OpenID Connect setup.
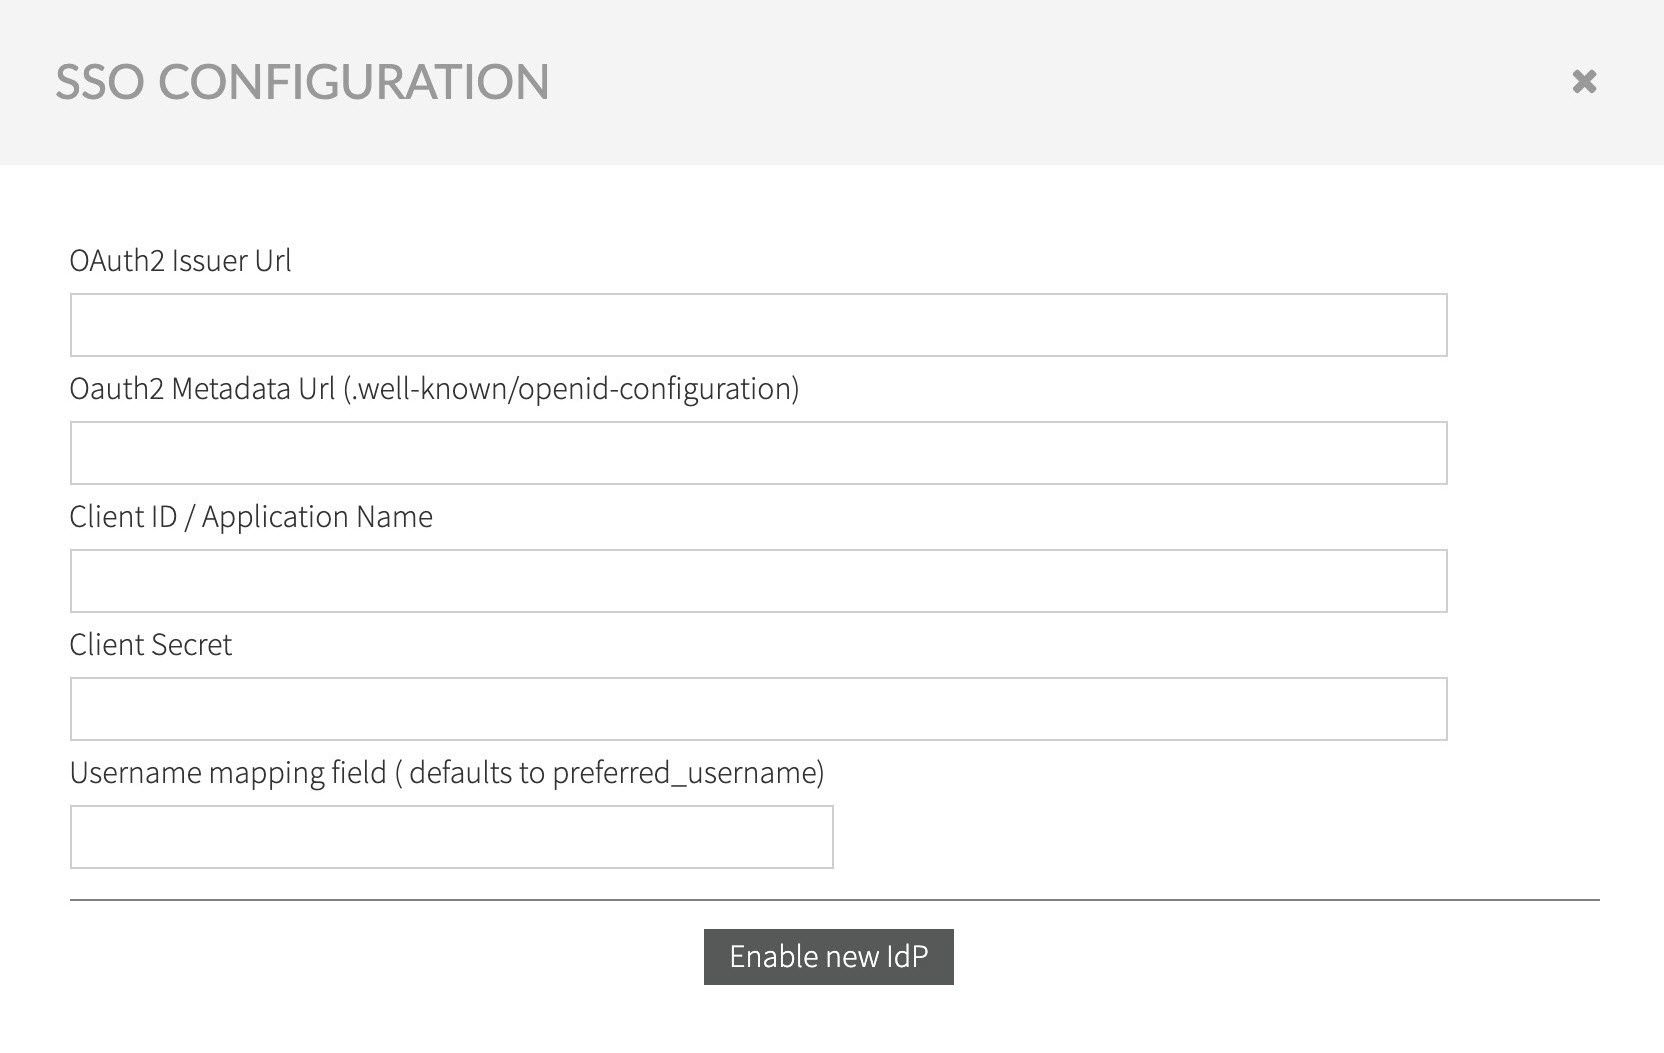
Fill in the information, as gathered during Configuring OpenID Provider, and confirm entered data by selecting Enable new IdP.
After confirming the SSO data, a new email is sent with the activation confirmation code, alongside the instructions explaining how to log in to Kiuwan after the SSO is activated.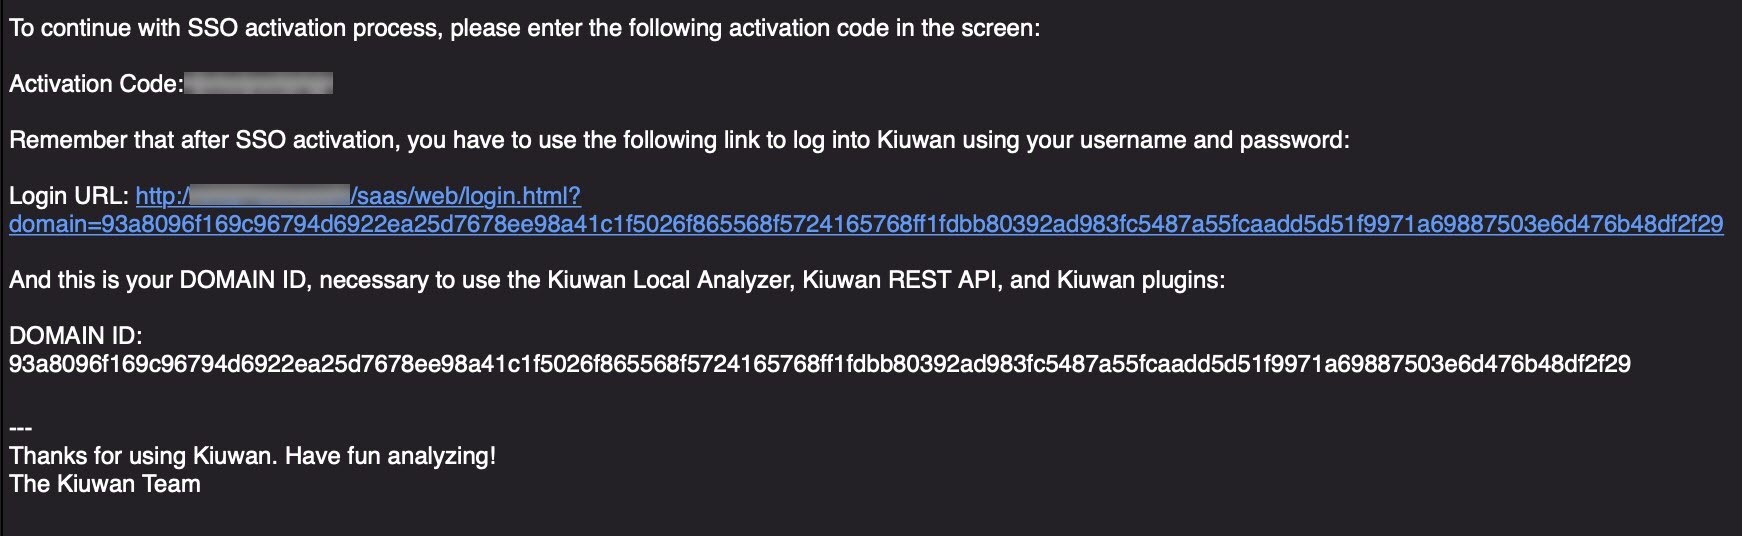
Copy the confirmation code and enter it in the confirmation form.
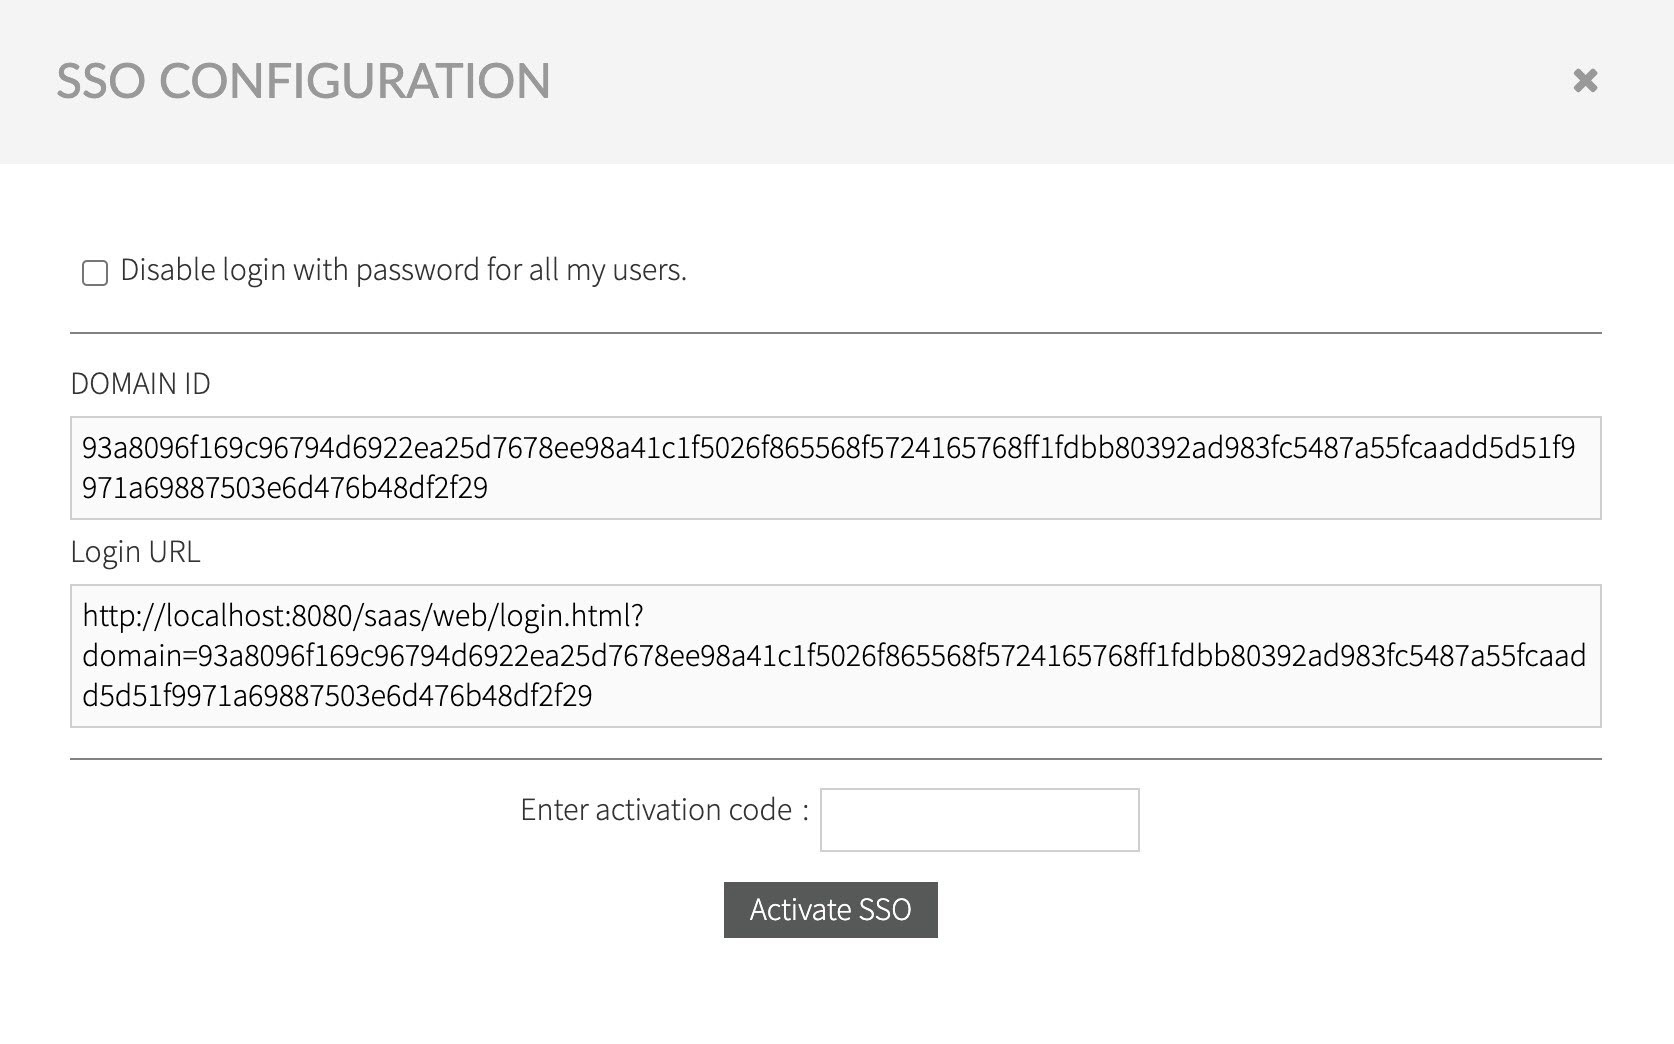
When the option Disable Login with password for all my users is checked, it prevents any user registered in your account, with the exception of Account Owner user, to be able to login using Kiuwan managed identity username/password.
Users will be able to log in only through defined OAuth/OIDC server authentication.
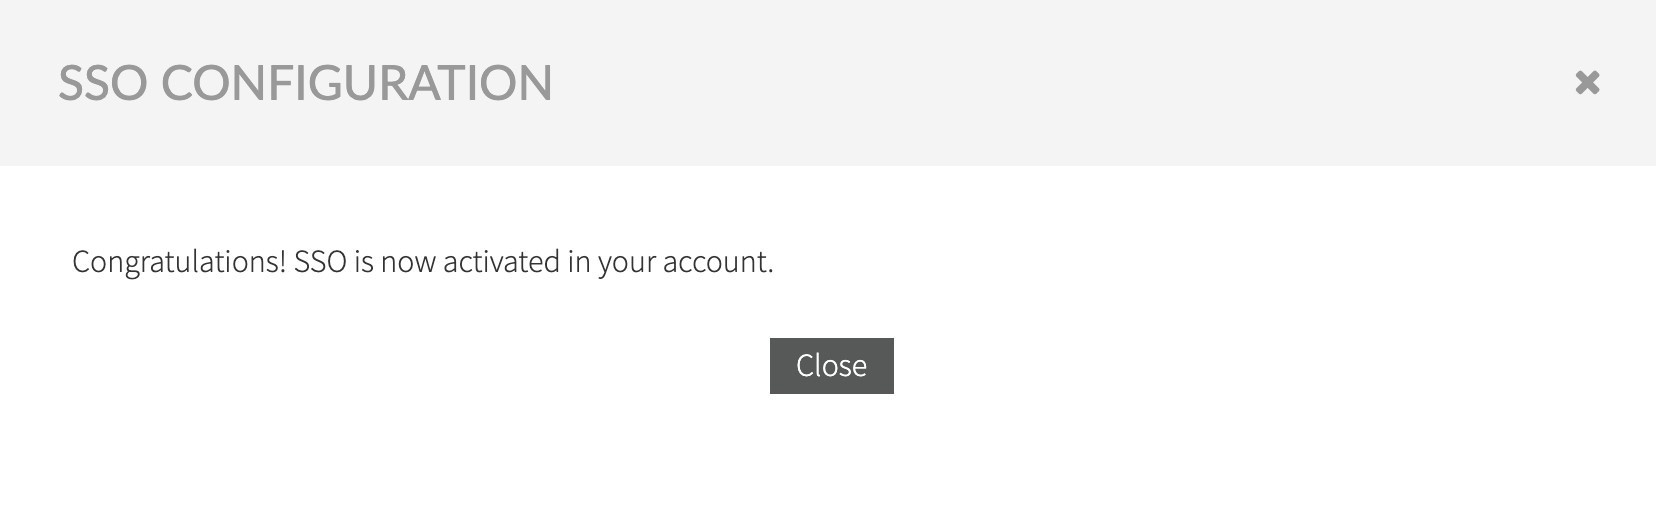
After entering the activation code a confirm the activation of SSO, the following confirmation dialogue displays:
Login to Kiuwan after OAuth SSO is activated
As explained in the confirmation email received during the configuration process, and as shown, after SSO setup in the Organization tab in the Account Management section, after SSO is completed the login must comply with the following URL:
https://<kiuwan.server.url>/saas/login?domain=<the.created.domain>&sso=on
This link opens the following page, click login to redirect the user to the configured authentication page at the OAuth/OIDC identity management system.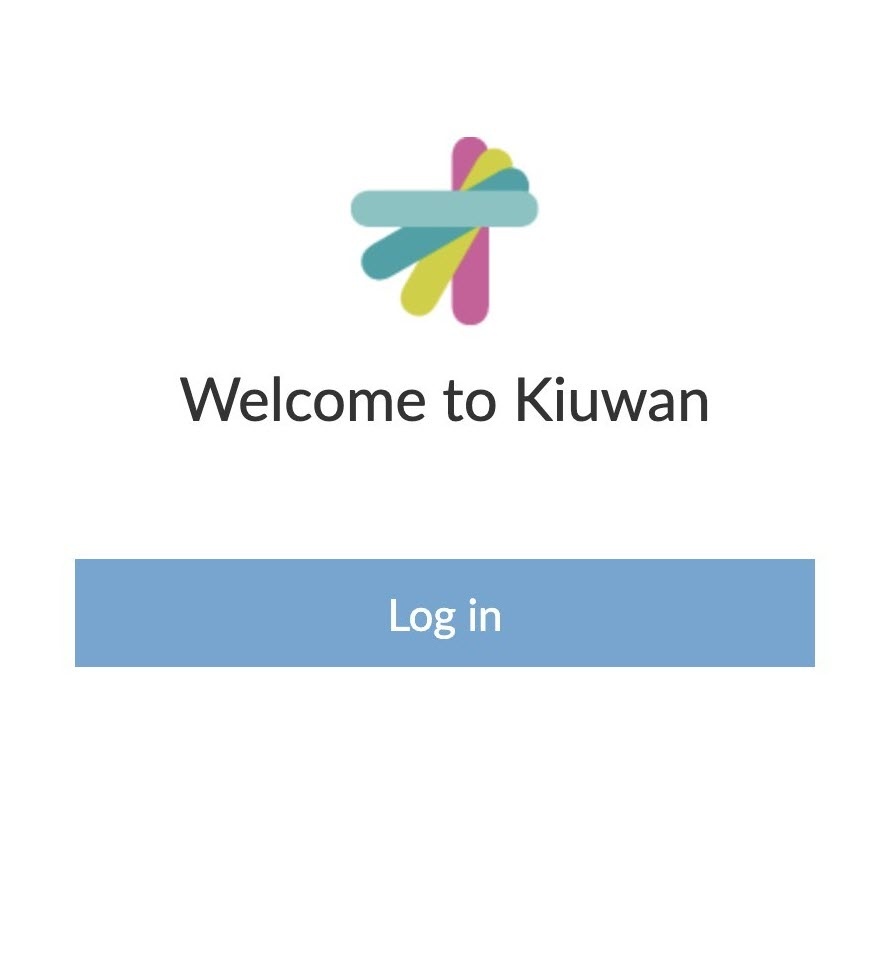
Successful authentication will enable access to Kiuwan, with the corresponding authorization configured for the logged-in user.
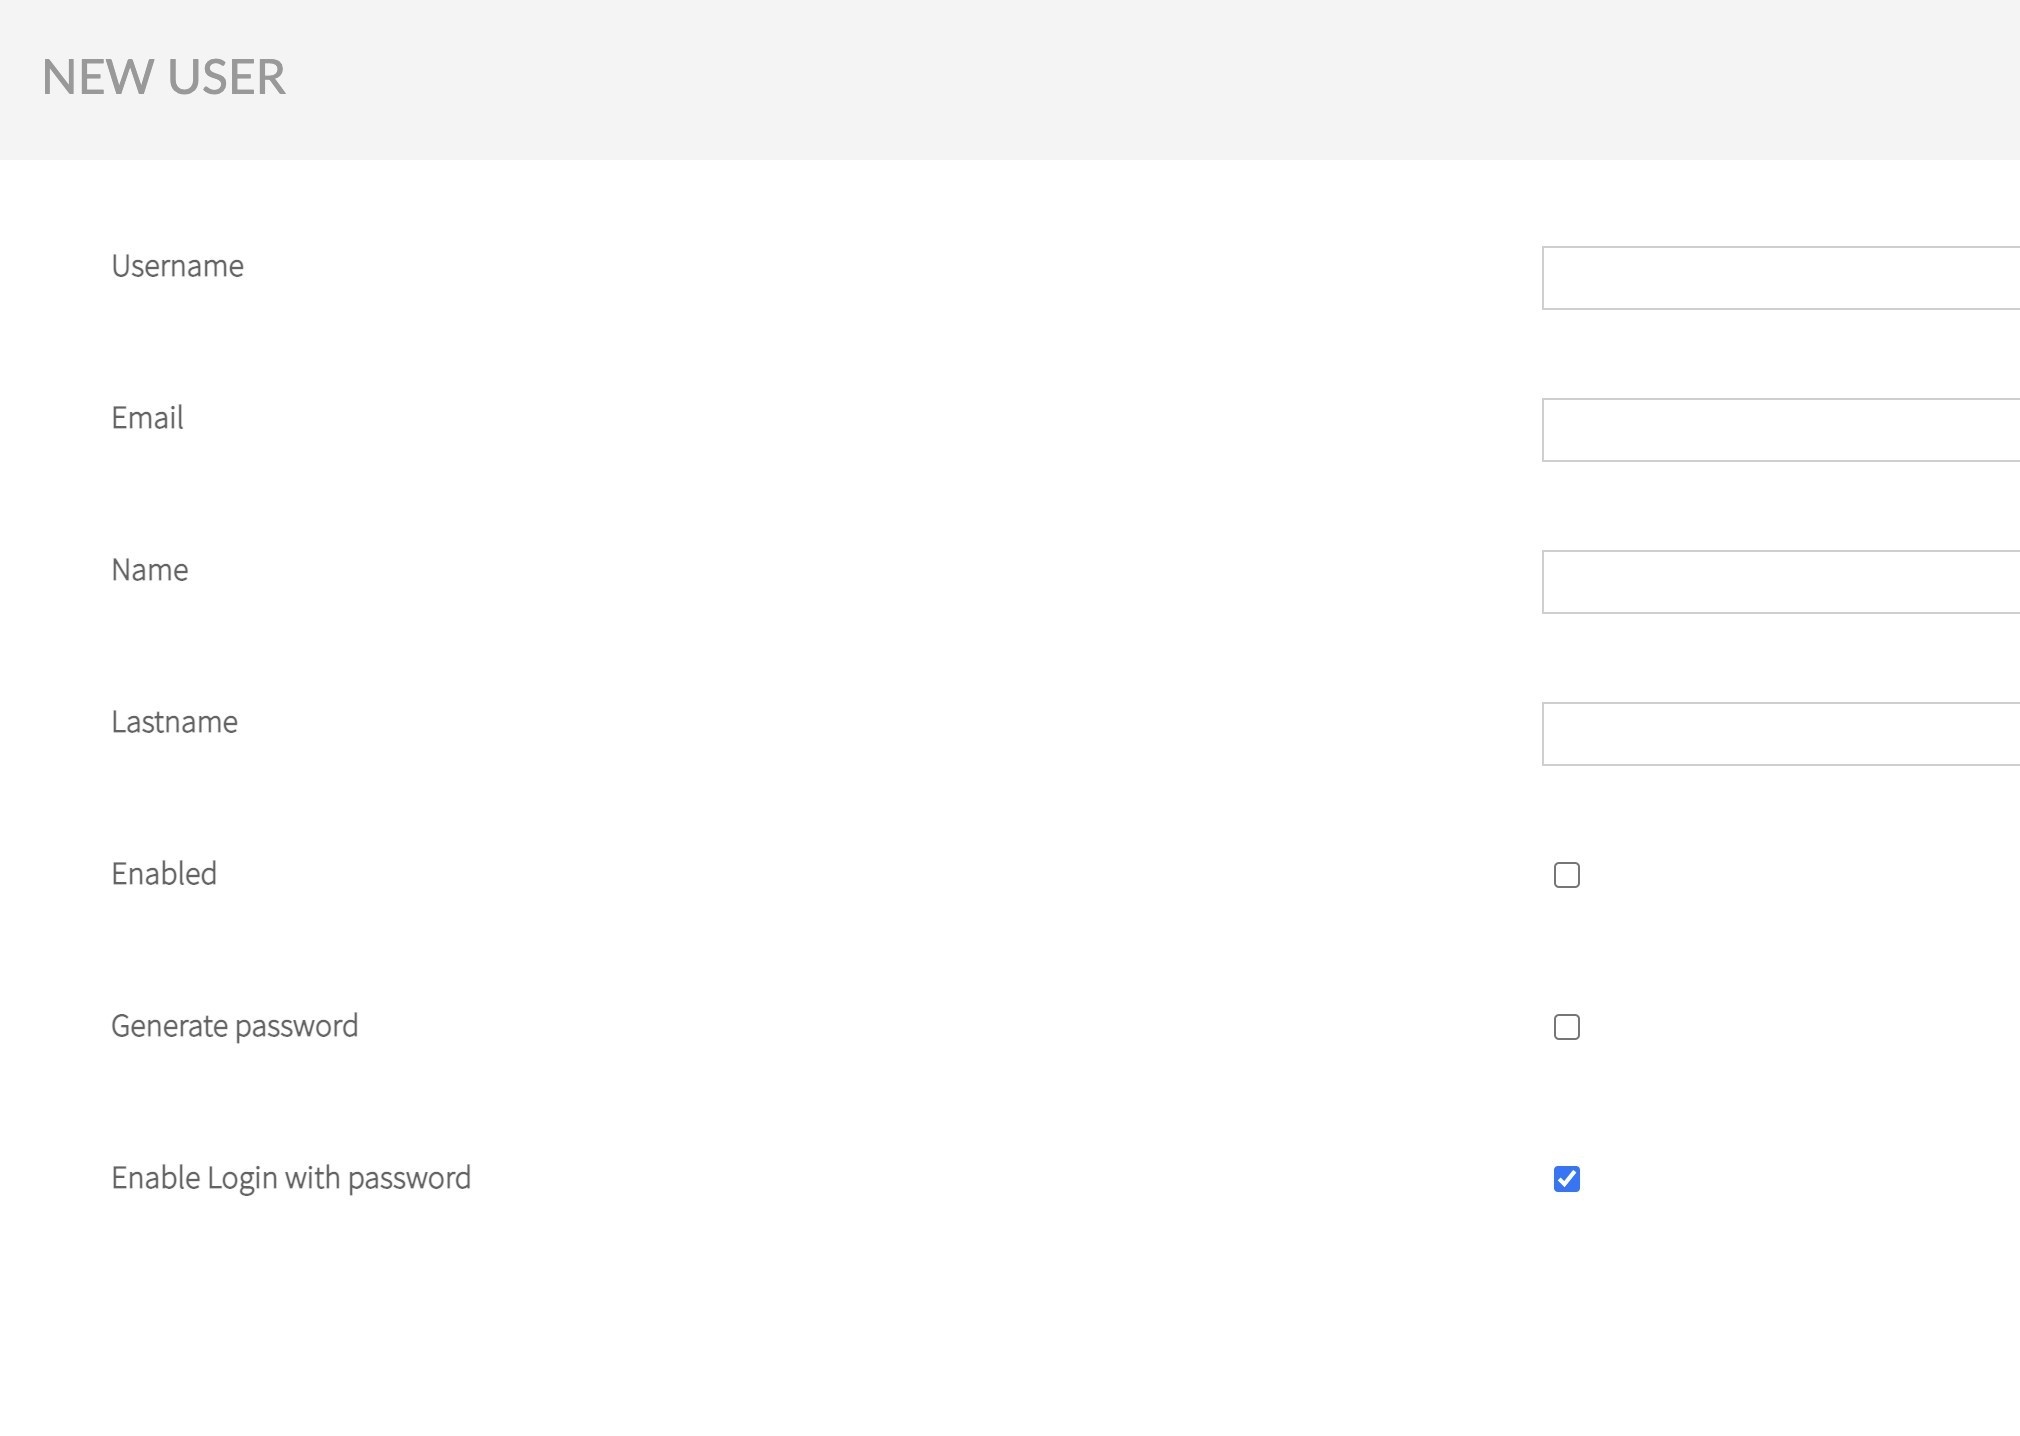
Login in with Kiuwan defined username and password
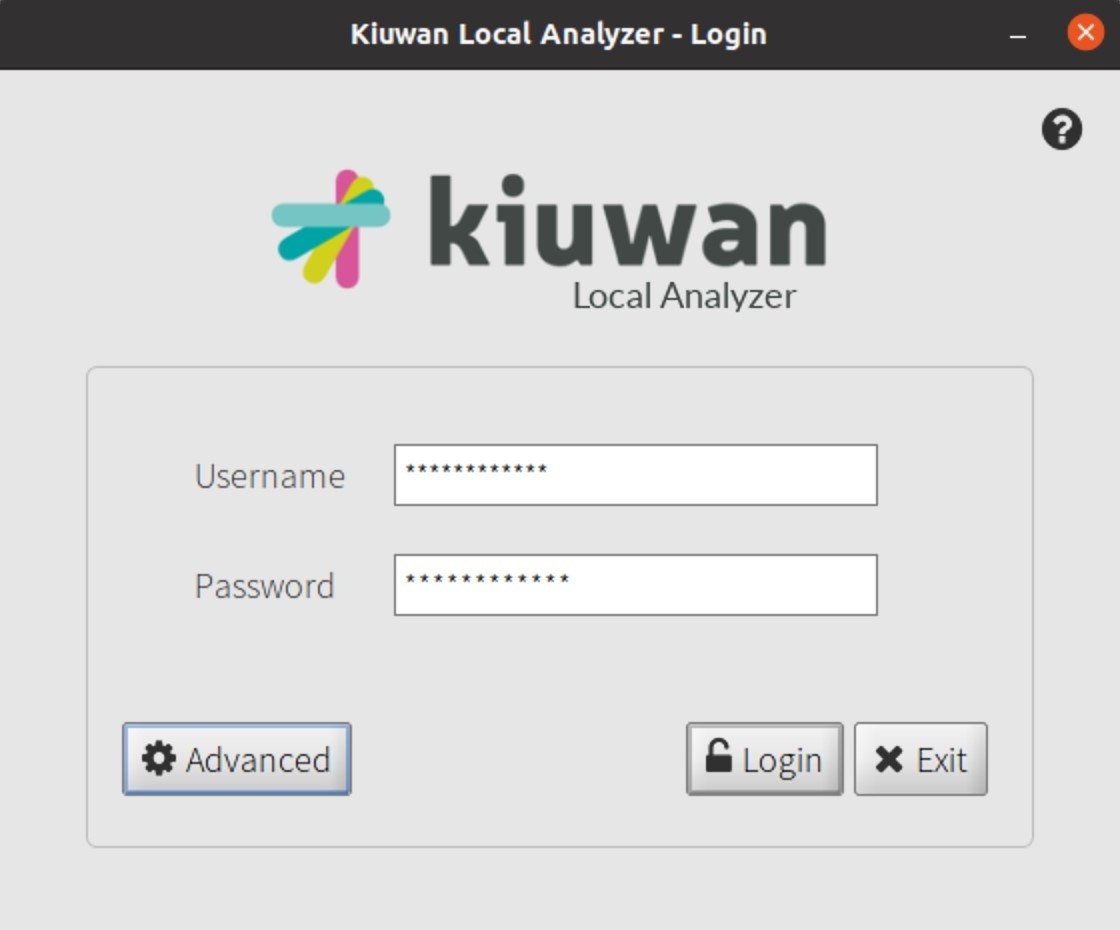
When the user is configured to login with Username and Password in Kiuwan, as shown below:
It is possible to login into Kiuwan bypassing the SSO, this is particularly useful for accessing Kiuwan through the provided REST API, or when SSO is unavailable. To do so, use the following construct to access the Kiuwan console application:
https://<kiuwan.server.url>/saas/login?domain=<the.created.domain>&sso=off
It opens the standard Kiuwan Login screen:
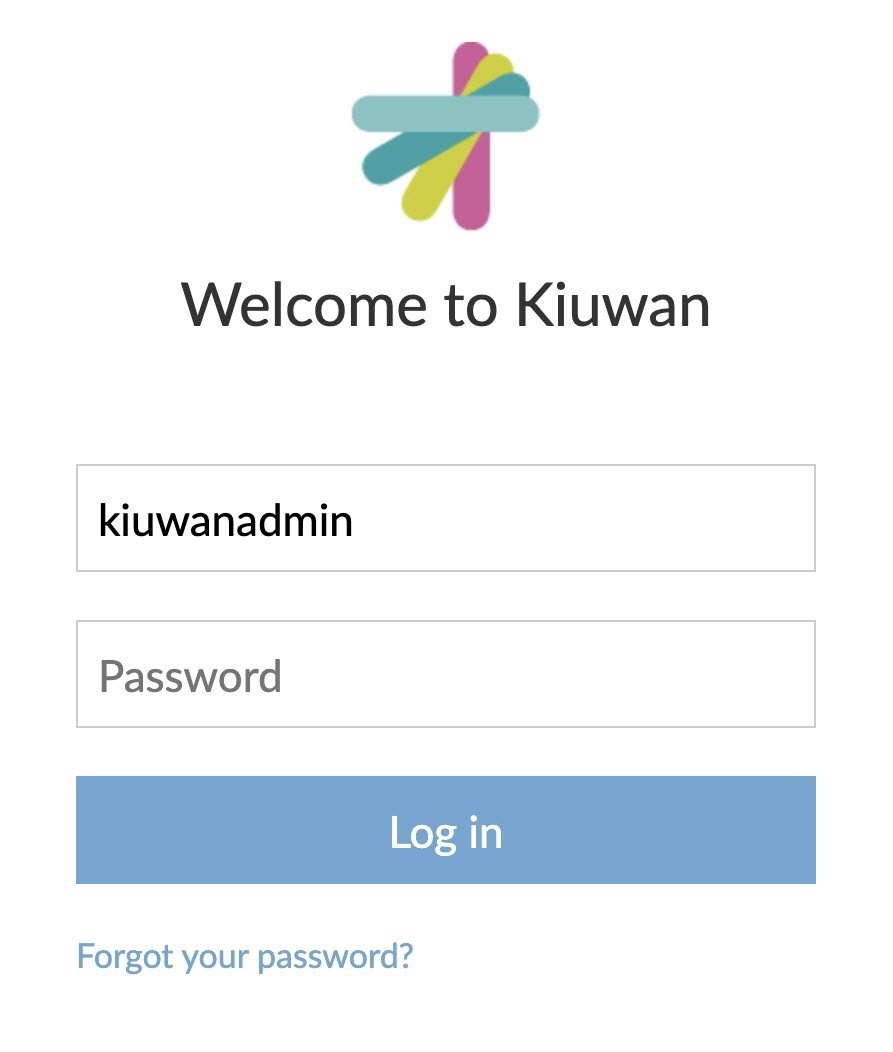
In either case, after setting up SSO, the domain must always be set during the authentication process, otherwise, Kiuwan will not be able to identify the corresponding user.
Setup KLA to use Oauth2 SSO
After an account is configured to use SSO through OAuth2, this configuration becomes also available to KLA.
To enable KLA to use OAuth2/OIDC in the login form follow these steps:
- Select the Advanced option.
- Enter the corresponding Domain ID, select the Enable SSO and the OAuth Authentication options from the pull-down list.
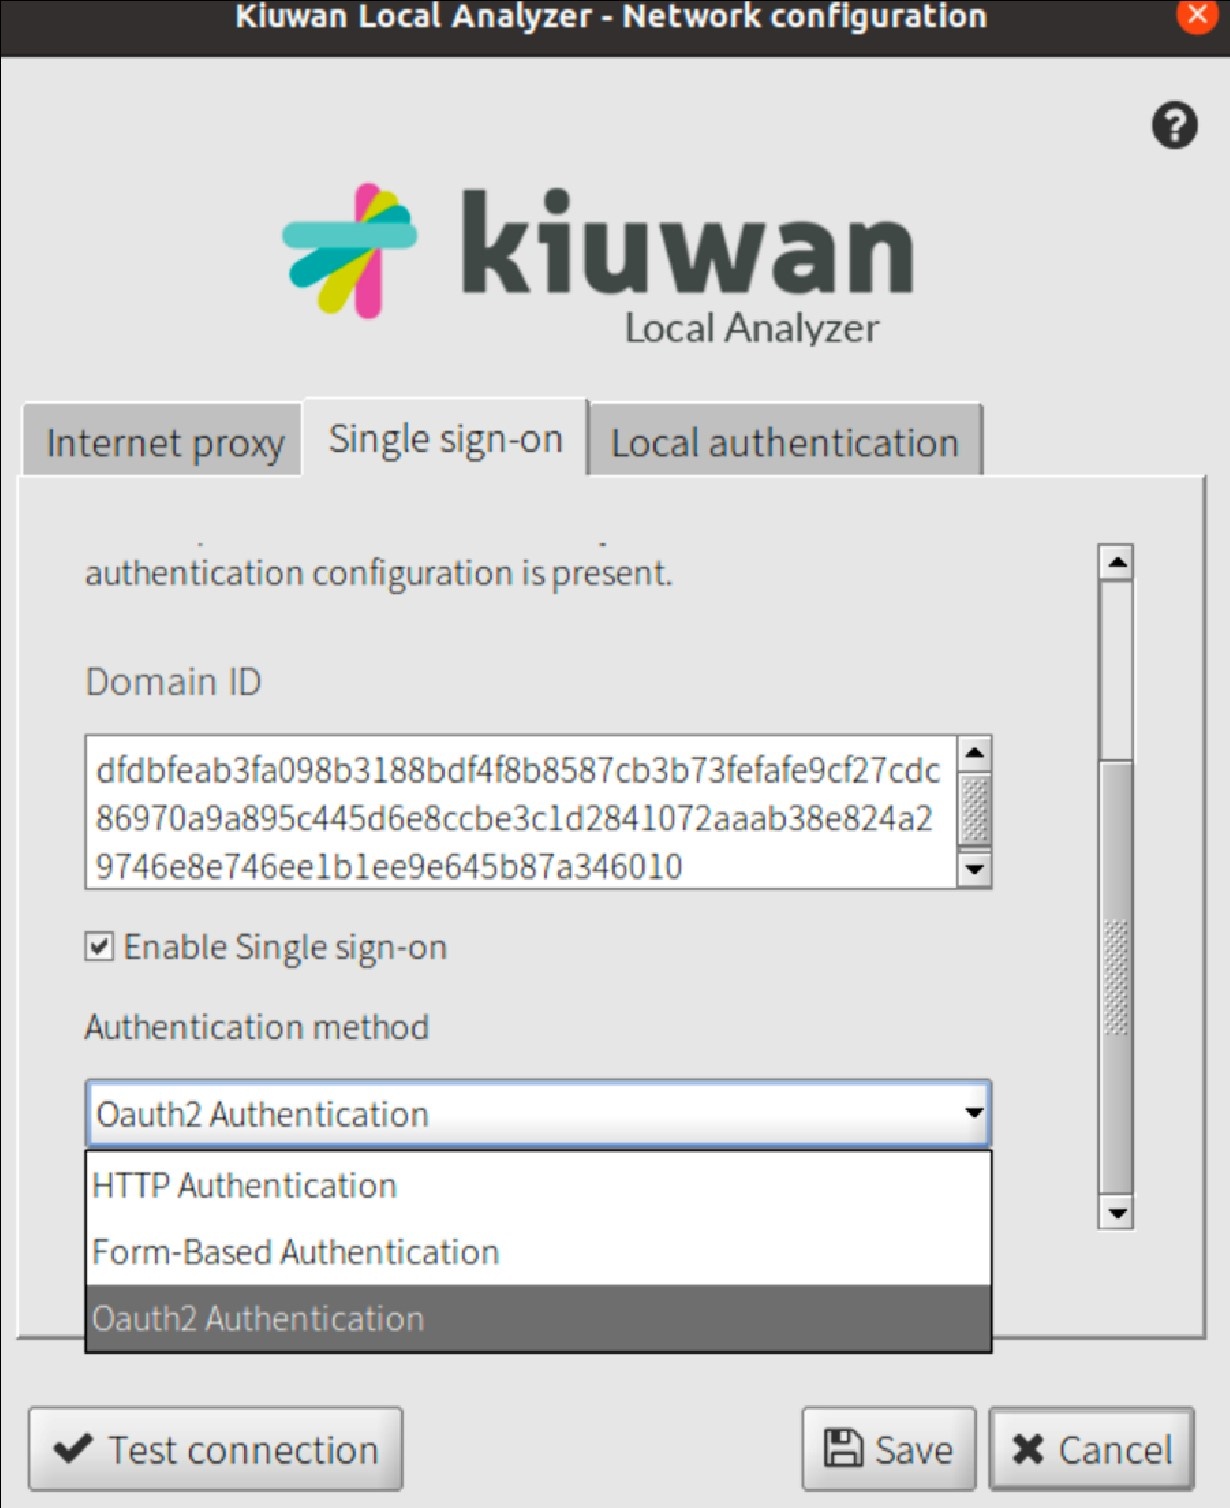
KLA is now configured to use the OAuth authentication as configured for that Kiuwan Account. Click Test Connection and KLA will redirect the authentication procedure to the native web browser:

The above page is temporarily presented informing the user that the login process is underway, and finally the regular authentication process for the configured Identity provided is initiated.
After the authentication process is completed, the browser window can be discarded as KLA has collected the needed information to proceed.
Login to KLA after OAuth SSO is activated
When KLA is configured to use SSO with OAuth, the Login form will show an indication that SSO is activated.
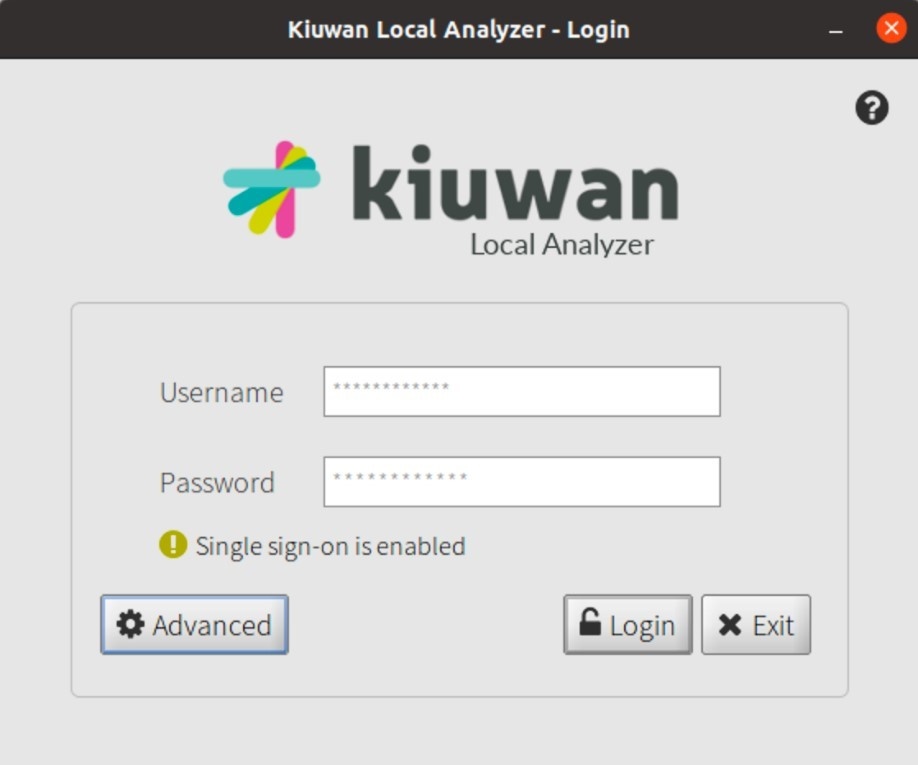
By selecting Login in the login form, KLA starts a new browser window to initiate the login flow.
Initially, the browser displays the following information:
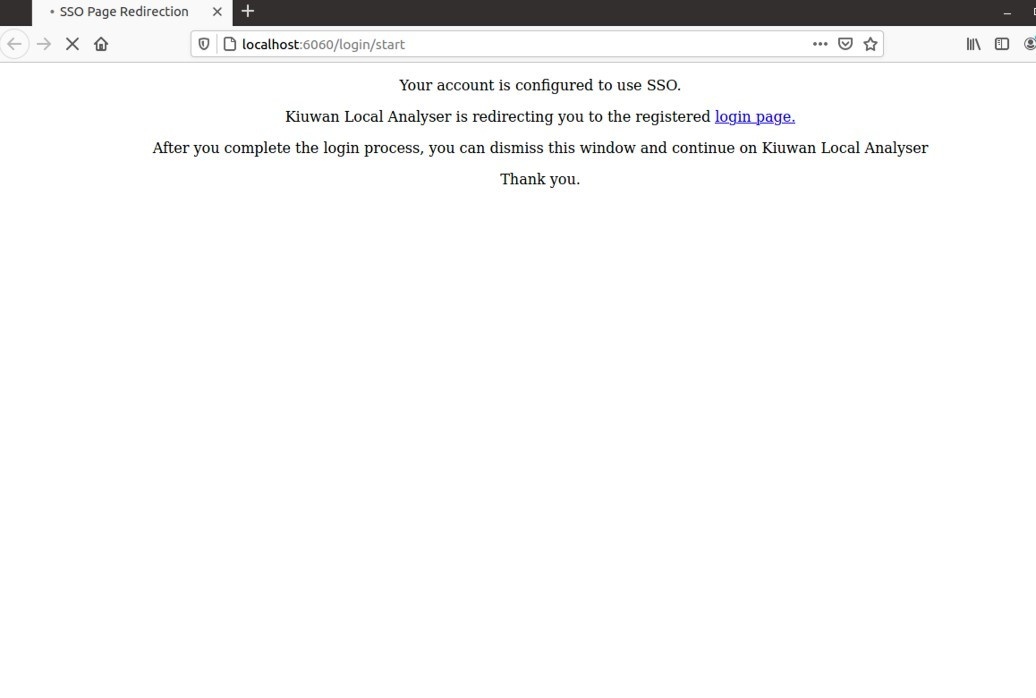
Eventually, it would be redirected to the regular Authentication page of the configured Identity provider for the selected account.
Upon successful completion of the authentication process, the browser window can be dismissed, and KLA will be available to be used according to the user's corresponding capabilities.