...
- Login to your Azure Portal and navigate to Active Directory > App Registrations.
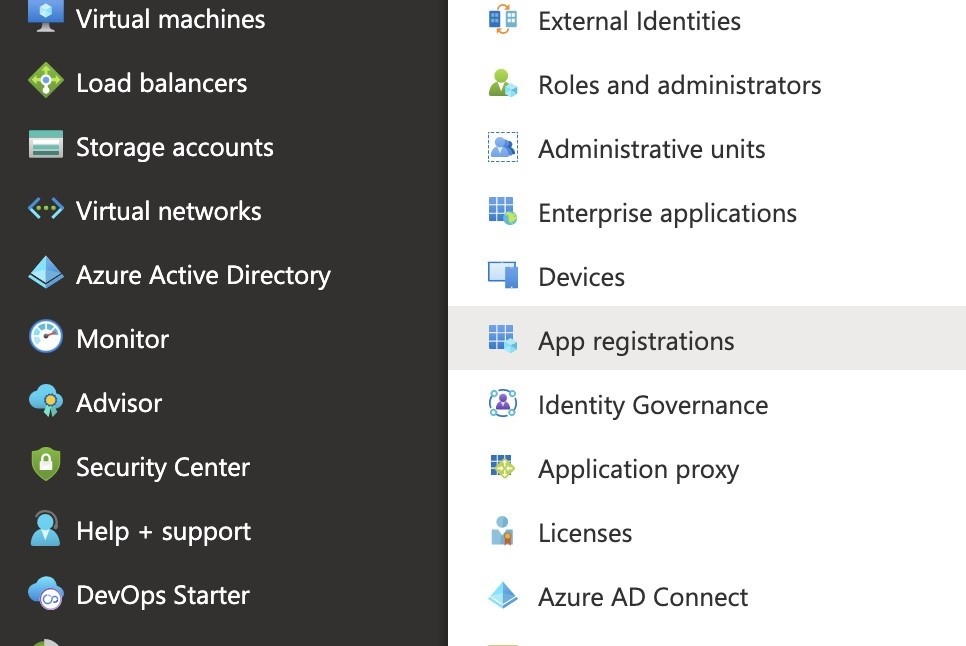
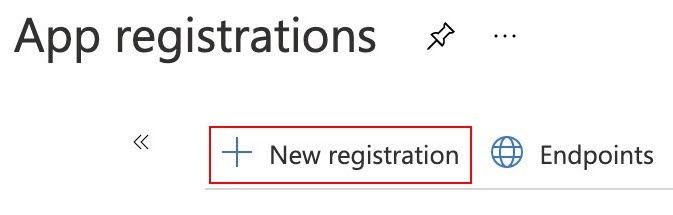
- Select New registration.
- Fill in the required information
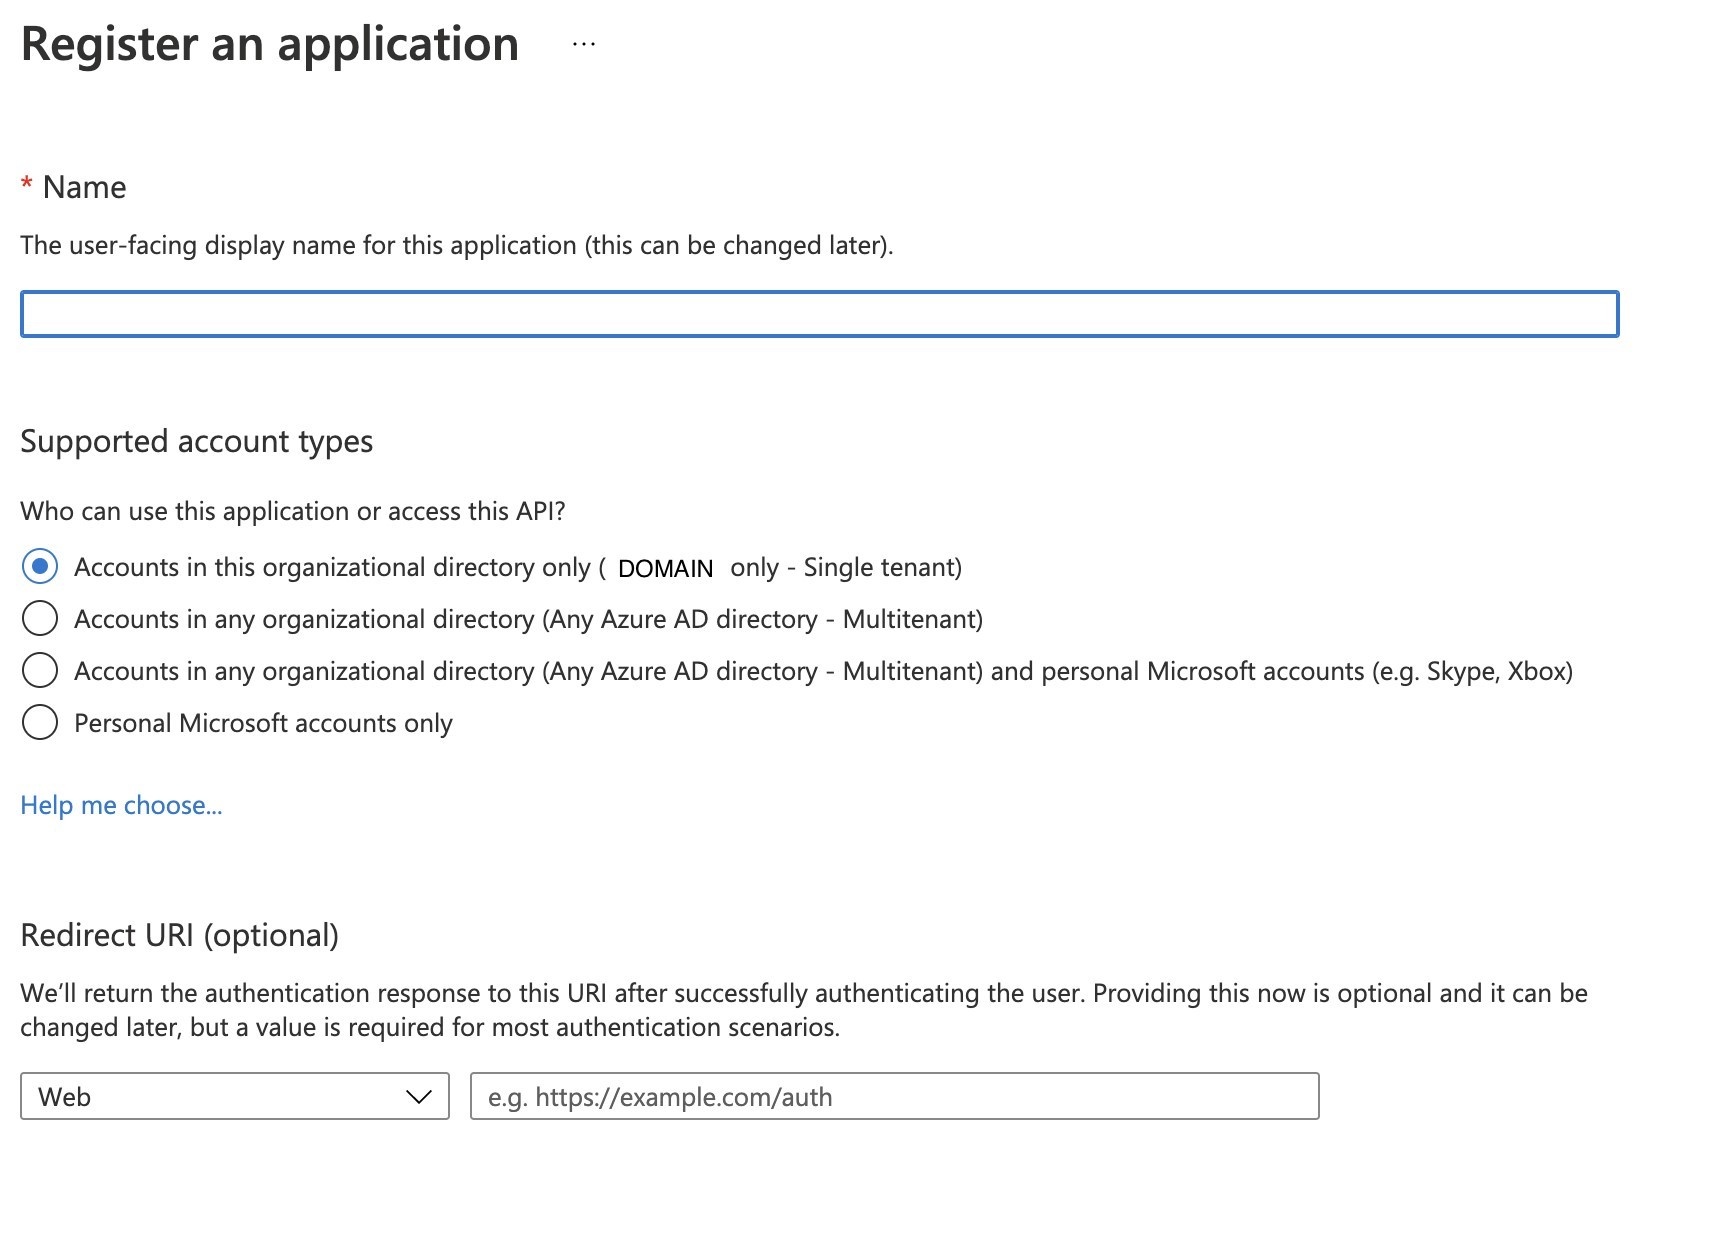
- Configure the Redirect URI as follows:
- Add the following URI as the redirect URI: https://www.kiuwan.com/saas/oidc/auth
- The endpoint OAuth2/OIDC server will redirect, within the Kiuwan server, after the successful authentication of a specific user.
- If you have a local installation of Kiuwan, instead of www.kiuwan.com enter the corresponding URL, or IP address, of the local Kiuwan server.
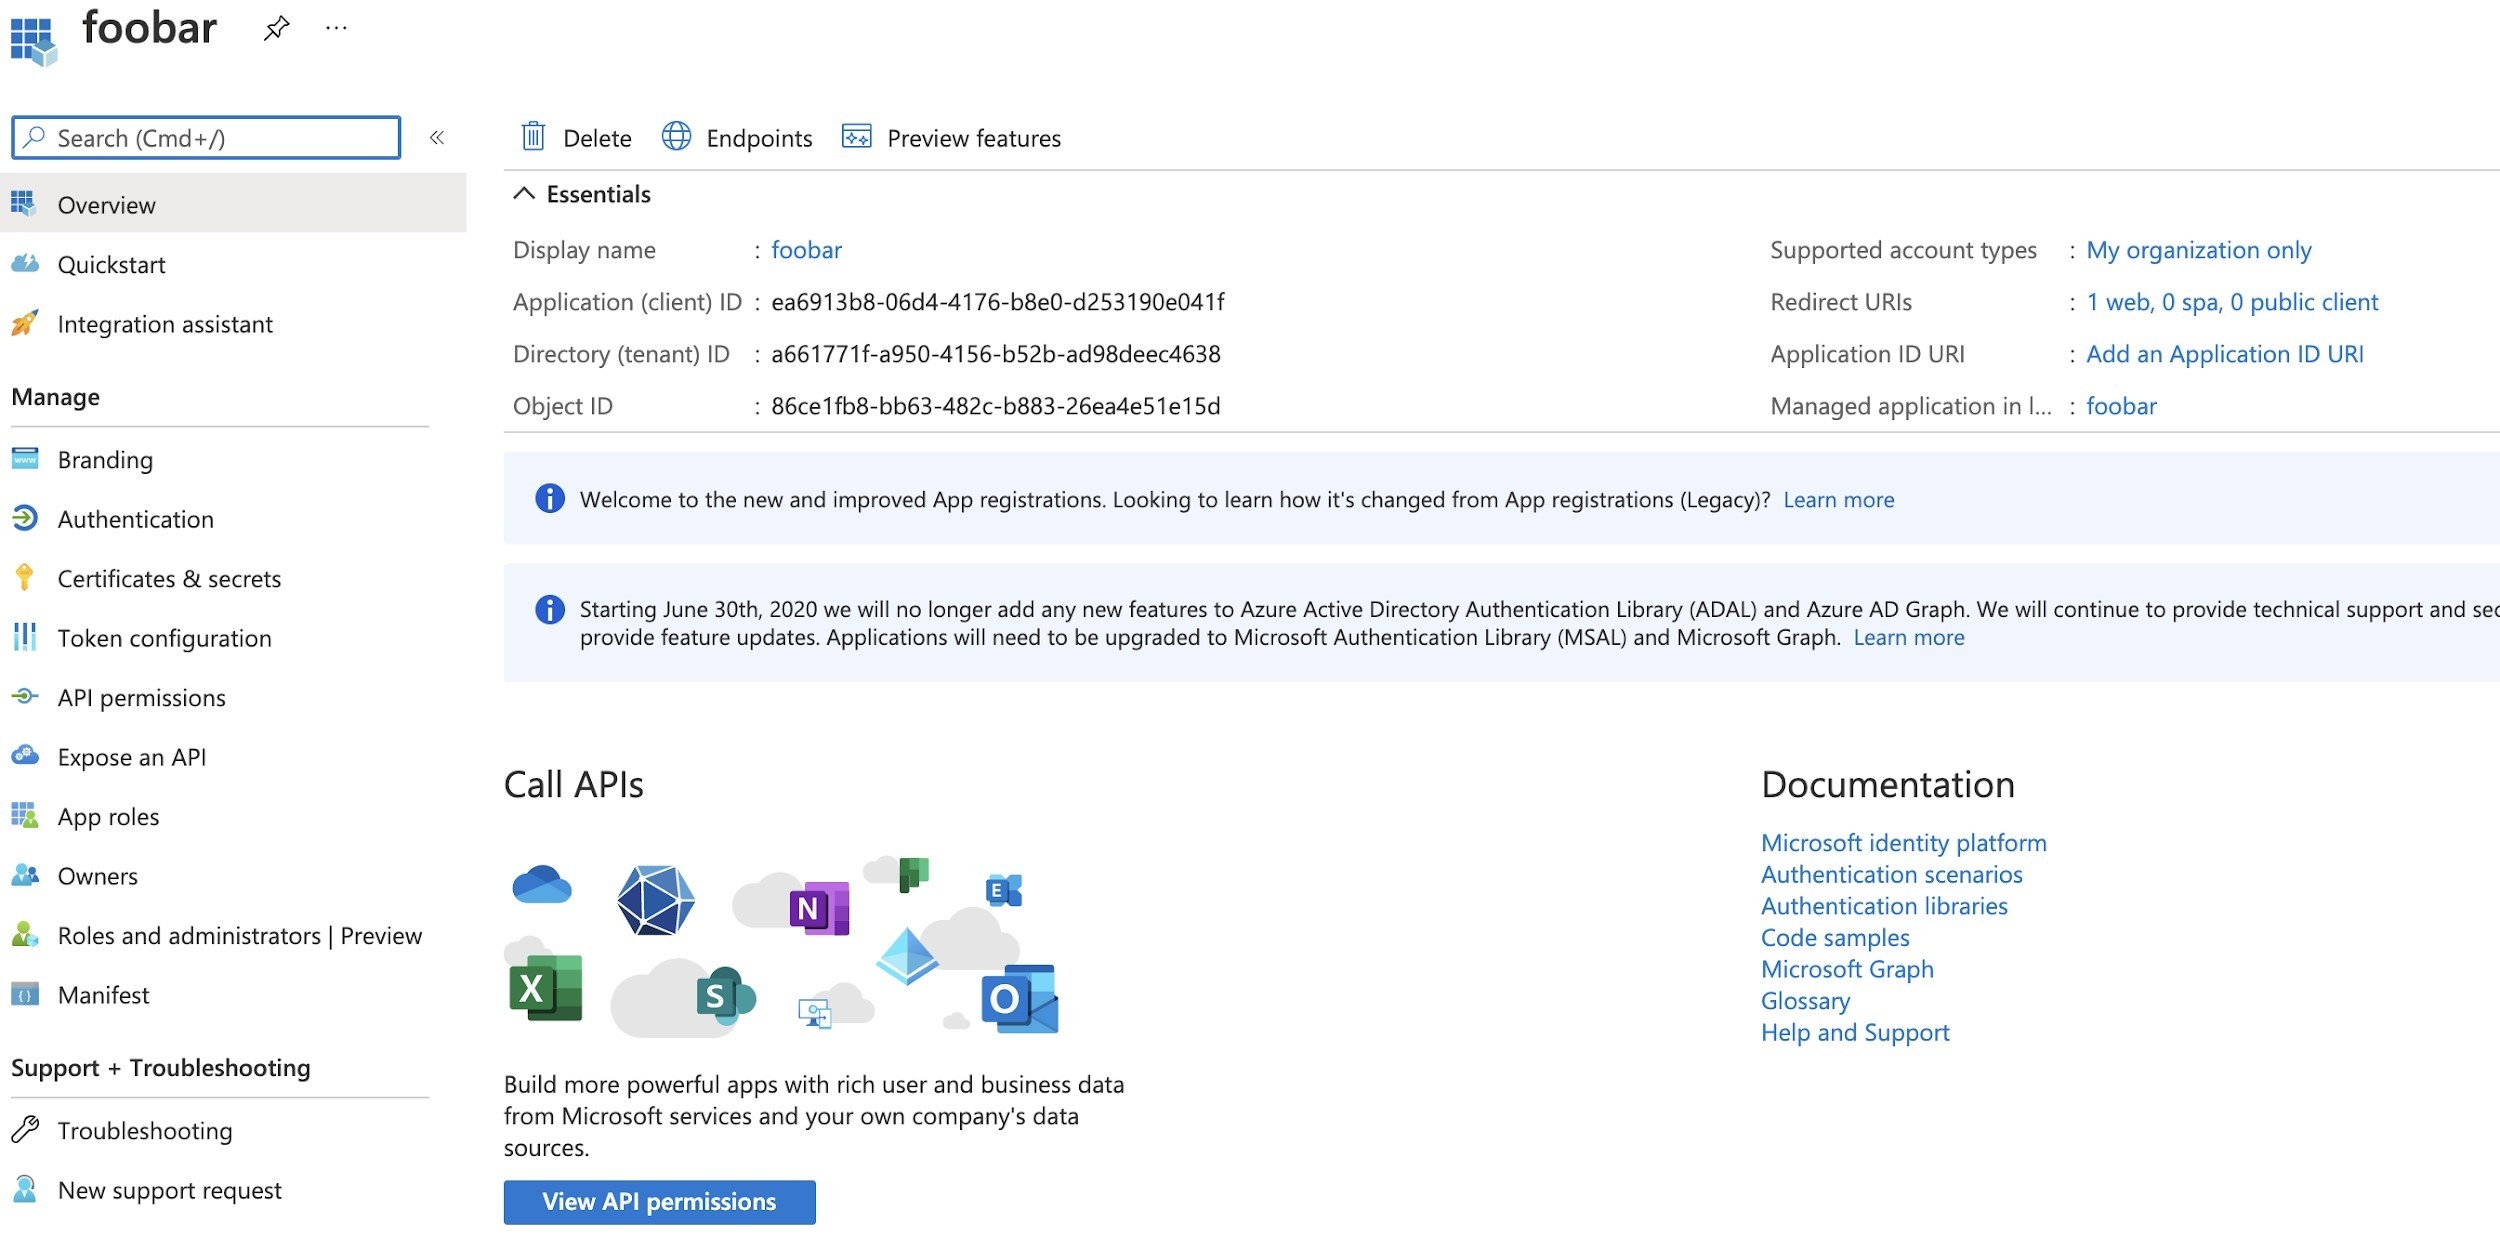
- After defining this Application Registration, the following is obtained:
- Configure Client Secret.
- After creating the registration, select the Certificates & Secrets option, and New Client Secret.

- Enter the needed values and click Add.
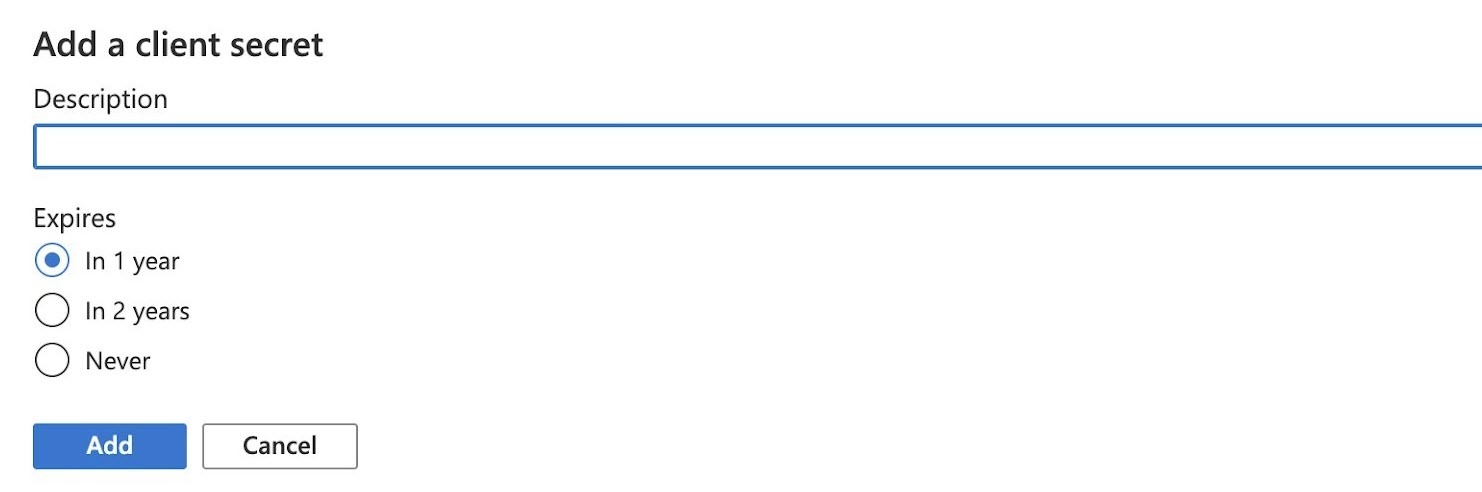
- A new secret for this Client Application ID is generated.

Copy this value to a temporary location as it will be needed later and after the screen is closed the access to the secret value is lost. Ideally, paste it directly into the OAuth/OIDC configuration at Kiuwan described in the next chapter.
- After creating the registration, select the Certificates & Secrets option, and New Client Secret.
...
The process of registering Kiuwan as an OAuth/OICD application is straightforward.
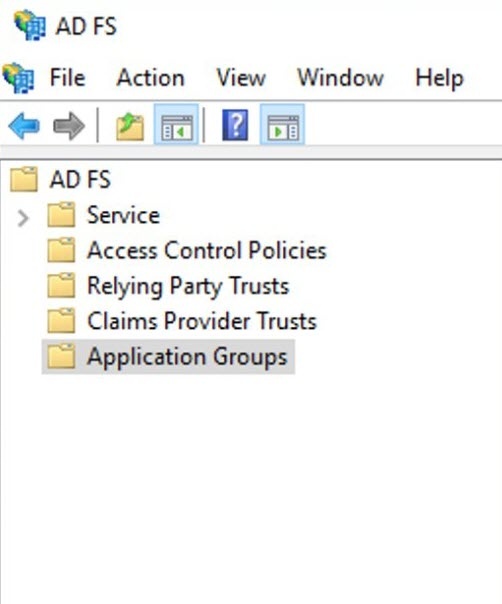
- Start ADFS Management.
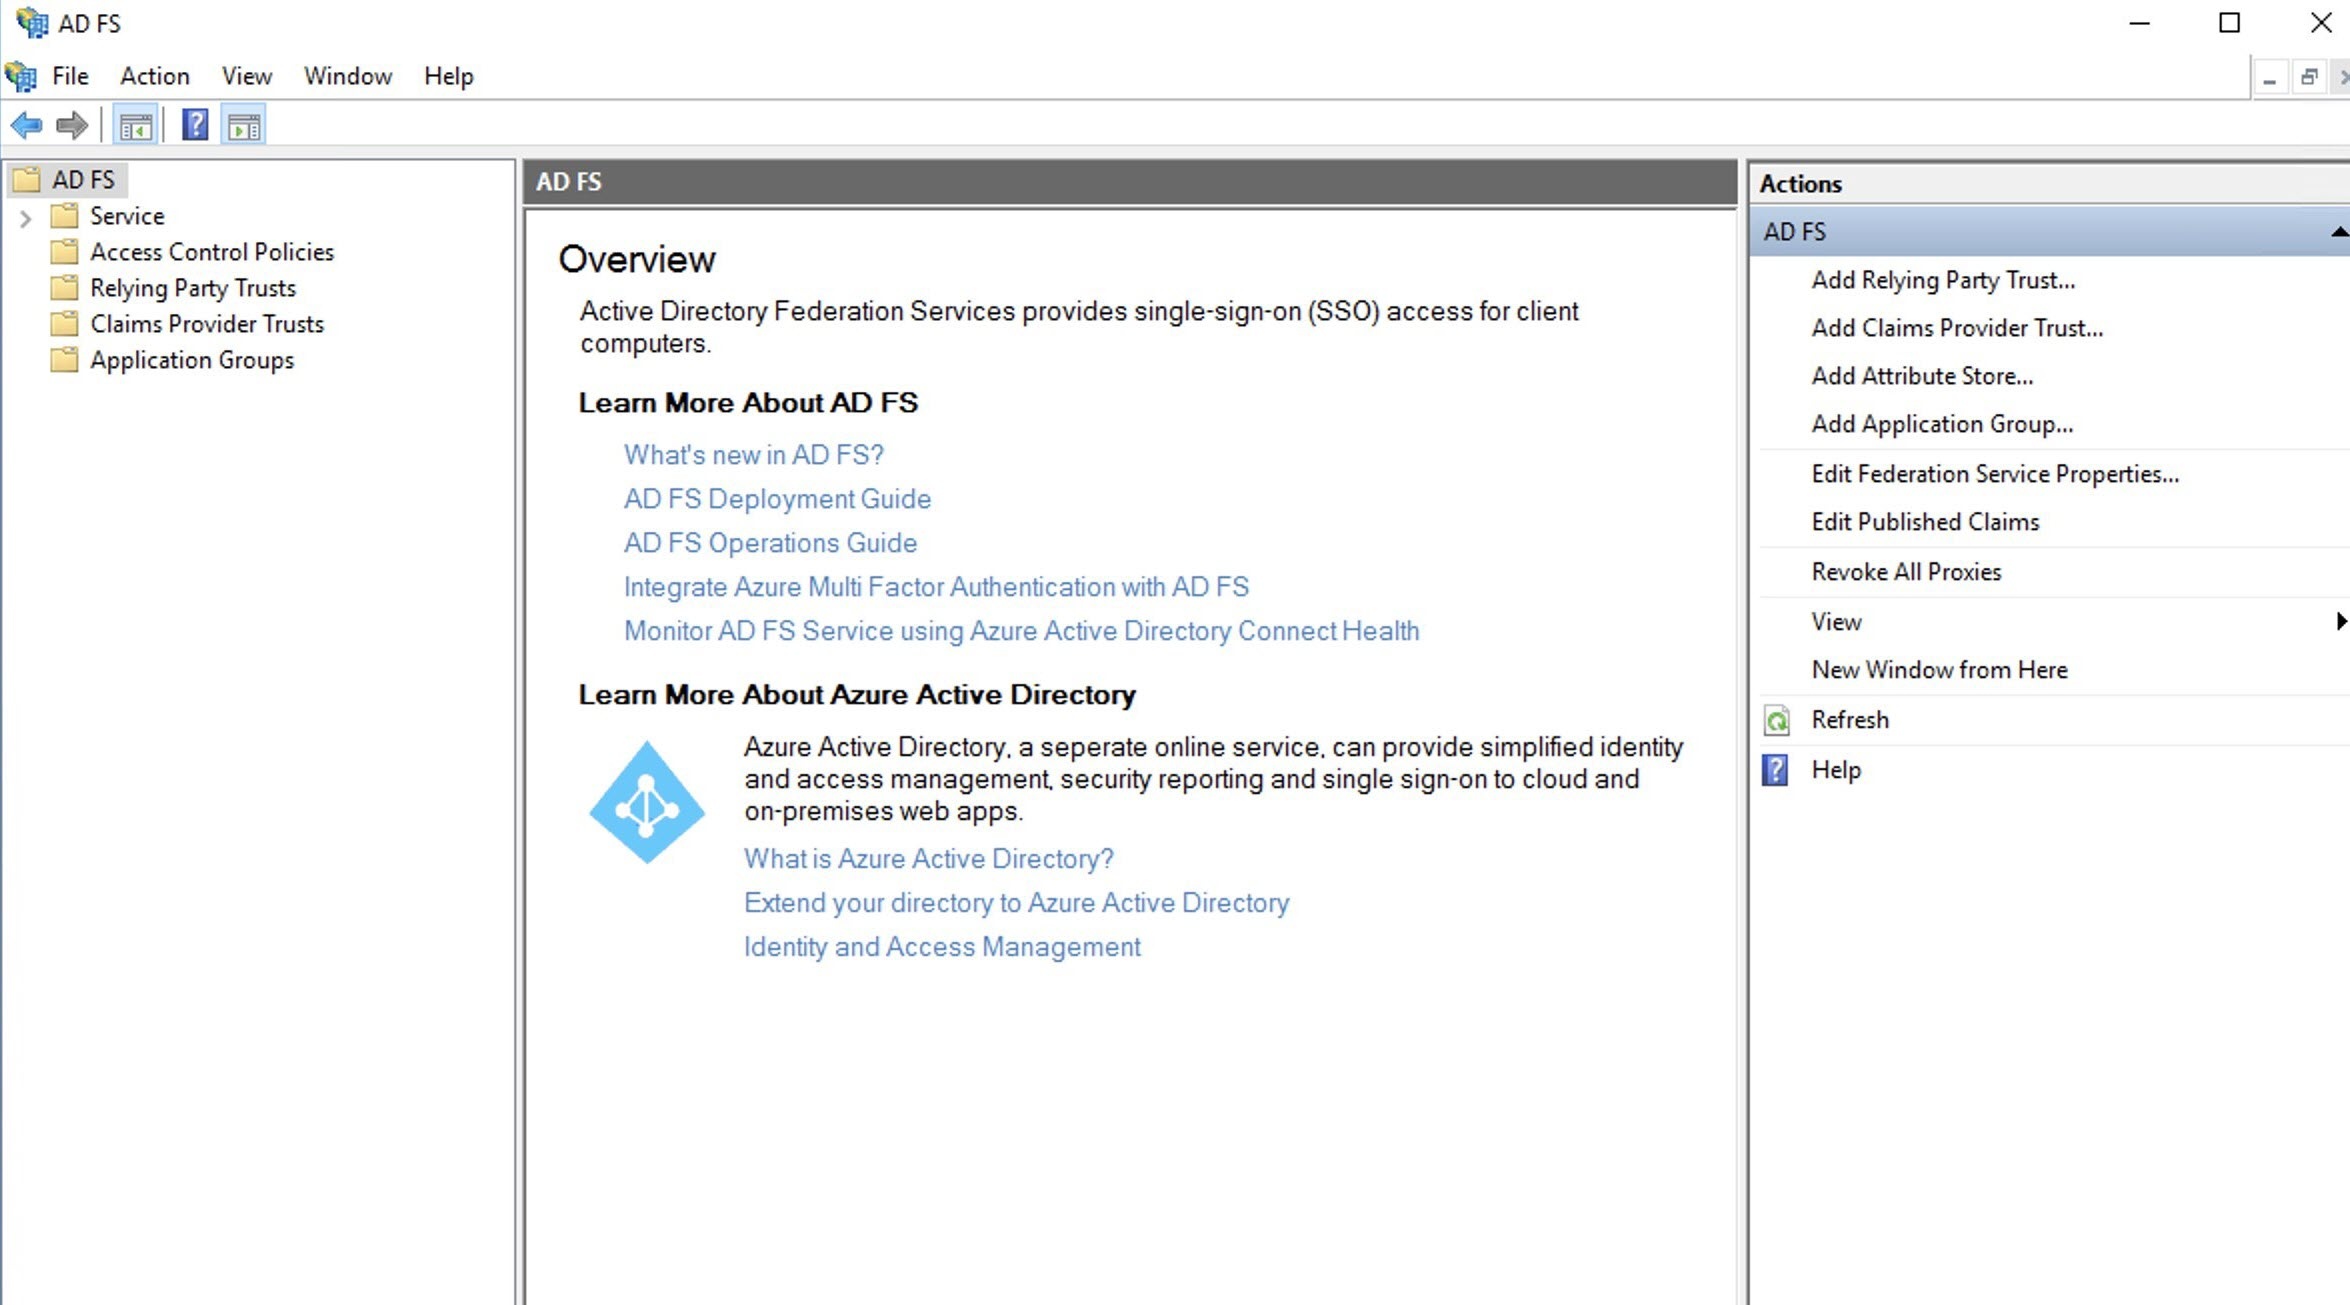
- Right-click the Application Groups folder from the left side of the window, and select Add Application Group.
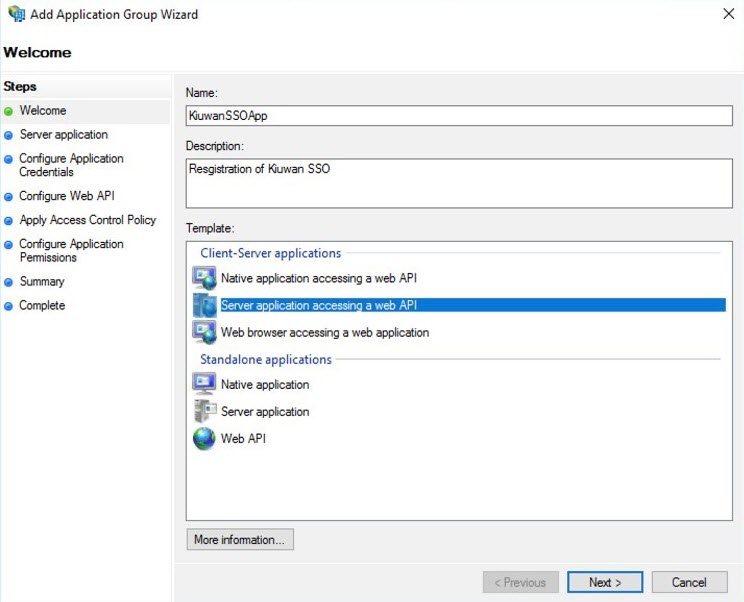
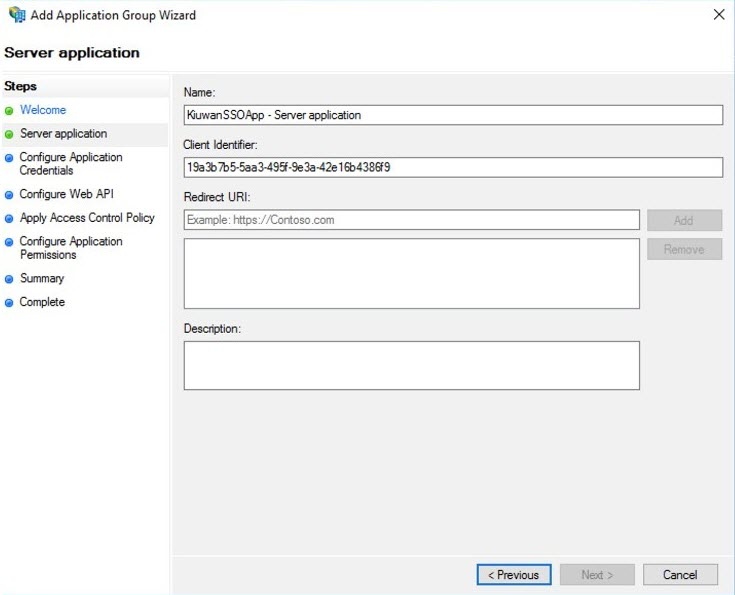
- Fill in the required Application Group Name, Description, select the option Server application accessing web API, and click Next.
- Enter the Name of the Server Application and collect – and save in a temporary location the Client Identifier generated automatically. This information will be available for later consultation but can be copied now and pasted to the Kiuwan SSO configuration form as described in Setting up Kiuwan SSO with OAuth/Open ID Connect. Click Next.
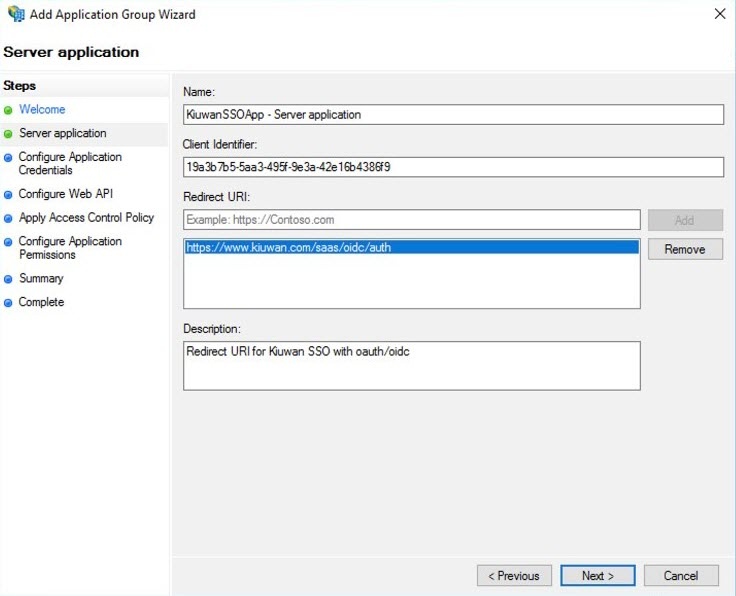
- Next, add the Kiuwan Login entry point URI as a valid URI for redirection, e.g. https://www.kiuwan.com/saas/oidc/auth or the corresponding if you are using Kiuwan On-Premises or a custom installation instead of the standard Kiuwan cloud setup. Click Next.
On the Configure Application Credentials tab, check the option Generate a shared secret, this will create the corresponding secret to be copied into the Kiuwan OAuth configuration panel, as described in Setting up Kiuwan SSO with OAuth/Open ID Connect. Click Next.

Tip Copy the generated the shared secret for a temporary location as it will not be available again, and if needed it will need to be regenerated.
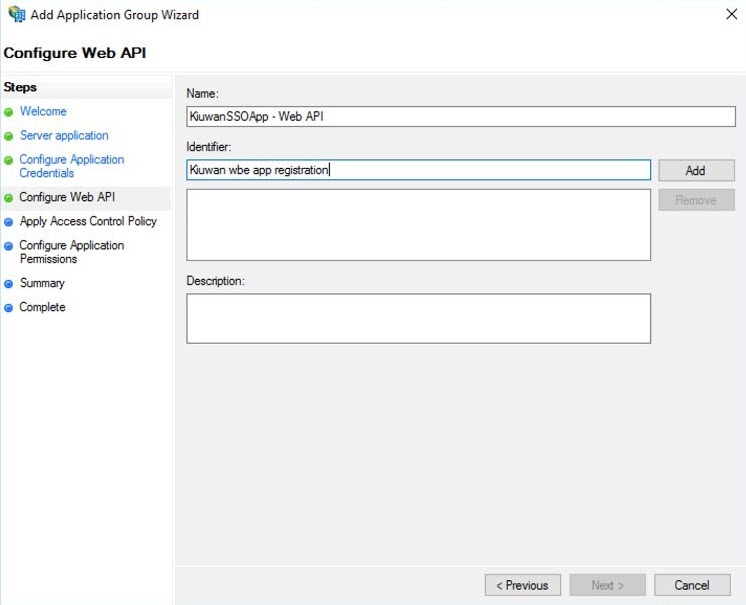
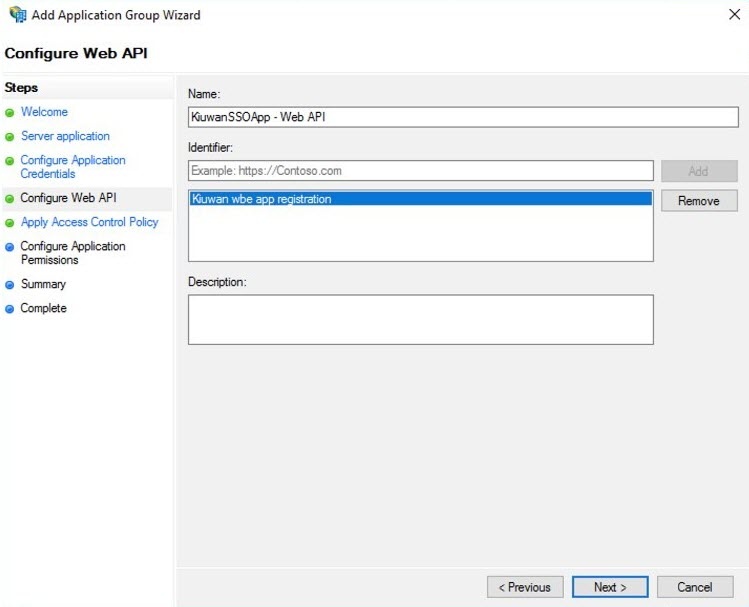
- Configure the Web API for ADFS by entering the name of the API and a description for the identifier of this Web API in ADFS. Click Next.
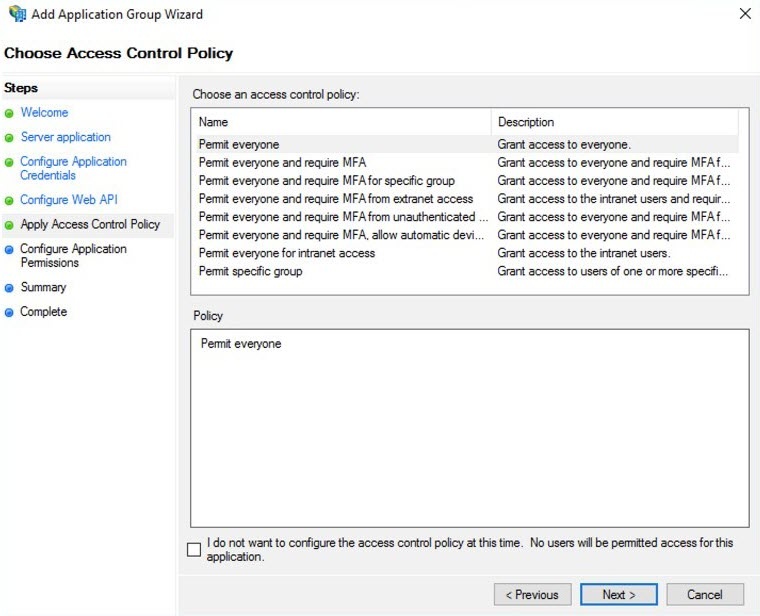
- Select the Permit Everyone option as a policy for Access Control and click Next.
- Configure Application Permissions, select OpenID and Profile as Permitted scopes. If needed or desired additional scopes can be added to the list, this configures the available information about the authenticated user to be passed to Kiuwan.
If more information is required in Kiuwan to match the ADFS user with the Kiuwan user, it is allowed to select or even define new scopes. As minimal both OpenID (default) and profile scopes are needed by Kiuwan. Click next, to confirm the summary information.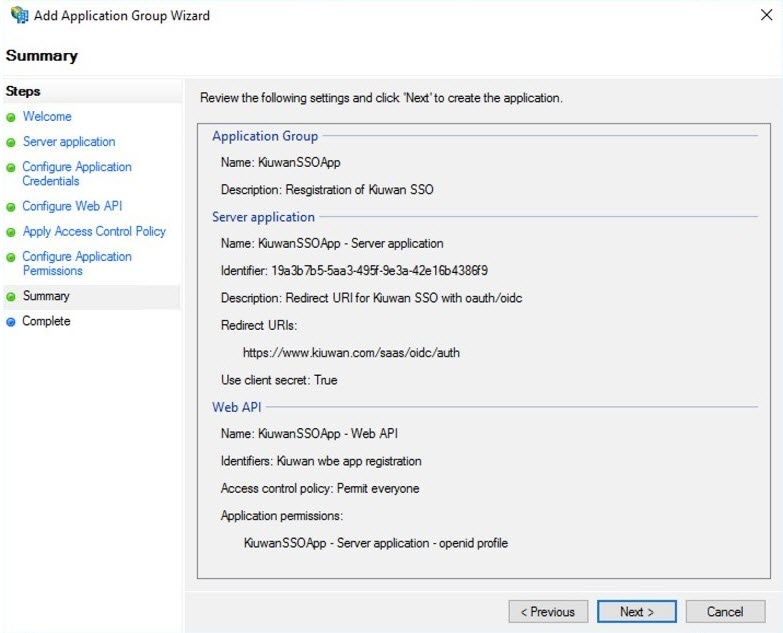
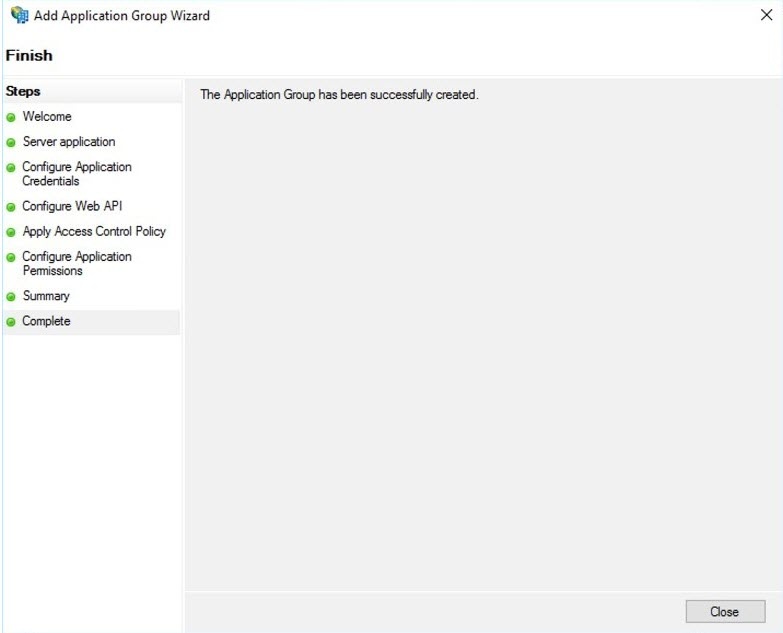
- Click Close to complete the process.
...
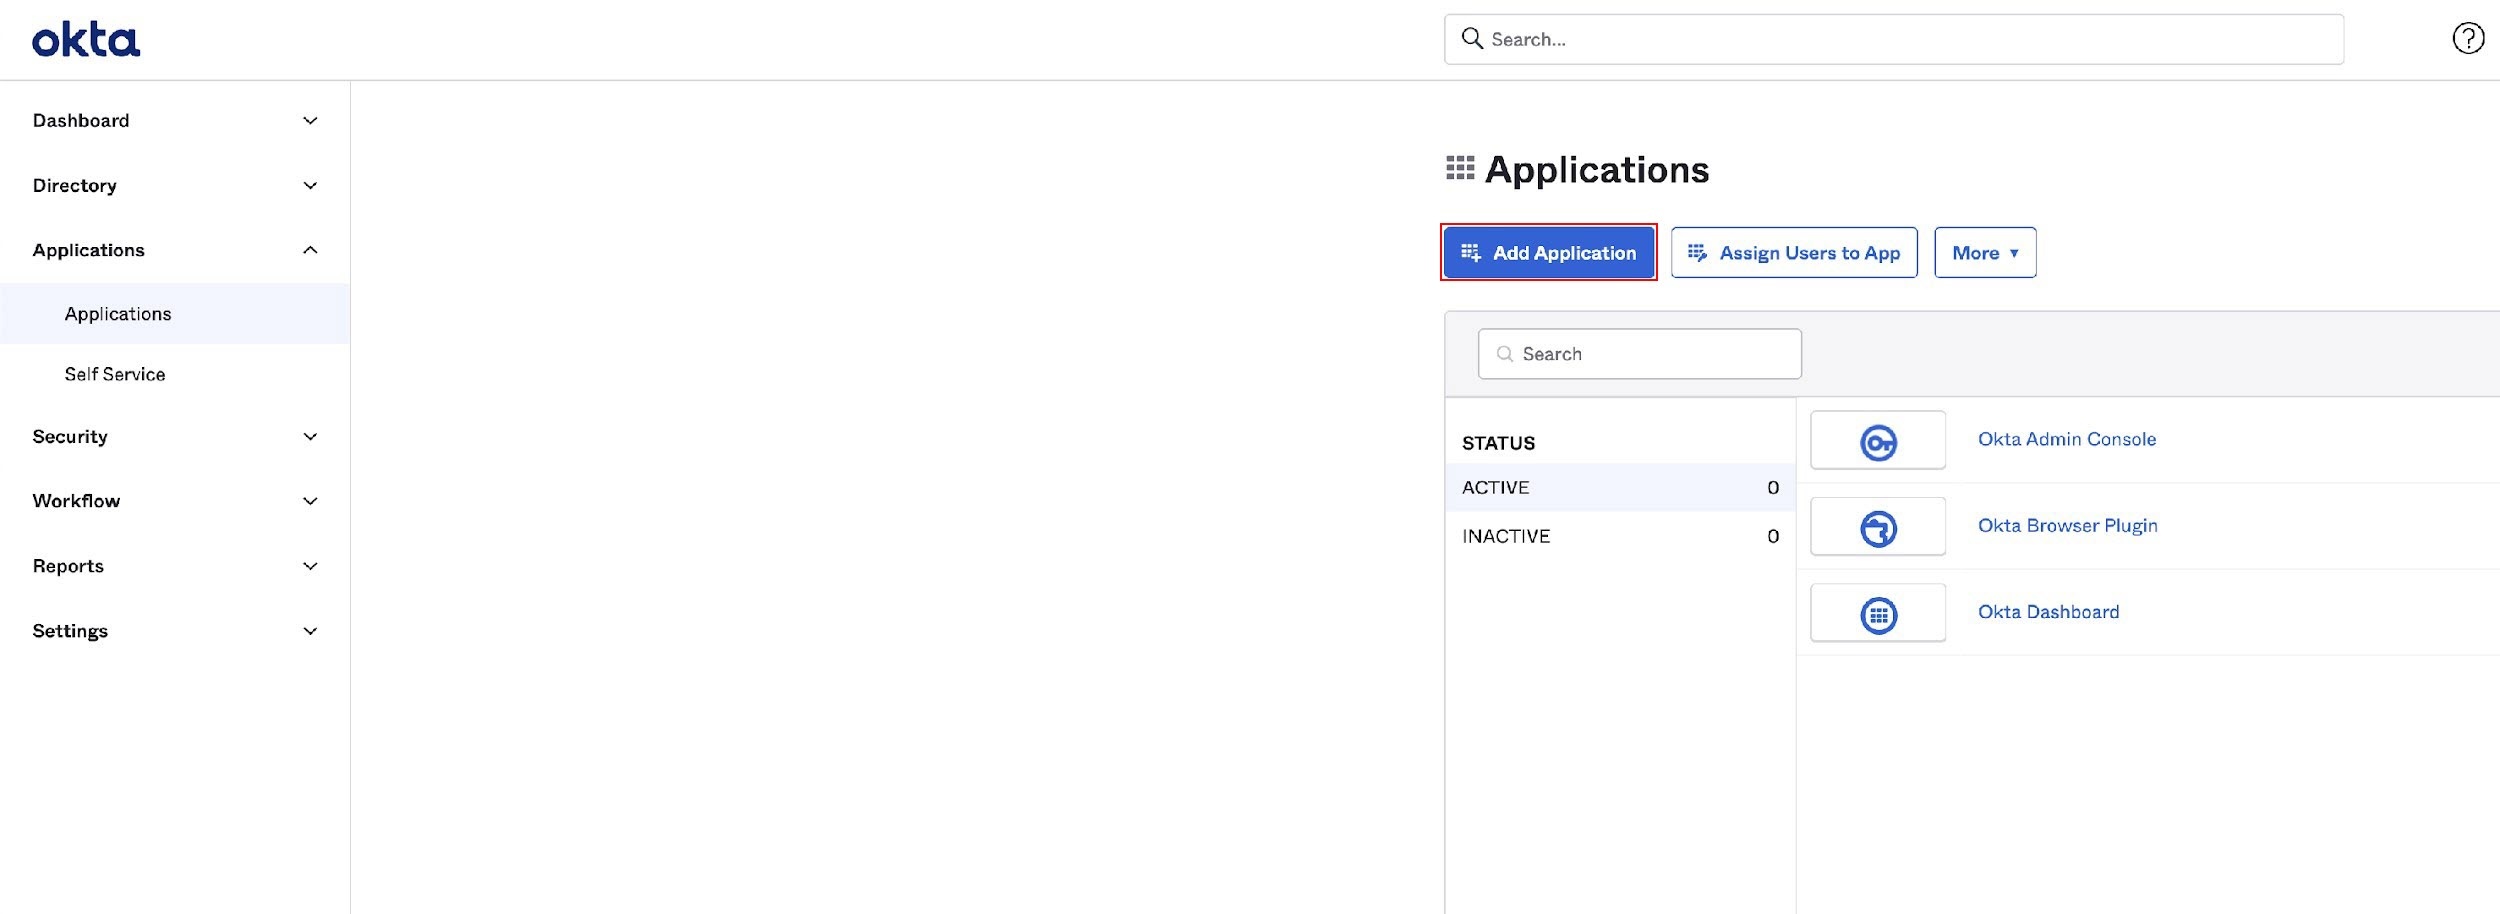
- Go to Applications and select Add Application.
- Click Create New App.

- On the Create a New Application Integration window, select Web as Platform entry and select OpenID Connect as a Sign on method. Click Create.

- In the following screen fill in the required information, adding https://www.kiuwan.com/saas/oidc/auth as a Redirect URI. Click Save.
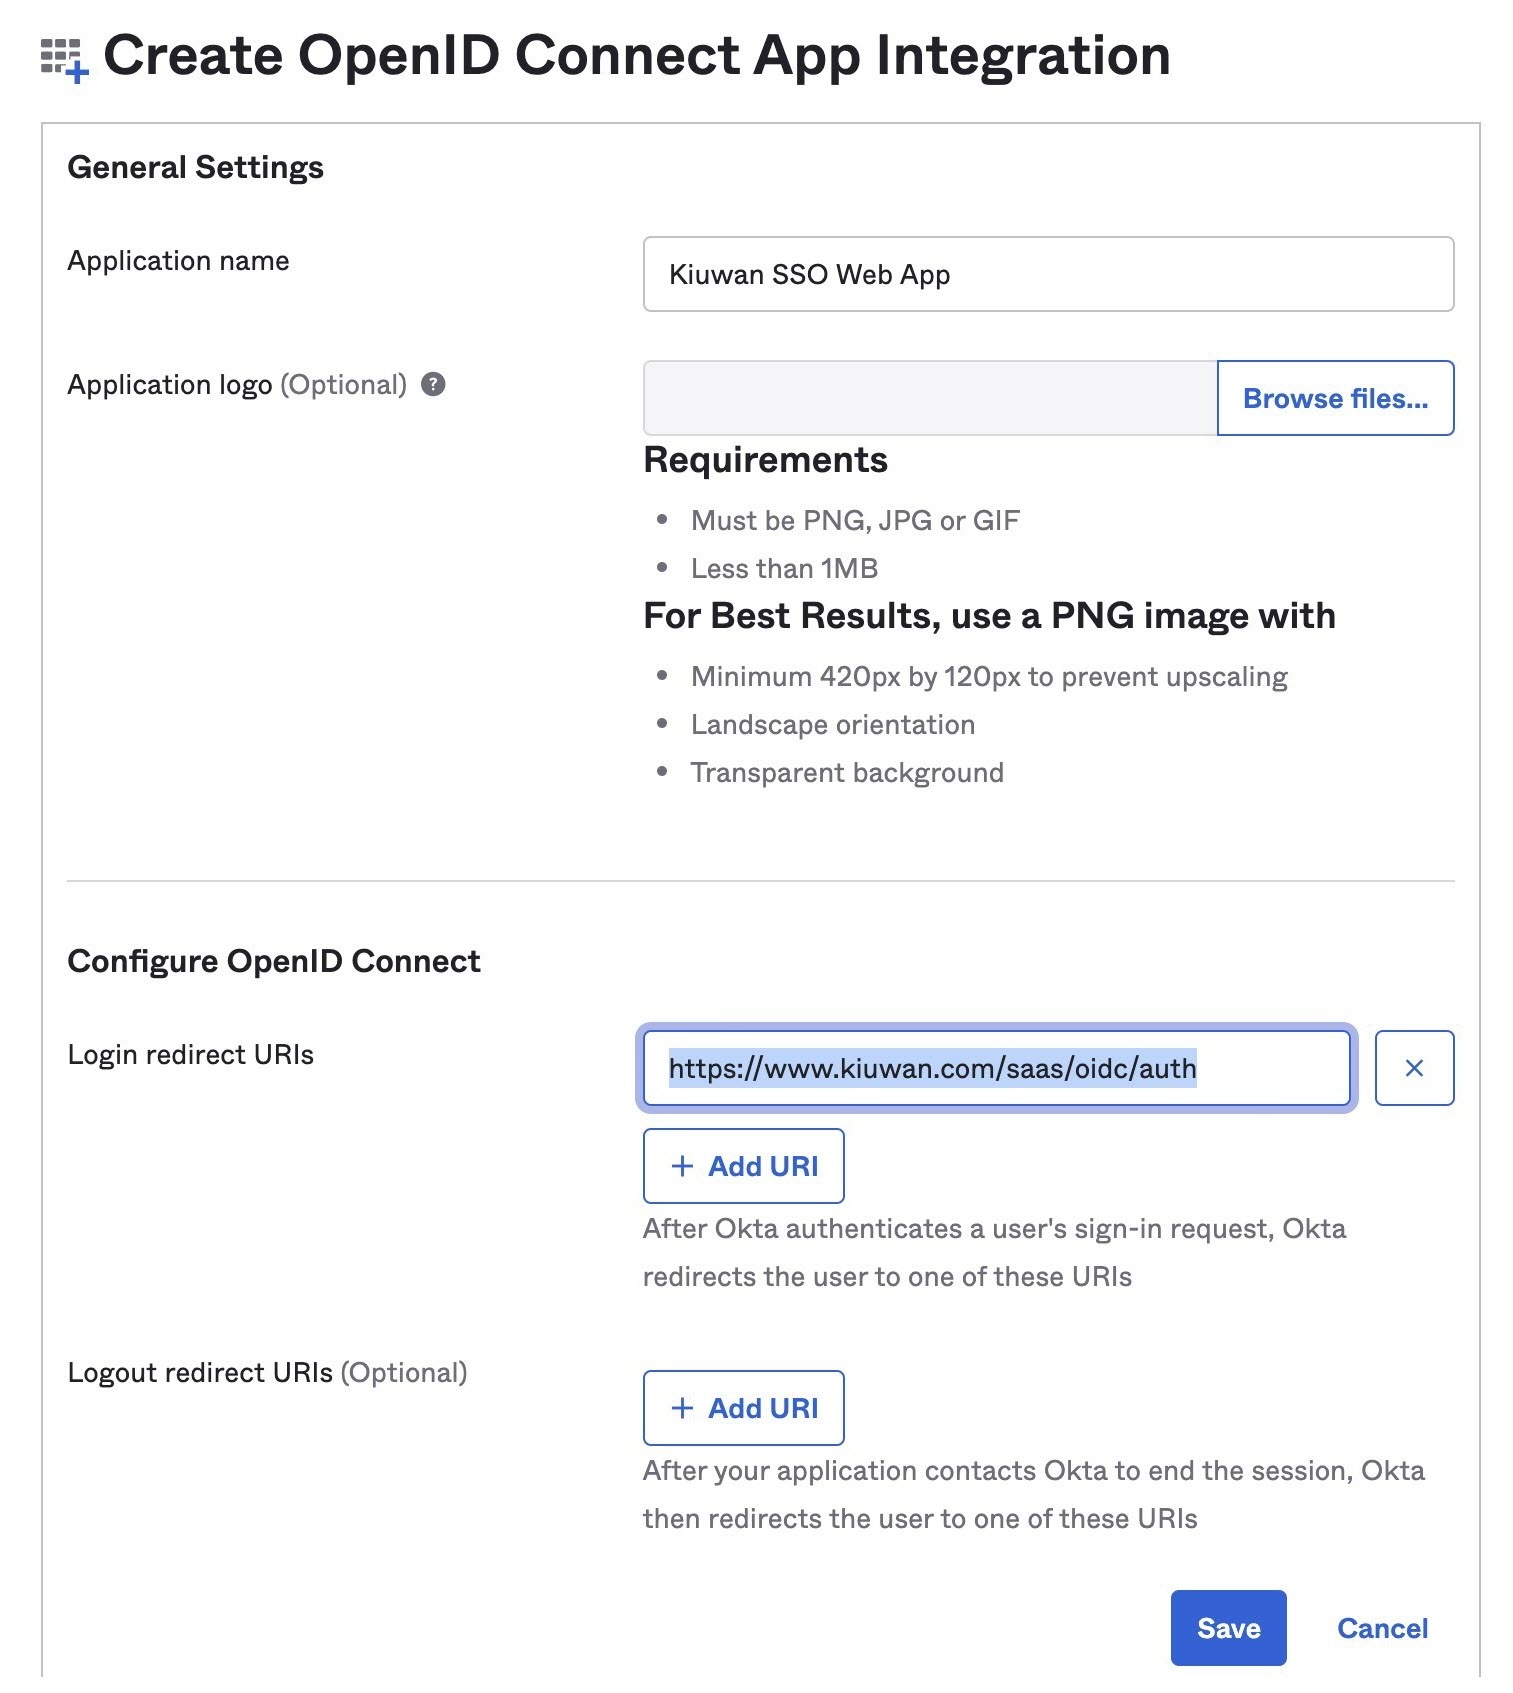
- Collect the needed information to configure Kiuwan, the application ID, and client secret. Note that the latest will not be available anymore after passing the following screen:

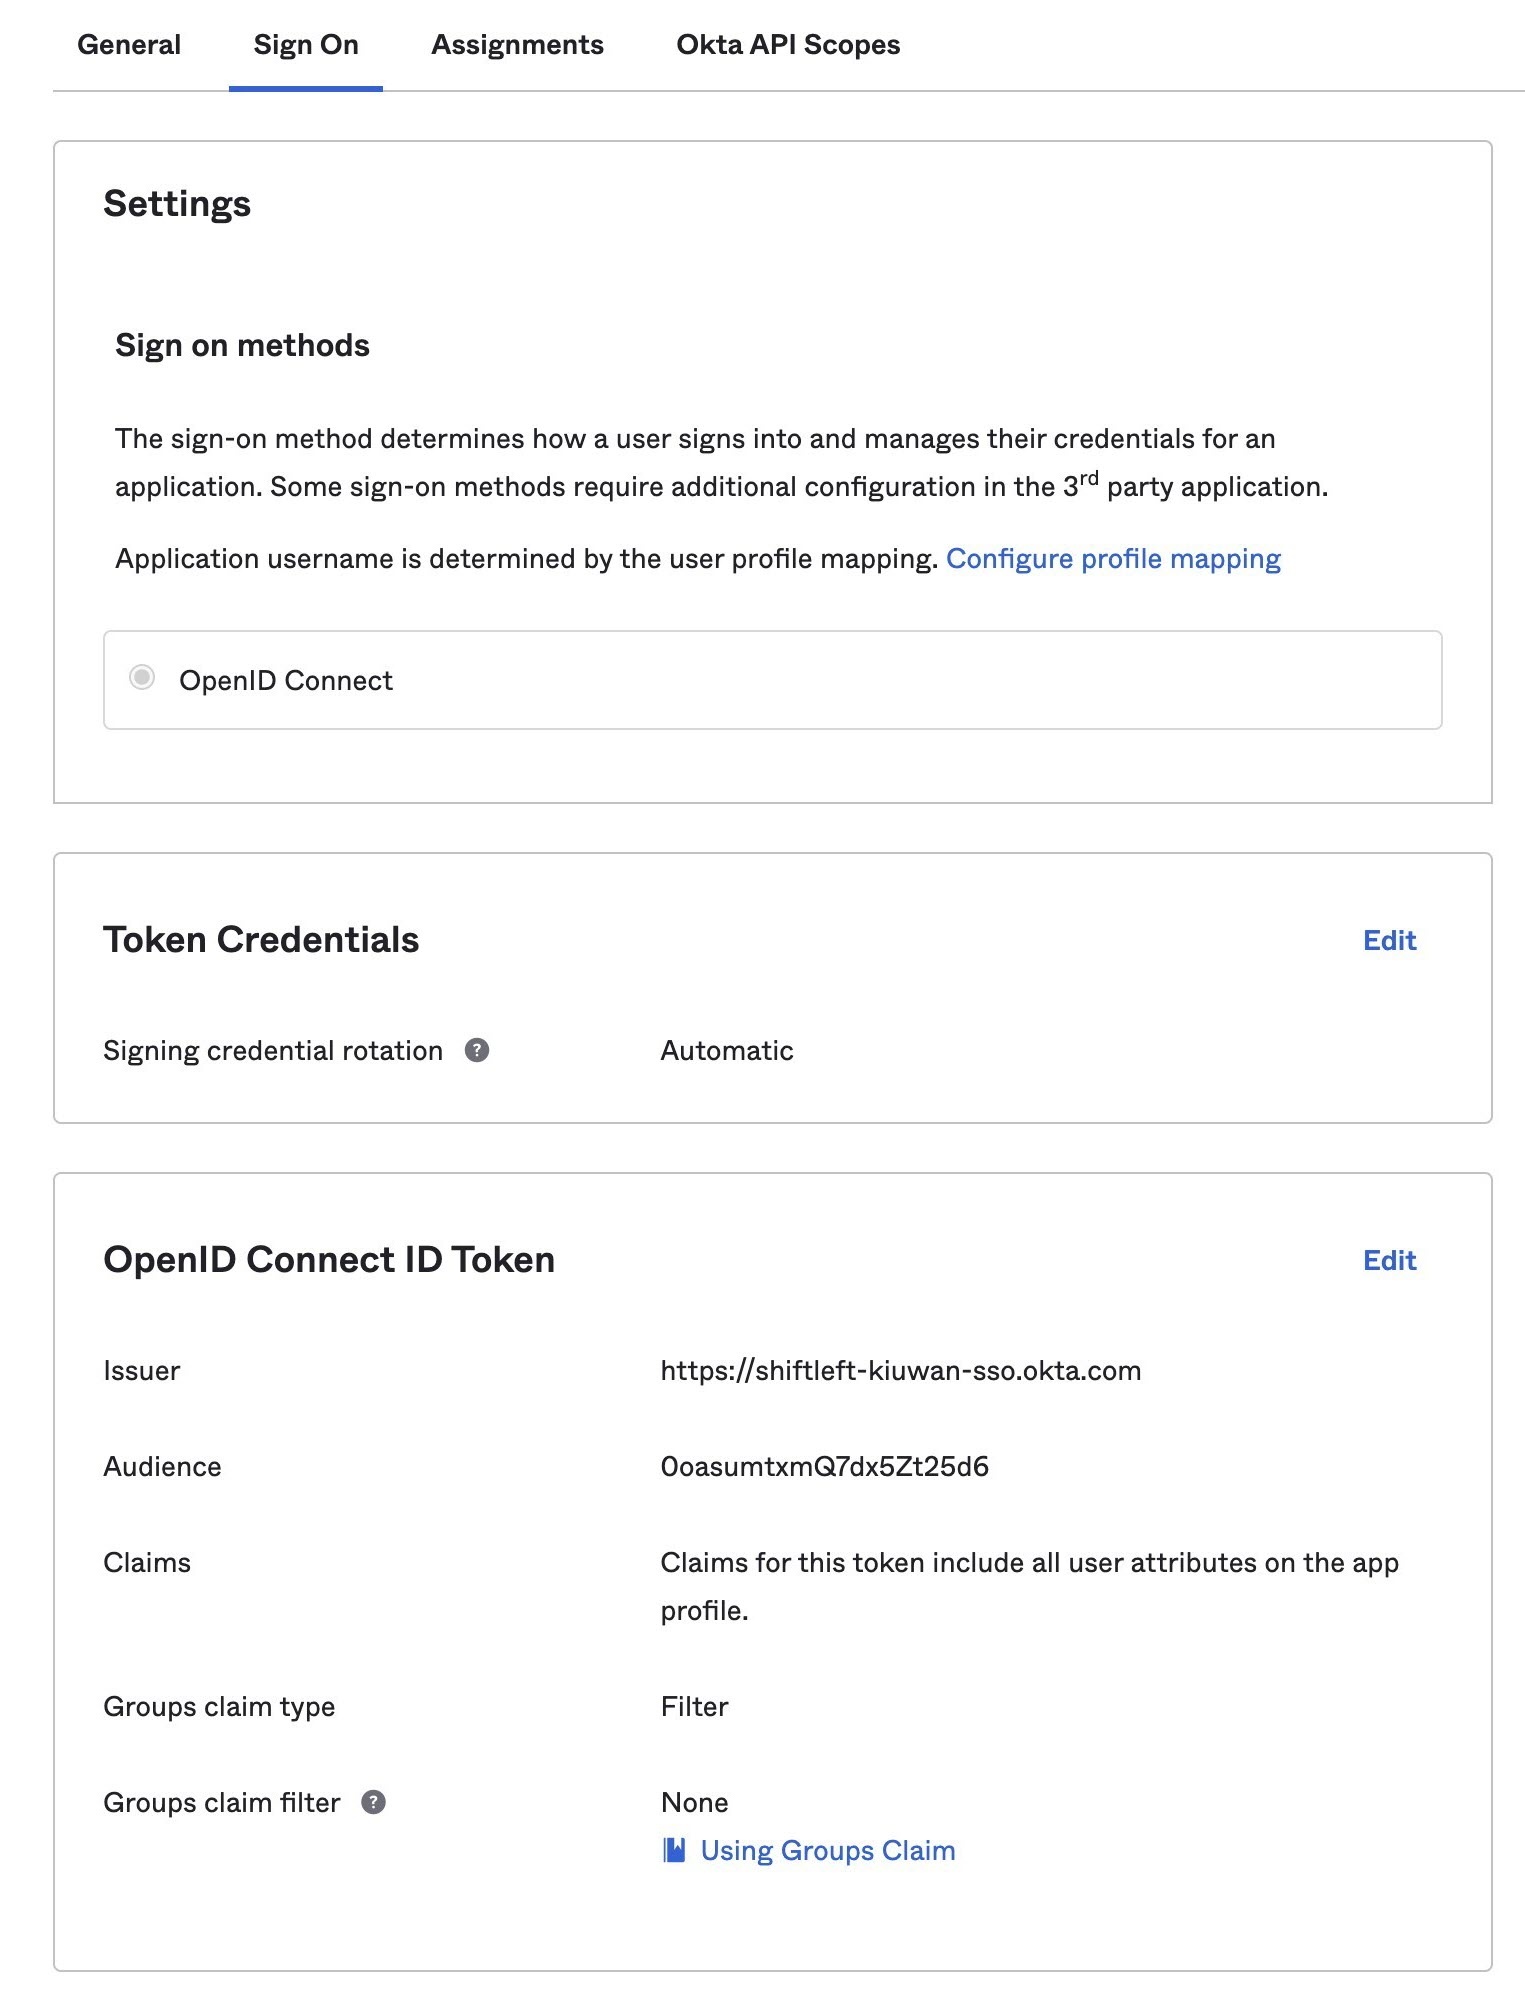
- On the tab collect the issuer URI needed for configuring Kiuwan.
...
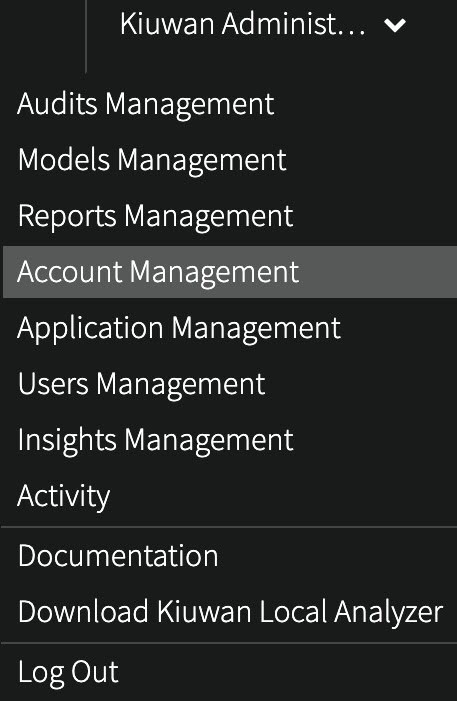
- As Account Administrator open the Account Management section:
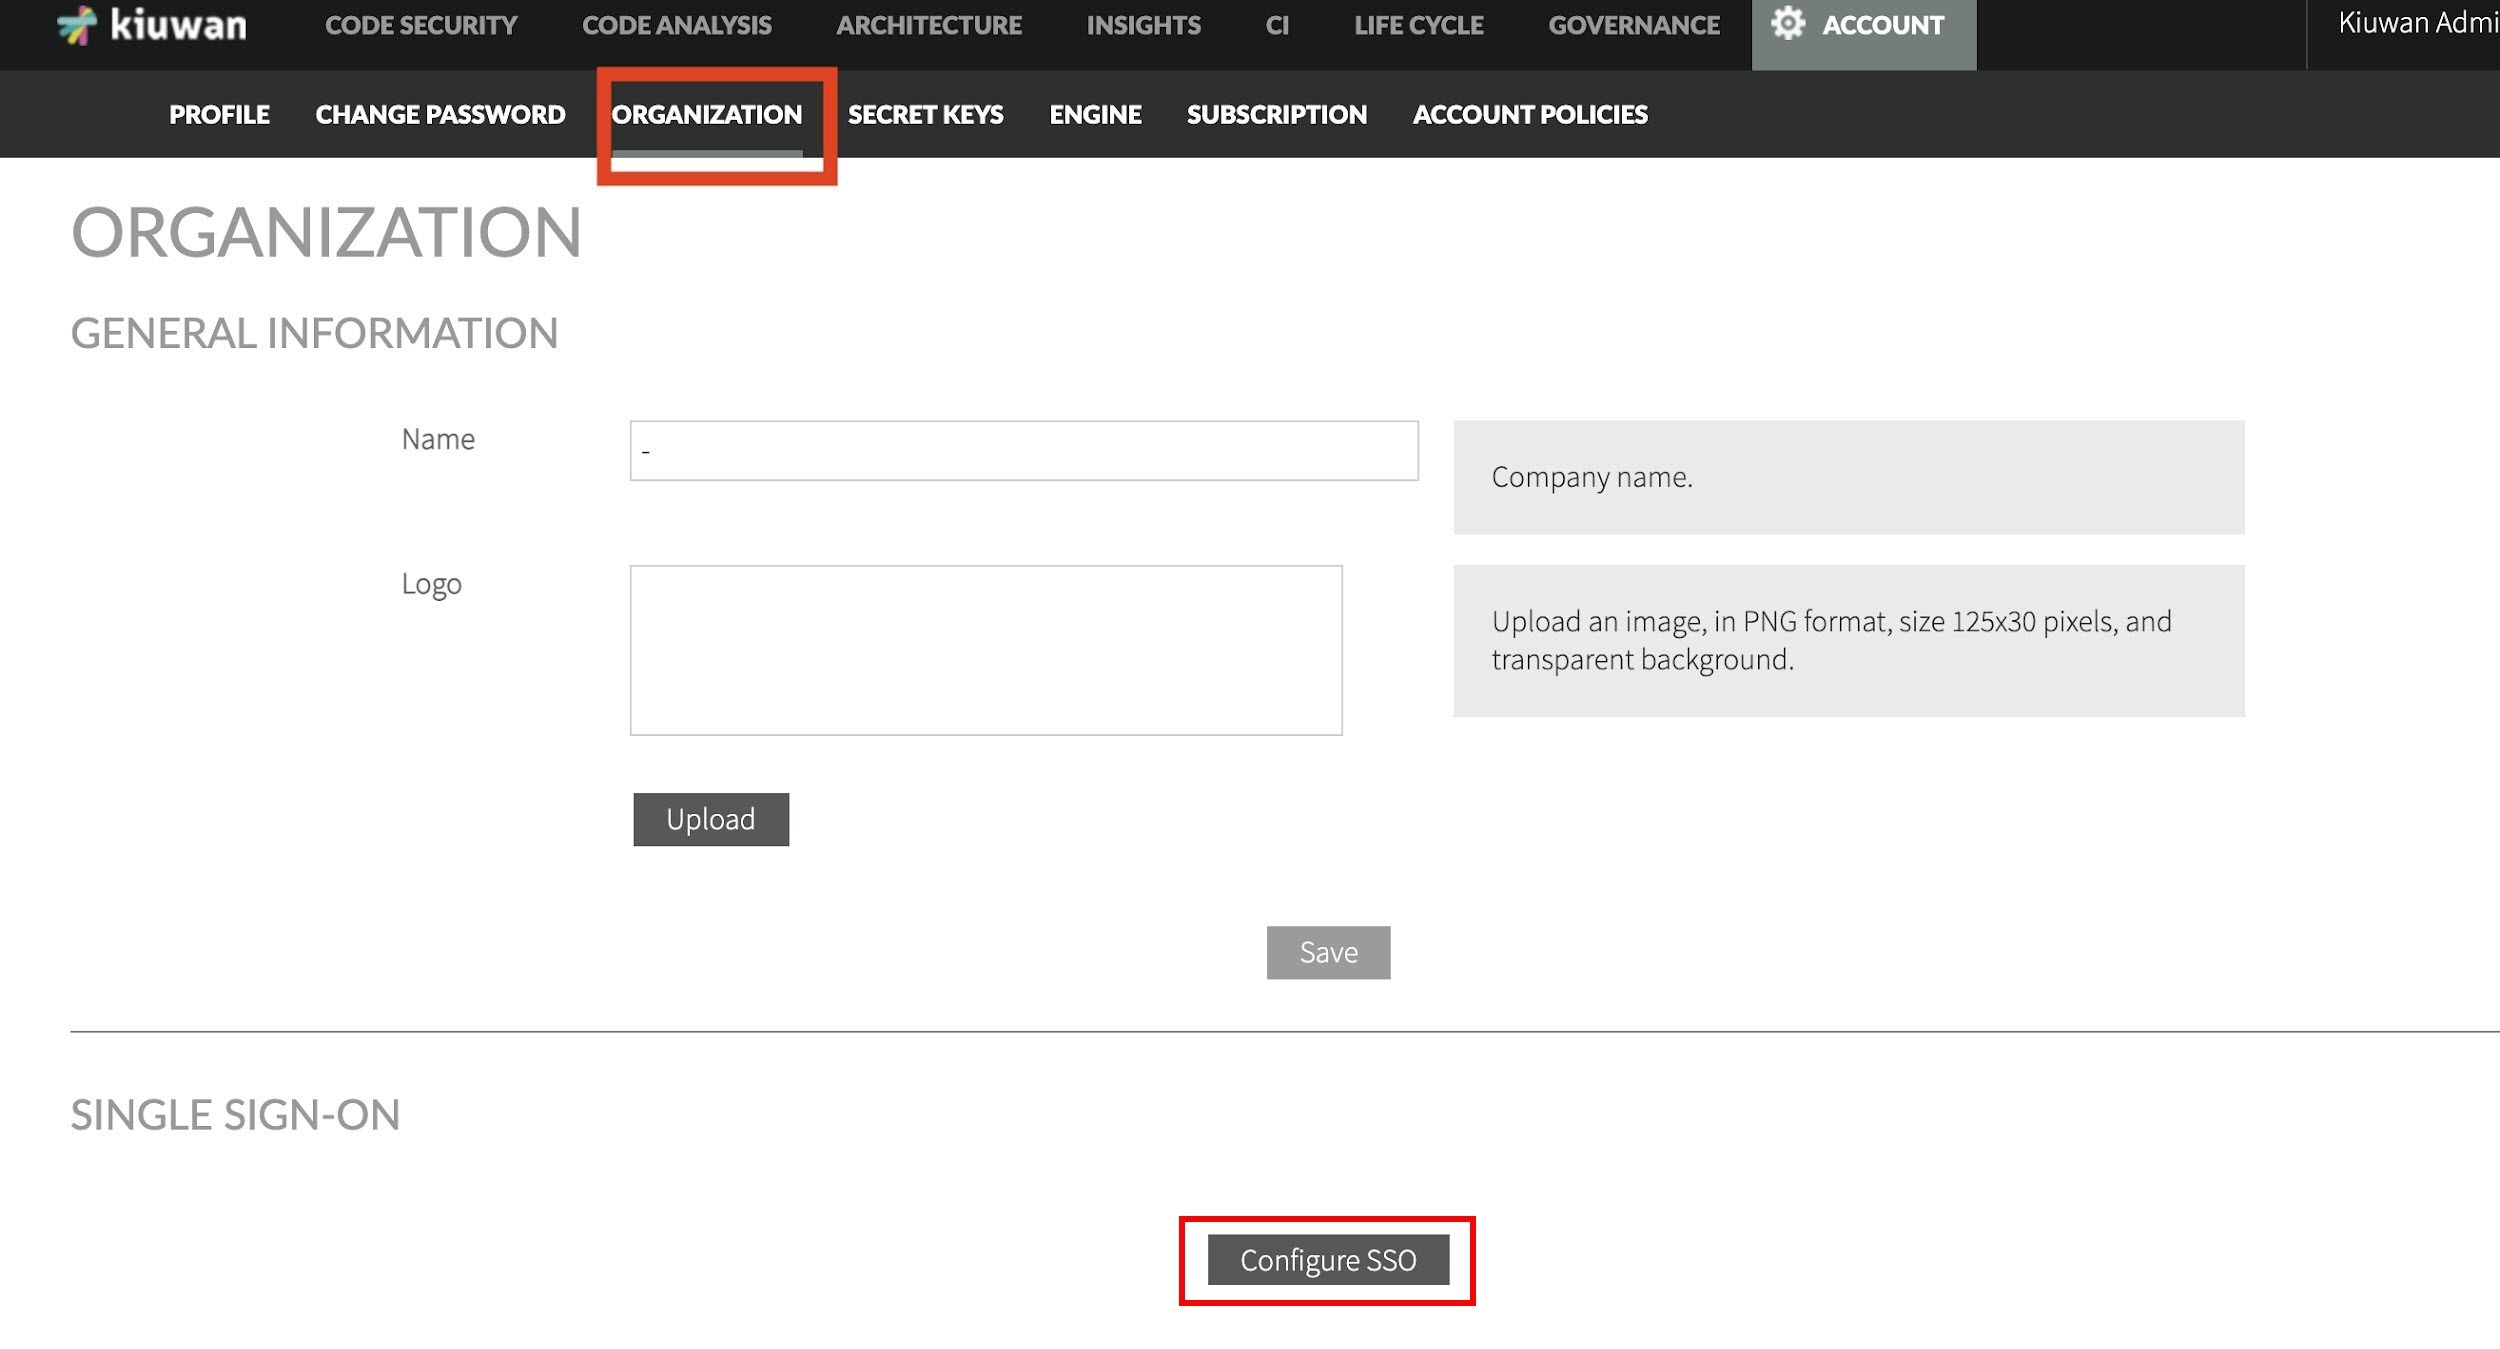
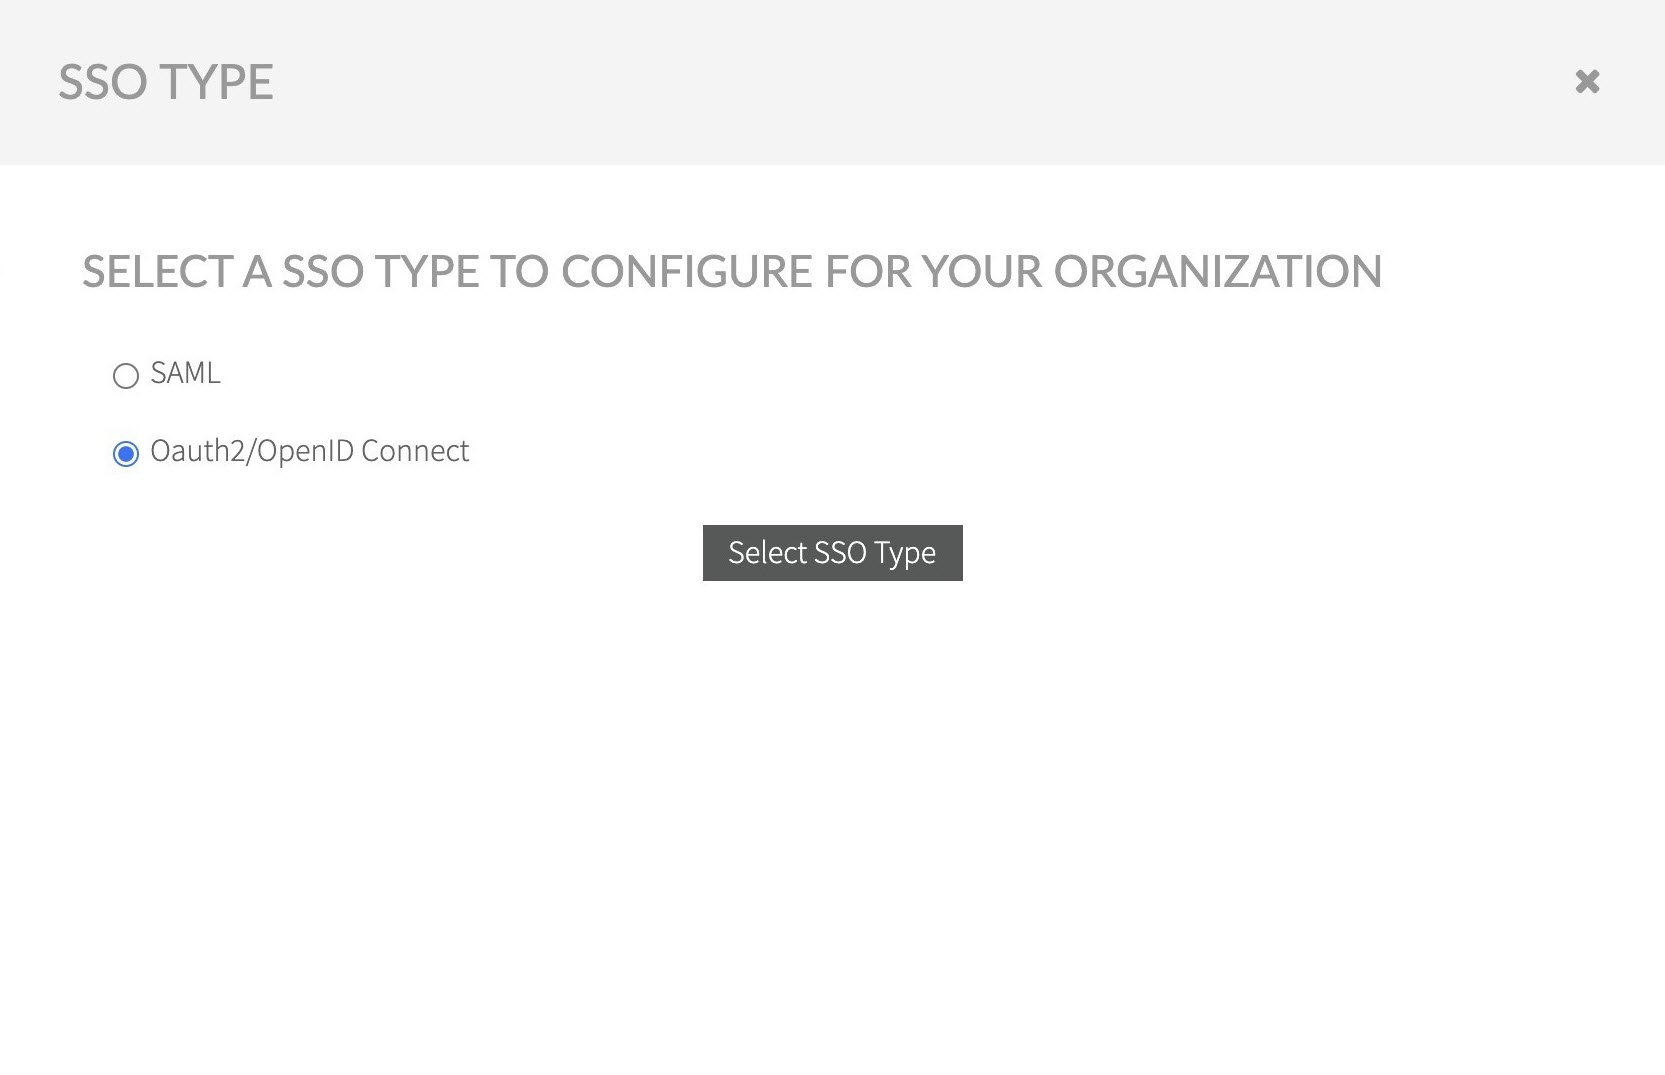
- In the Organization tab select Configure SSO option.
Select OAuth2/OpenID Connect option and confirm.
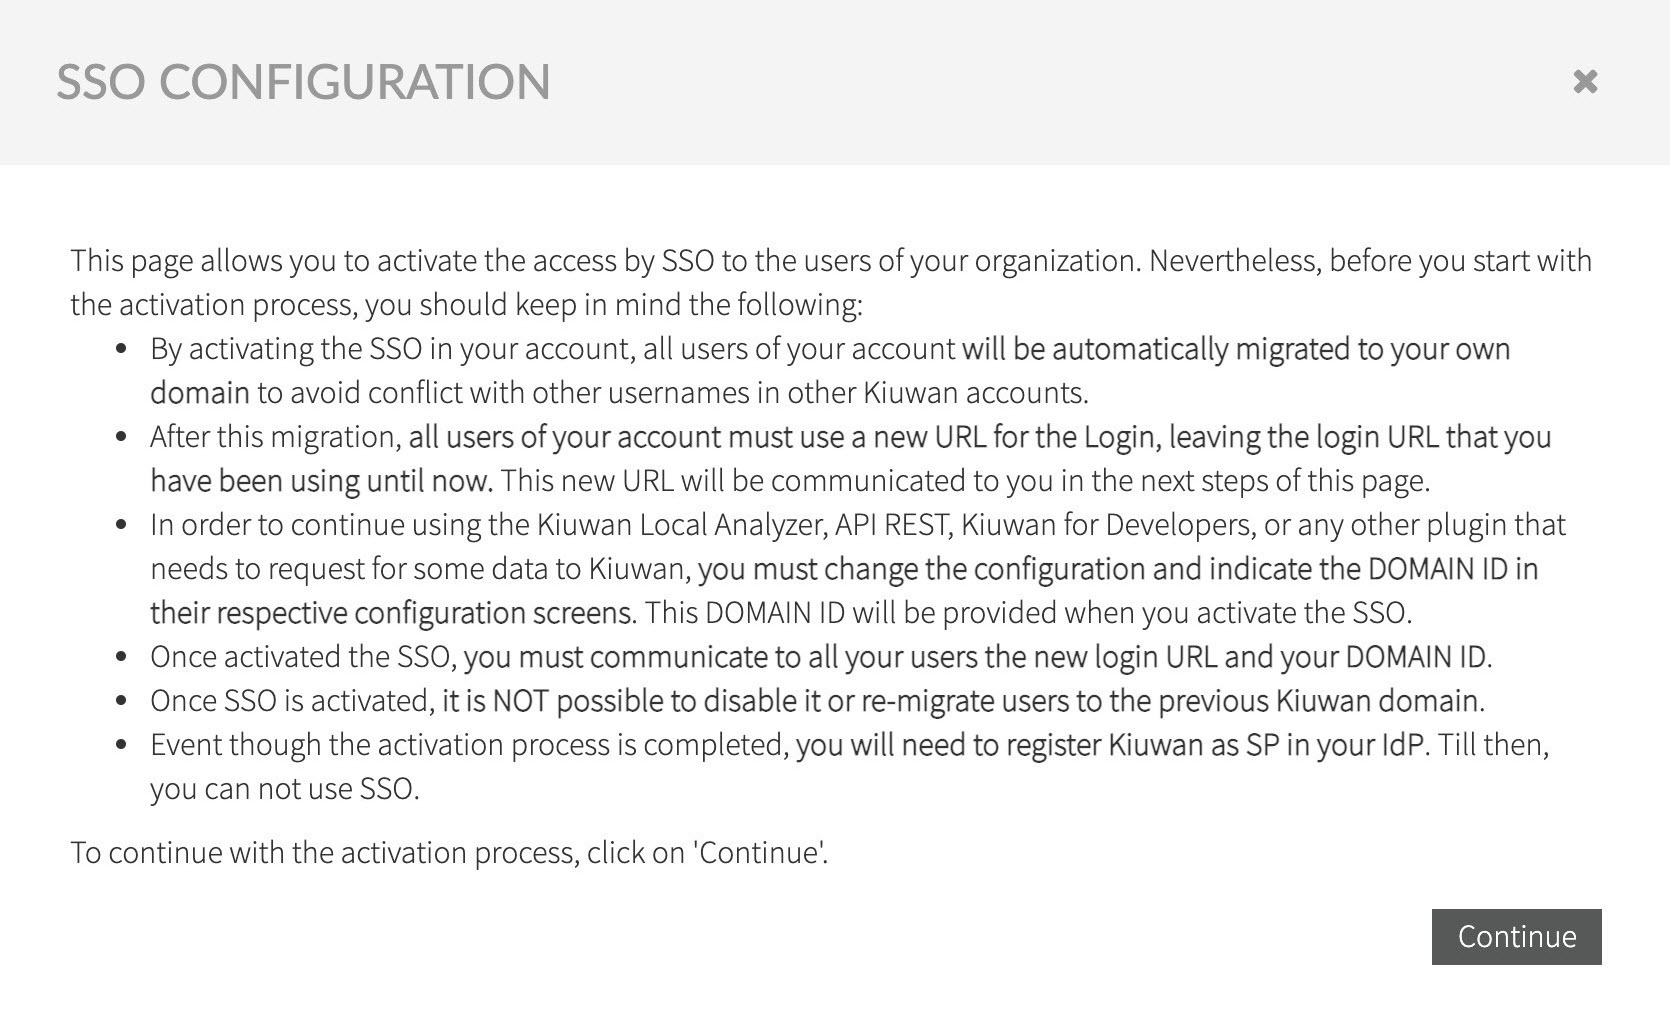
Read the following text explaining the implications when activating SSO, click Continue to proceed to the OAuth2/OpenID Connect setup.
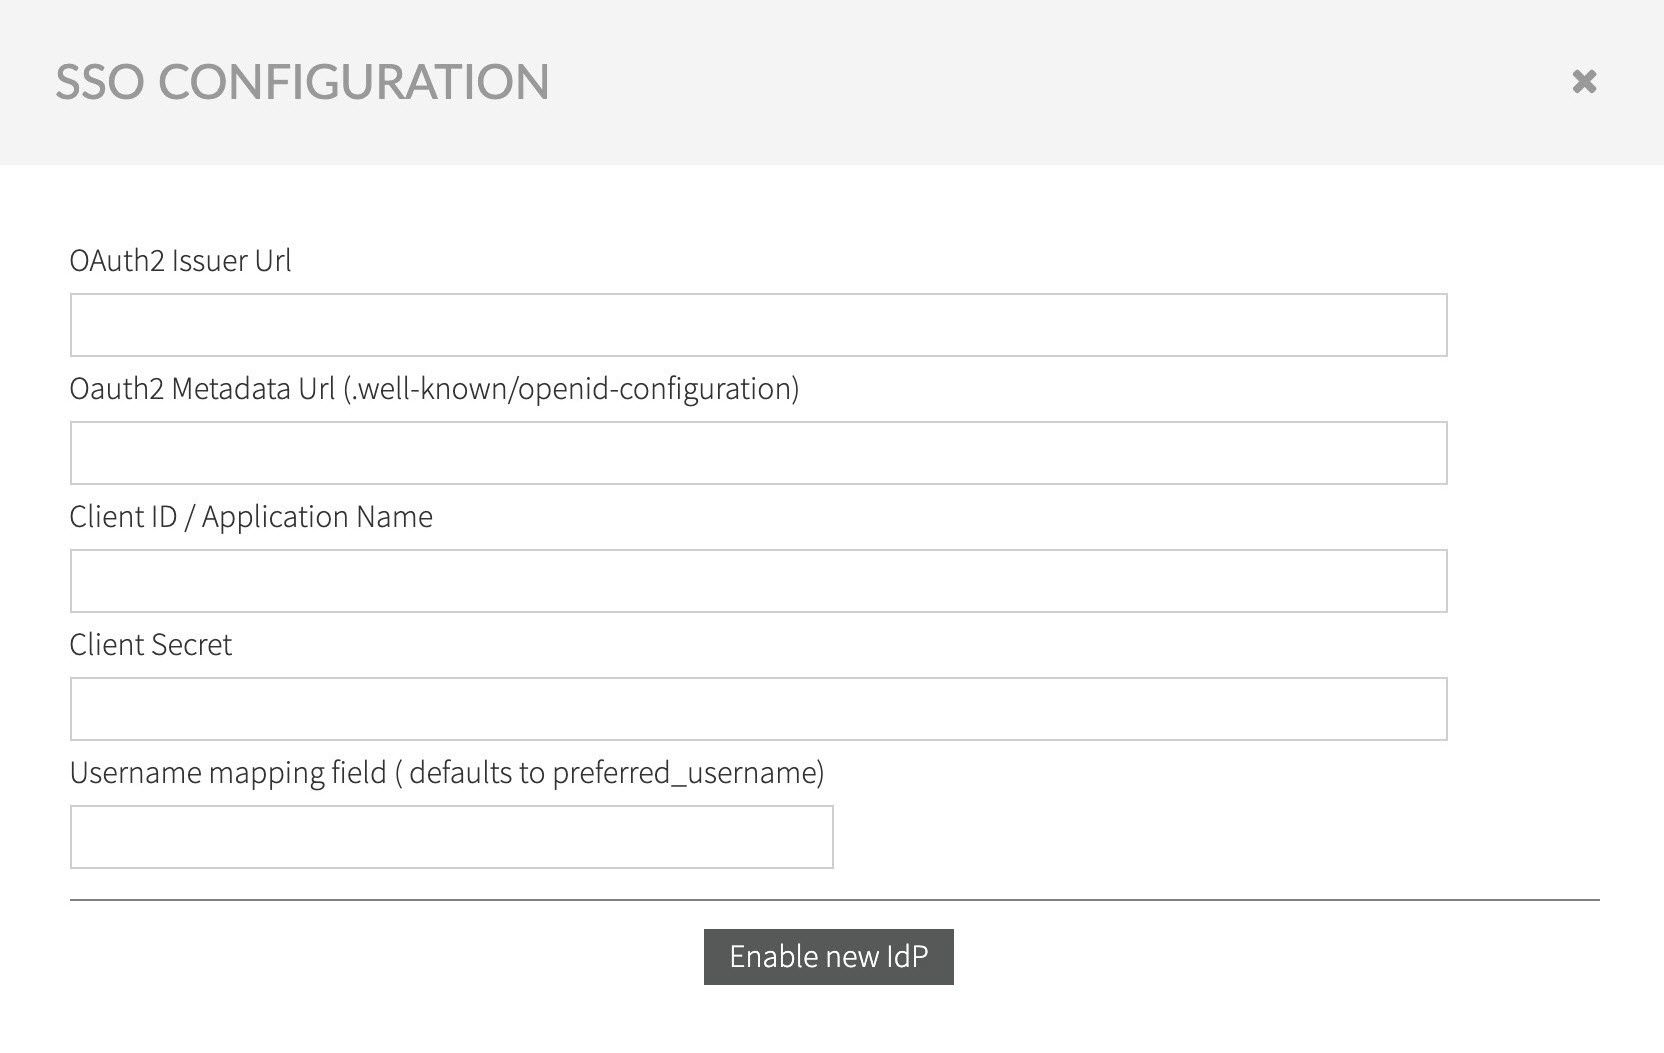
Fill in the information, as gathered during Configuring OpenID Provider, and confirm entered data by selecting Enable new IdP.
After confirming the SSO data, a new email is sent with the activation confirmation code, alongside the instructions explaining how to log in to Kiuwan after the SSO is activated.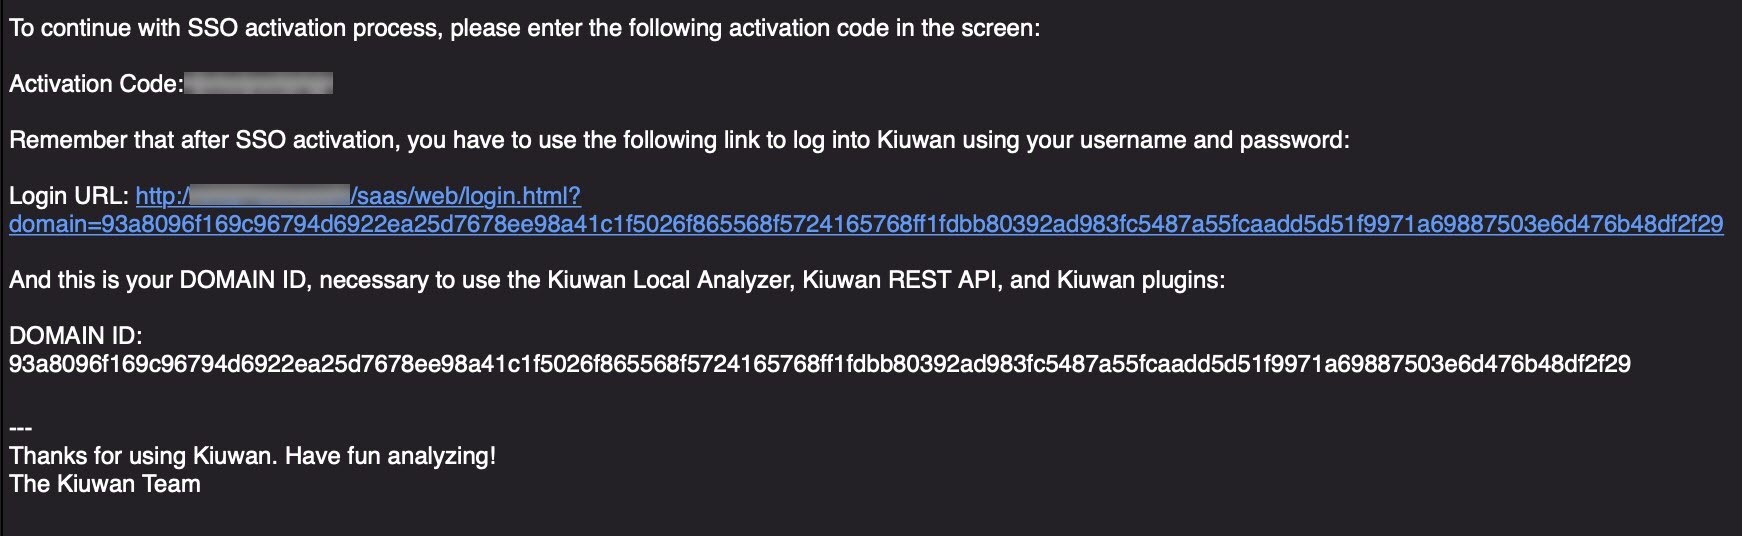
Copy the confirmation code and enter it in the confirmation form.
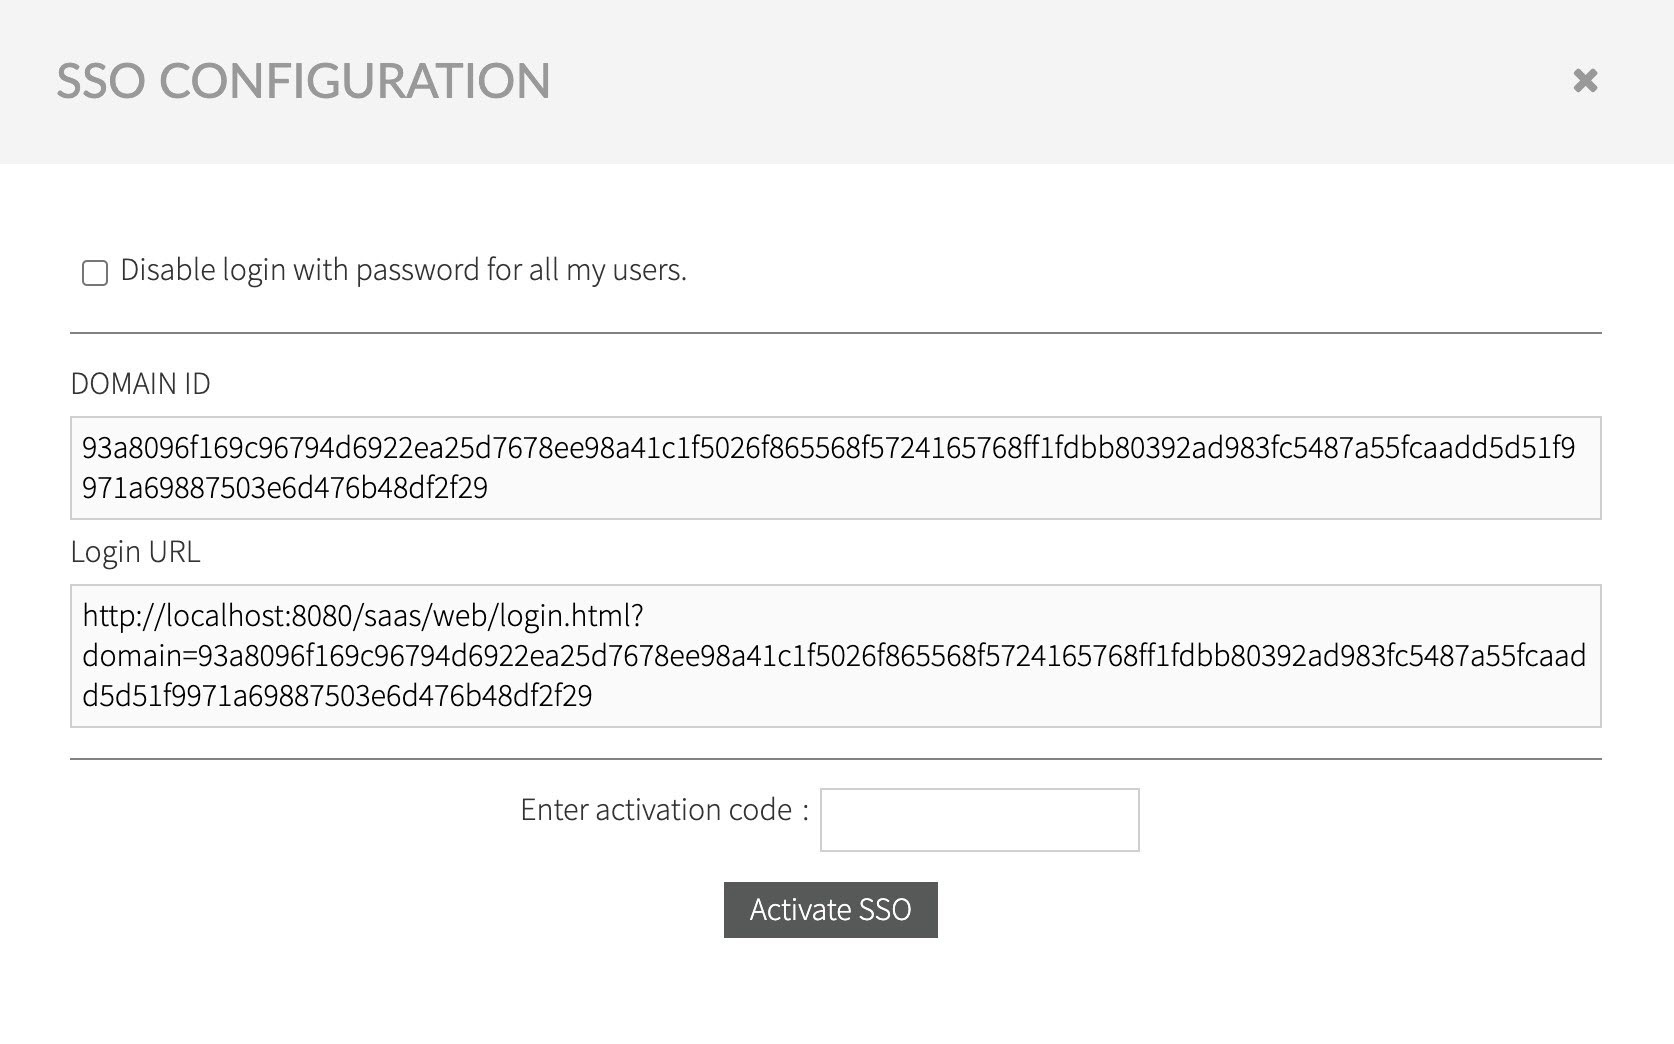
Note When the option Disable Login with password for all my users is checked, it prevents any user registered in your account, with the exception of Account Owner user, to be able to login using Kiuwan managed identity username/password.
Users will be able to log in only through defined OAuth/OIDC server authentication.
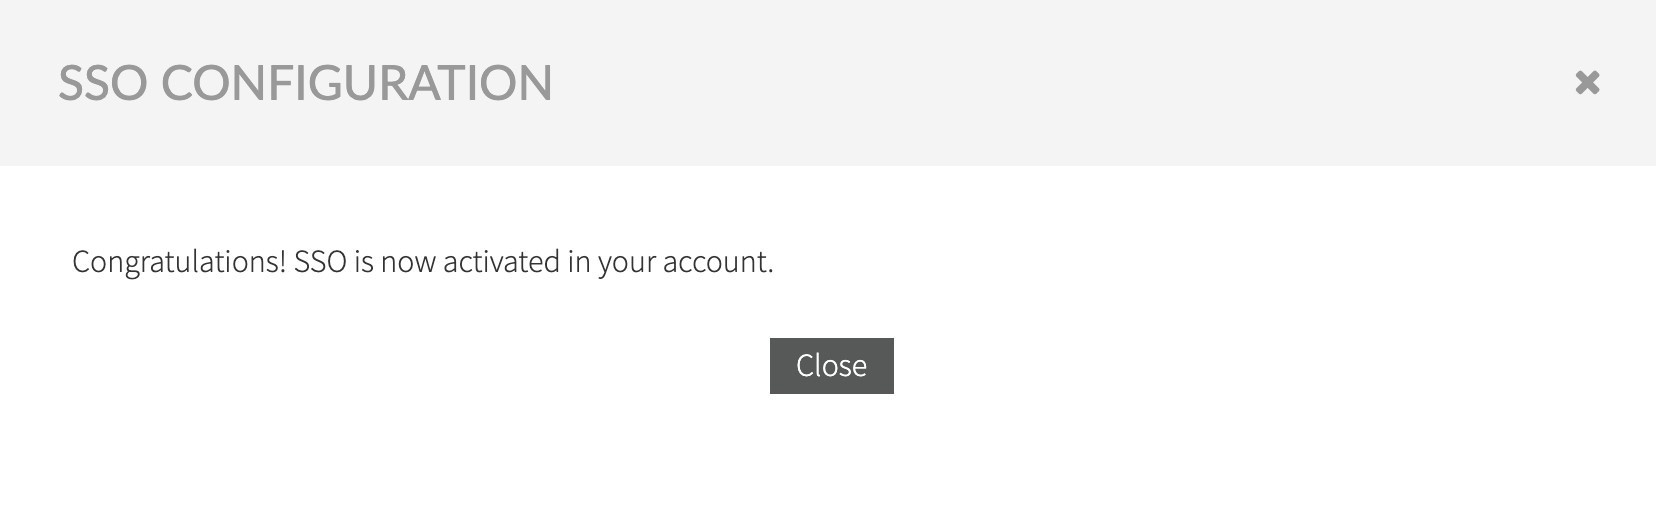
After entering the activation code a confirm the activation of SSO, the following confirmation dialogue displays:
...
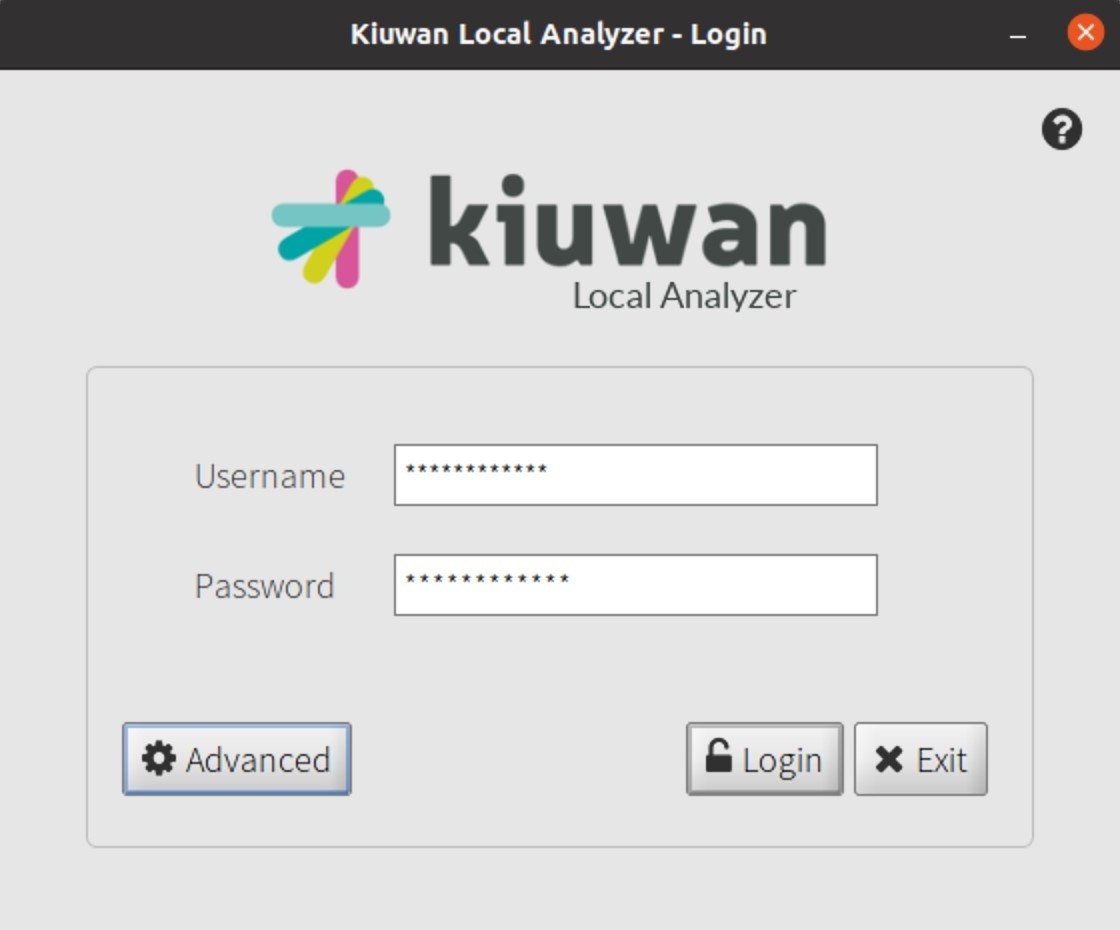
- Select the Advanced option.
- Enter the corresponding Domain ID, select the Enable SSO and the OAuth Authentication options from the pull-down list.
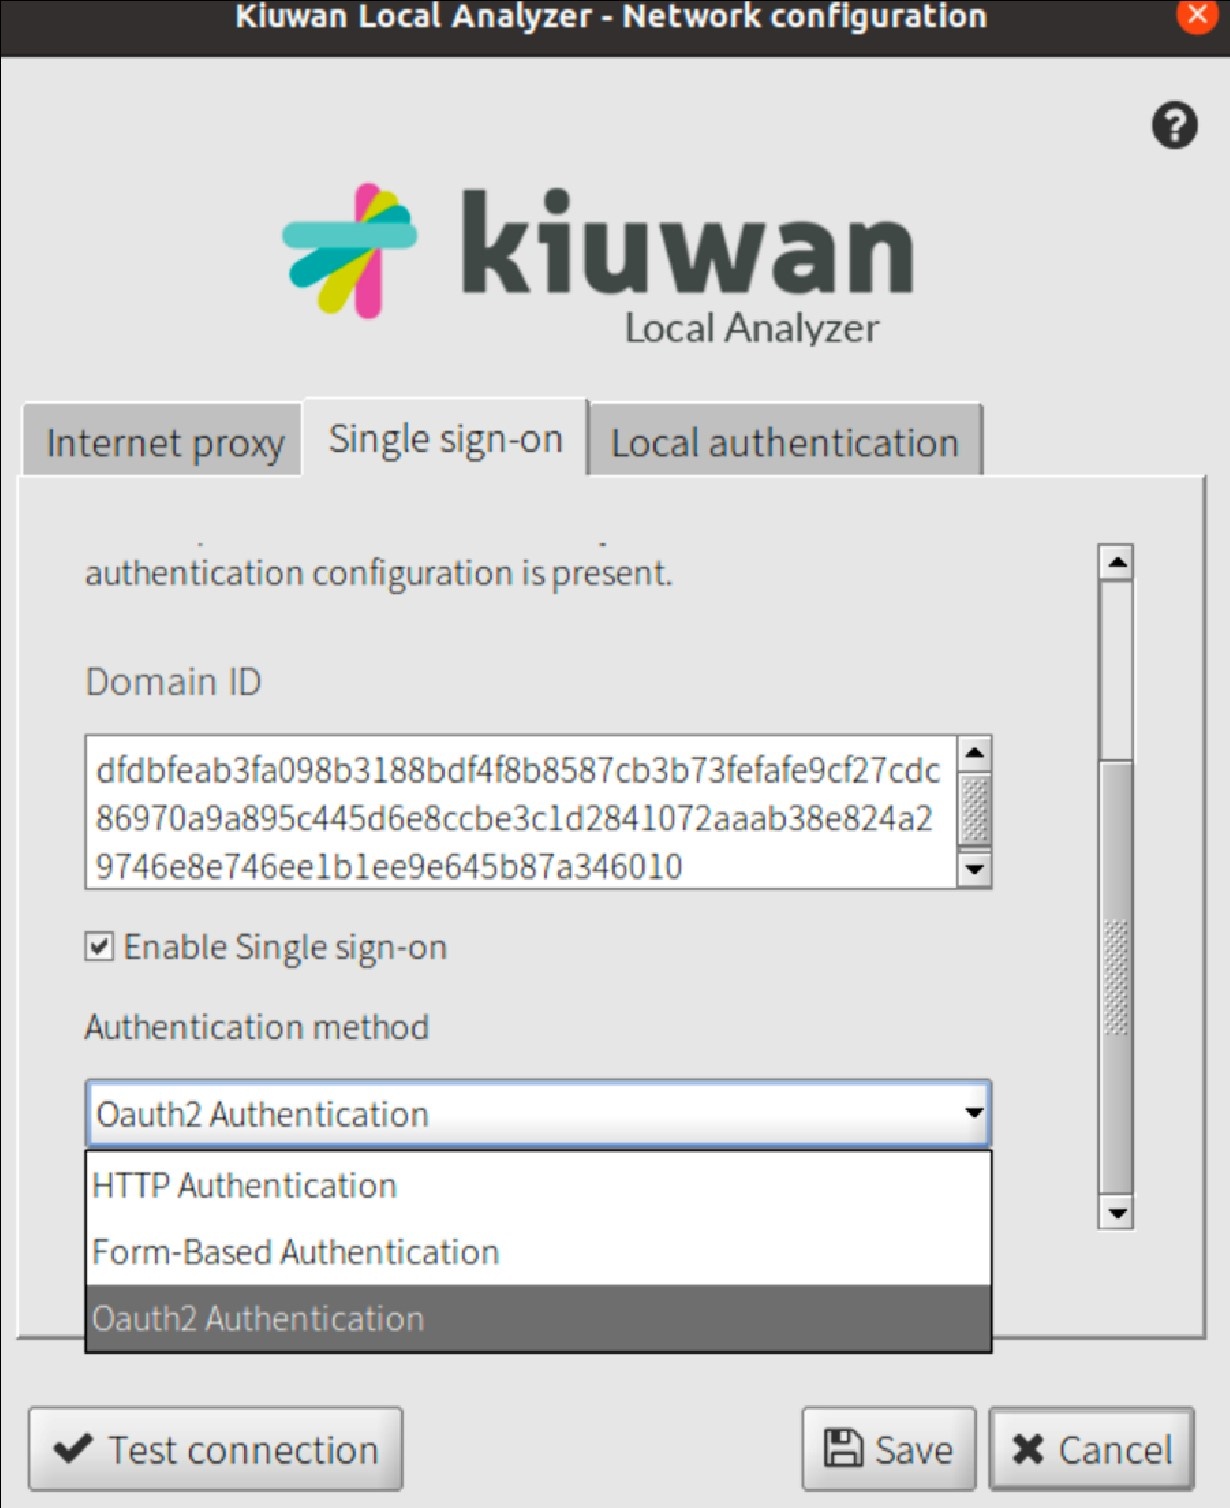
KLA is now configured to use the OAuth authentication as configured for that Kiuwan Account. Click Test Connection and KLA will redirect the authentication procedure to the native web browser:

The above page is temporarily presented informing the user that the login process is underway, and finally the regular authentication process for the configured Identity provided is initiated.
After the authentication process is completed, the browser window can be discarded as KLA has collected the needed information to proceed.
...
Upon successful completion of the authentication process, the browser window can be dismissed, and KLA will be available to be used according to the user's corresponding capabilities.
...